 how-to
7 Steps to Program Amateur Radio Repeaters Correctly
Last Updated: October 27, 2026
Quick Summary
To program amateur radio repeaters, enter the repeater's output frequency as the receive frequency, set the offset direction and amount (600 kHz on VHF, typically 5 MHz on UHF), and add the correct CTCSS or DCS tone. Verify each listing against a second source, then test the channel before relying on it.
- You need the output frequency, offset direction, tone, and a way to enter that data.
- The gap between input and output is the offset: 600 kHz on VHF, typically 5 MHz on UHF.
- Set the receive tone last: program with no receive tone first, then add it.
- In CHIRP, download from the radio before editing so you don't wipe existing channels.
- On the UV-5R, menu 25 sets offset direction and menu 26 sets offset frequency.
Table of Contents
- What You Need Before You Program a Repeater
- How a Repeater Works and Why Duplex Matters
- Ham Radio Repeater Frequencies and Offsets Explained
- Repeater CTCSS and DCS Tones: Getting the Squelch Handshake Right
- CHIRP Repeater Programming: Importing and Writing Channels
- How to Program a Repeater Into a Baofeng Radio by Hand
- Fixing the Most Common Repeater Programming Errors
- Test Your New Channel Before You Rely on It
- Frequently Asked Questions
What You Need Before You Program a Repeater
To program amateur radio repeaters correctly, you need four things: the repeater's output frequency, offset direction, any CTCSS or DCS tone, and a way to get that data into your radio. Get these wrong and your radio transmits into empty air. At RT Systems, Inc., we've spent over 20 years making radio programming easier with software and cables.
Here's your checklist before you begin:
- Your license and callsign, since you'll identify on the air
- The exact repeater listing from a directory, verified against a second source
- Your radio's manual, open to the memory programming section
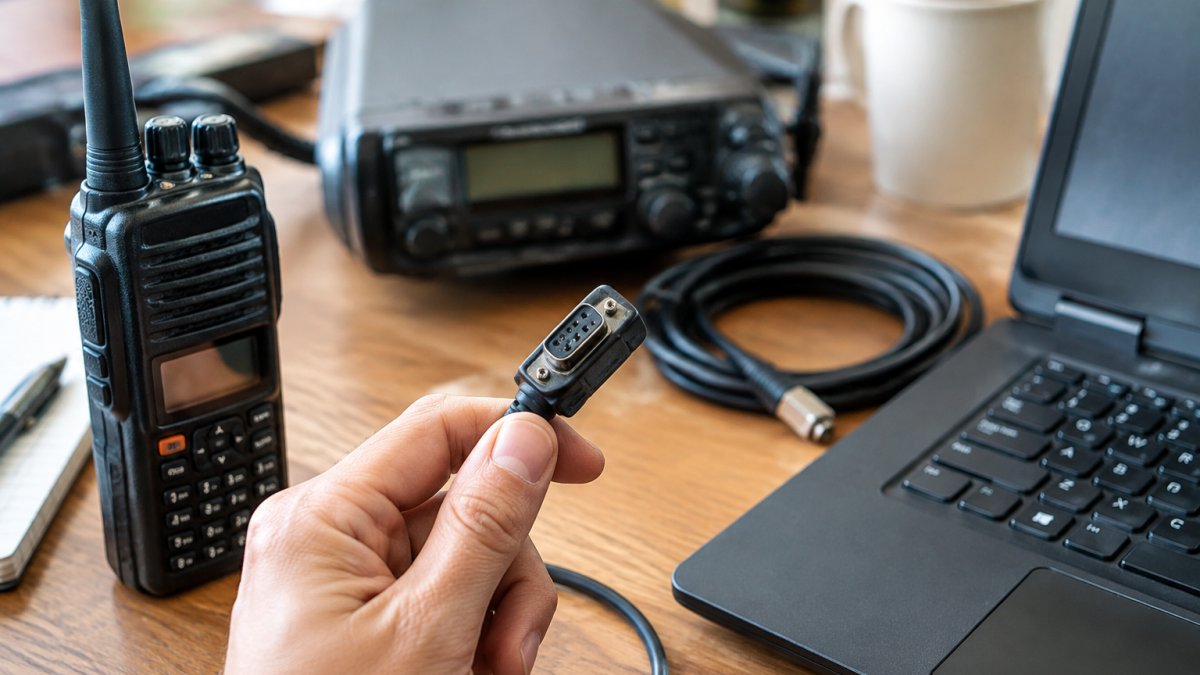
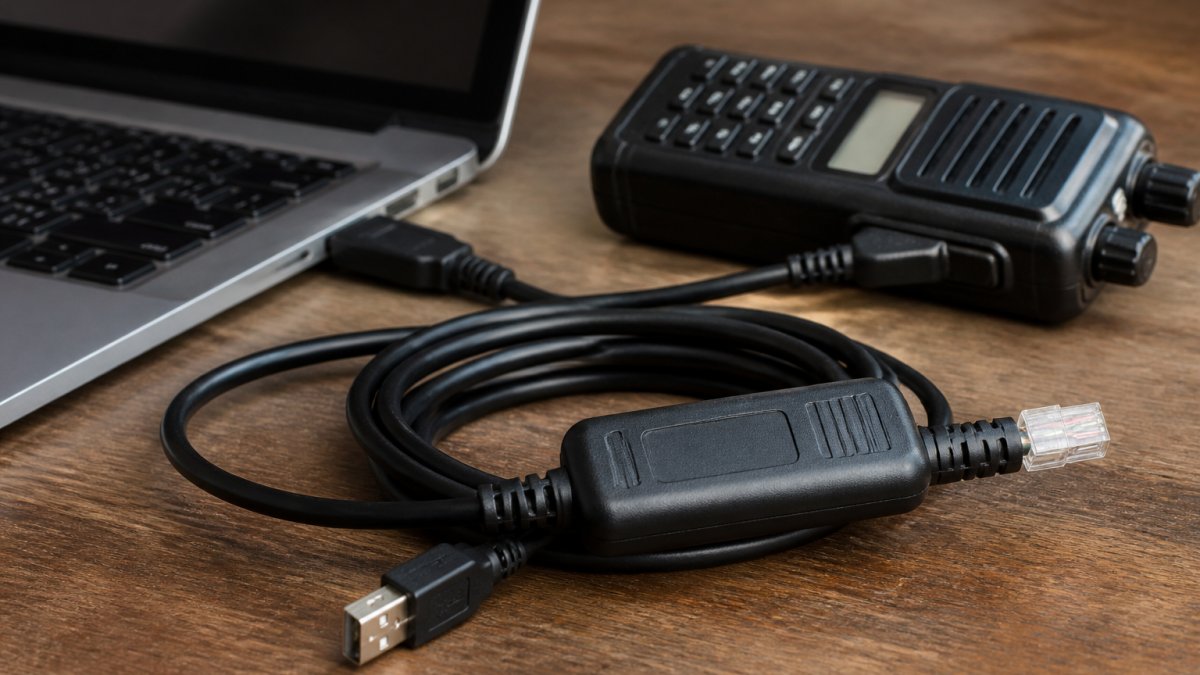
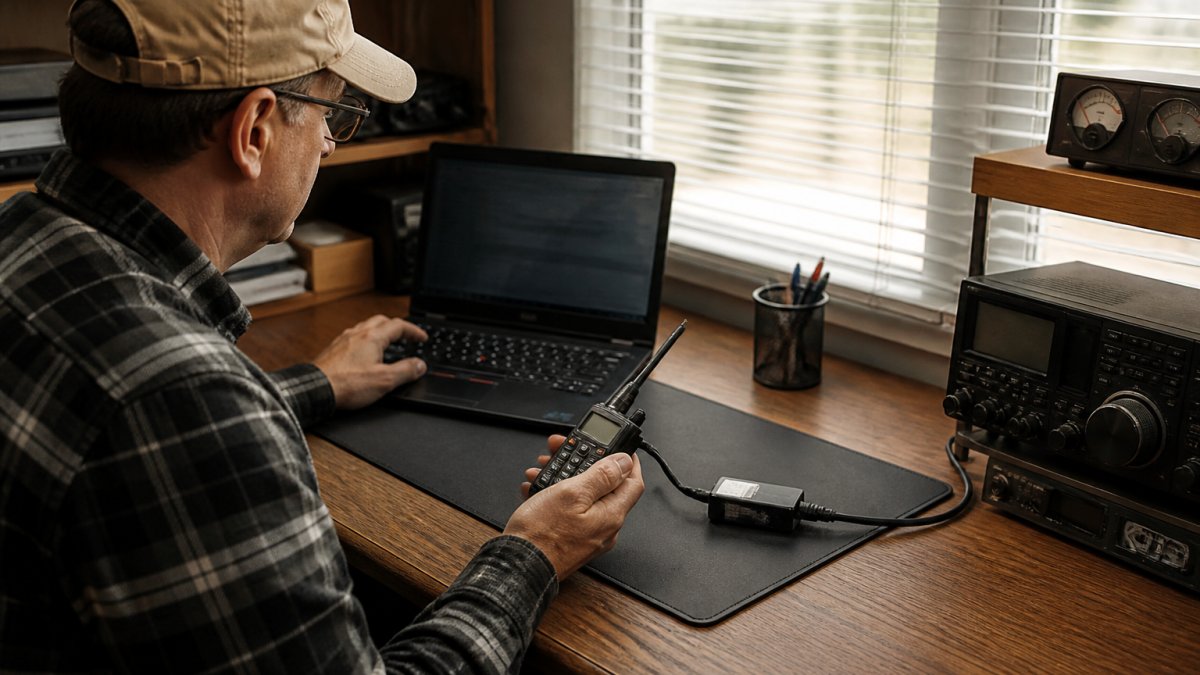
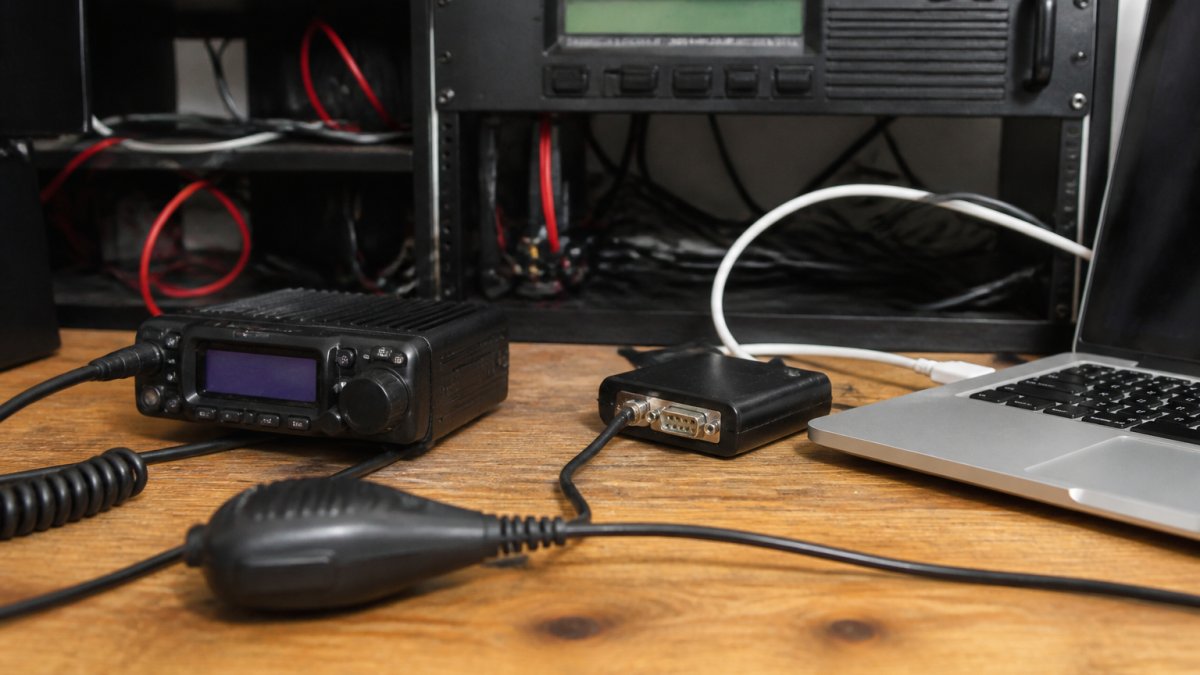
- A programming cable if you're using software
A common mistake is trusting one directory entry without checking it. RepeaterBook's accuracy guidance notes that duplicate listings and incorrect frequencies are real problems, which is why verification matters.
New to memory programming entirely? Our step-by-step guide to programming amateur radio channels covers the basics before you tackle repeaters.
How a Repeater Works and Why Duplex Matters
A repeater listens on one frequency and transmits on another at the same time, duplex operation, which is why repeater programming differs from simplex.
Your radio transmits on the repeater's input frequency; the repeater retransmits on its output frequency, which everyone listens to. Transmit and receive on the same frequency and the repeater never hears you.
Input, Output, and the Shift Between Them
The gap between input and output is the offset: 600 kHz on VHF, typically 5 MHz on UHF. Some repeaters use non-standard offsets, so never assume.
Your radio stores one memory channel with three pieces of data:
- The receive frequency (the repeater's output)
- The offset direction (plus or minus)
- The offset amount
Get the direction backwards and you'll transmit outside the repeater's input window. Nothing happens, and you'll spend an hour wondering why.
Ham Radio Repeater Frequencies and Offsets Explained
Ham radio repeater frequencies and offsets follow band plans, and knowing the plan saves you from guessing.
Here's the practical version for the two bands most handhelds cover:
| Band | Typical Offset | Common Tone | Where to Find Listings |
|---|---|---|---|
| 2 m (VHF) | 600 kHz | 100.0 Hz | ARRL directory, RepeaterBook |
| 70 cm (UHF) | 5 MHz | 100.0 Hz | ARRL directory, RepeaterBook |
The ARRL band plan reference is the authority here. Check it before you assume a frequency follows the standard pattern.
The 2026 edition of The ARRL Repeater Directory added a City Quick Find Index, which makes locating nearby repeaters faster than paging through listings by frequency.
One more thing: some repeaters are simplex repeaters, meaning they receive and transmit on the same frequency. Rare, but they exist.
Repeater CTCSS and DCS Tones: Getting the Squelch Handshake Right
CTCSS and DCS tones are subaudible signals your radio sends to open the repeater's squelch.
CTCSS (Continuous Tone-Coded Squelch System) uses a low-frequency tone, often called a PL tone.
DCS (Digital-Coded Squelch) sends a digital code instead. You'll see it listed as D023, D754, and similar.
Three rules that save headaches:
- Tone mode matters. Most repeaters need the tone on transmit only (encode). Some need it on both transmit and receive (encode/decode). Check the listing.
- Set the receive tone last. Program with no receive tone first. If you can hear the repeater, add the receive tone after.
- DCS and CTCSS are not interchangeable. If the listing says DCS, use DCS.
Entering a CTCSS tone when the repeater uses DCS leaves you transmitting into a repeater that never opens.
CHIRP Repeater Programming: Importing and Writing Channels
Here is the actual sequence, start to finish:
- Install the correct cable driver first. CHIRP talks to the radio through a USB-to-serial adapter inside the cable. Install the driver, plug in the cable, and confirm the port appears in Device Manager (Windows) or
/dev/tty.*(macOS) before opening CHIRP. - Download from the radio before you edit. Select your radio model under Radio > Download From Radio, choose the COM port, and pull the current memory image. Editing a blank file and writing it back can wipe existing channels.
- Import or paste your channel data. CHIRP accepts CSV imports with specific column headers,
Location,Name,Frequency,Duplex,Offset,Tone,rToneFreq,cToneFreq,DtcsCode,Mode, and similar. For directory exports, map output frequency toFrequency, offset direction toDuplex(+or-), offset amount toOffset, and tone toToneandrToneFreq. - Check the duplex and tone columns per row. Most import errors happen here. A blank
Duplexmeans simplex;Toneset butrToneFreqblank transmits no tone. Scan the rows before writing. - Upload to the radio. Select Radio > Upload To Radio, confirm the port, and let the write finish without unplugging the cable.
CHIRP vs. Manufacturer Software vs. RT Systems
The three routes differ in ways that matter once you have more than a handful of channels:
| Route | Cost | Cable | Strengths | Trade-offs |
|---|---|---|---|---|
| CHIRP | Free | Third-party, quality varies | Cross-brand, cross-platform, active community | Driver and column-format friction; model quirks |
| Manufacturer software | Free with many radios | Often proprietary | Exact match to the radio's firmware | One brand per program; interfaces vary widely |
| RT Systems software | Paid | Radio-specific, genuine FTDI | Known-good settings, database of repeater data, support | Per-radio purchase |
RT Systems software is designed to simplify radio programming, and technical support is available by phone and email.
For a deeper walkthrough of the import step, see our guide on bulk importing repeater frequencies. If you're wrestling with file formats, our CSV import how-to for radio software covers the details that trip people up.
How to Program a Repeater Into a Baofeng Radio by Hand
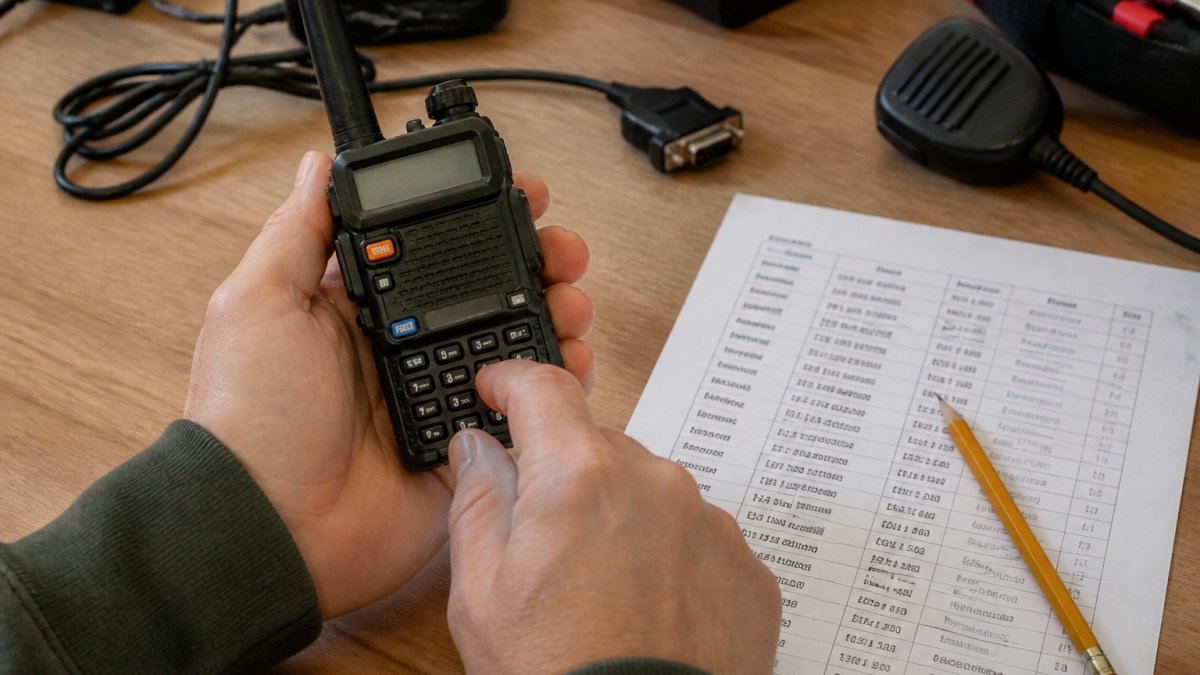
Programming a repeater by hand uses the radio's keypad, without a laptop or cable. The steps below use the UV-5R family as the reference; other Baofeng models use similar menus with different numbers, so confirm the menu number in your radio's manual.
Before You Touch the Keypad
Write down the four values on paper: the repeater's output frequency, the offset direction (plus or minus), the offset amount (600 kHz on 2 m, 5 MHz on 70 cm), and the tone (CTCSS frequency or DCS code, and whether it is encode-only or encode/decode). That way you're not scrolling a directory on your phone while the radio times out.
The Keypad Sequence
- Switch to VFO mode. Press the VFO/MR button until the display shows a frequency rather than a channel number. You cannot program a memory channel from memory mode.
- Enter the repeater's output frequency. Type the frequency on the keypad, including the decimal, then press PTT briefly to confirm. The display should show the output frequency, what you'll listen on.
- Open the offset menu. On the UV-5R, menu 25 sets offset direction and menu 26 sets offset frequency. Press MENU, type 25, press MENU again, then use the arrow keys to select
+or-(orOFFfor simplex). Press MENU to confirm, then EXIT. - Set the offset amount. Press MENU, type 26, press MENU, and enter
00600for 600 kHz on 2 m or05000for 5 MHz on 70 cm. Confirm and exit. - Set the tone. Menu 13 sets the CTCSS tone frequency and menu 11 sets the DCS code. For CTCSS, open menu 13, select the tone (for example
100.0), confirm, and exit. For DCS, open menu 11 and select the code (for exampleD023). - Set the tone mode. Menu 12 controls whether the tone is transmit-only (
TONE), receive-only (TONE), or both (the display showsTONEandTONEtogether for encode/decode). Most repeaters need transmit-only; set encode/decode only if the listing requires it. - Save to a memory channel. Press MENU, type 27, press MENU, choose an empty channel number, press MENU to confirm, then EXIT. The radio writes the current VFO settings to that memory.
- Label the channel. Menu 28 lets you enter a name, the repeater's callsign or a short label, so you can identify it later without decoding a frequency.
Verify Each Step on the Display
After saving, switch to memory mode and select the channel. The display should show the output frequency, a + or - offset indicator, and a TONE or DCS indicator if a tone is set. If any are missing, that step didn't take, re-enter it rather than assuming the radio saved it.
When Manual Entry Is the Only Option
If you program manually, verify the channel before relying on it: key up briefly, listen for the courtesy tone or repeater tail, and ask for a signal report.
If the keypad entry feels like punishment, our guide on the simplest way to program handheld radios walks through the alternatives.
Fixing the Most Common Repeater Programming Errors
| Problem | Likely Cause | Fix |
|---|---|---|
| Radio silent on receive | Wrong output frequency or receive tone set | Remove receive tone, recheck frequency |
| Repeater never hears you | Offset direction reversed | Flip plus/minus and retest |
| Transmits but no audio | Wrong tone mode or wrong tone value | Match listing exactly |
| Channel works, adjacent doesn't | Duplicate or stale directory listing | Verify against a second source |
| Software won't write | Cable driver or wrong COM port | Reinstall driver, check port |
If your memories are a tangle of duplicates and half-labeled channels, our guide on organizing large repeater lists covers the topic.
Test Your New Channel Before You Rely on It
Test every new channel before you need it, not during an emergency net or club event.
Run this sequence:
- Confirm the channel receives the repeater's output
- Key up and listen for the courtesy tone or repeater tail
- Ask for a signal report from another operator
- Verify the tone opens the squelch on a second radio if you have one
- Check that the channel label matches the repeater's callsign
If the repeater responds, you're done. If it doesn't, go back to the offset and tone before you touch anything else.
RT Systems, Inc. specializes in making radio programming easy with software and cables for a wide range of radio brands. The software offers an easy-to-use interface for complex settings, and technical support is available by phone and email.
Frequently Asked Questions
What information do I need to program an amateur radio repeater?
You need five things: the output frequency, the offset direction and amount, any CTCSS or DCS tone required for access, the mode (analog FM, DMR, or another digital format), and the callsign of the repeater's trustee. Write the details down before you touch the radio, then verify the listing against a second source so you are not programming a stale frequency.
How do I set a repeater offset correctly?
The offset is the difference between what you listen on and what you transmit on. On 2 meters the standard shift is 600 kHz; on 70 centimeters it is usually 5 MHz. In software you enter the output frequency and pick a plus or minus shift, and the program calculates the transmit frequency. On a keypad you enter the output frequency, then set the shift direction and the shift amount as separate menu items. Get the direction wrong and the radio transmits outside the repeater's input, so nobody hears you.
Why can I hear a repeater but not transmit through it?
Hearing the repeater only proves your receiver and the output frequency are correct. If you cannot key it up, the usual culprits are a missing or wrong CTCSS/DCS tone, the offset pointing the wrong way, or a transmit frequency that landed outside the repeater's input window. Check the tone first, then confirm the shift direction.
Can I program repeaters without a computer?
Yes. Manual entry uses the radio's keypad. Computer programming is another way to manage radio memories and settings.