 how-to
How to Program Amateur Radio Channels: A Step-by-Step Guide
Table of Contents
- Understanding Amateur Radio Channel Basics
- Essential Hardware and Cables for Programming
- Best Radio Programming Software for Beginners
- Step-by-Step Software Configuration Process
- Amateur Radio Frequency Offset Explained
- How to Find Local Ham Radio Repeaters
- Troubleshooting Common Programming Issues
- Frequently Asked Questions
Last Updated: September 20, 2026
Understanding Amateur Radio Channel Basics
Amateur radio operators need to understand what they're actually programming. A memory channel stores a frequency, offset, and tone settings so you can recall them instantly. Without proper channels, you're manually entering frequencies every time you transmit.
The basics matter because they determine everything that follows. When you program amateur radio channels, you're telling your radio where to find repeaters, simplex frequencies, and local nets. Get this wrong and nothing else works.
Here's what you need to know:
- Frequency: The exact MHz your radio transmits and receives on
- Offset: The difference between transmit and receive frequencies (used for repeaters)
- CTCSS/DCS tones: Sub-audible signals that let only certain radios access a repeater
- Simplex vs. Duplex: Simplex uses one frequency; duplex uses two (transmit and receive)
Most new operators skip this foundation and jump straight to software. That's the mistake. Understanding these terms saves hours of troubleshooting later.
Essential Hardware and Cables for Programming
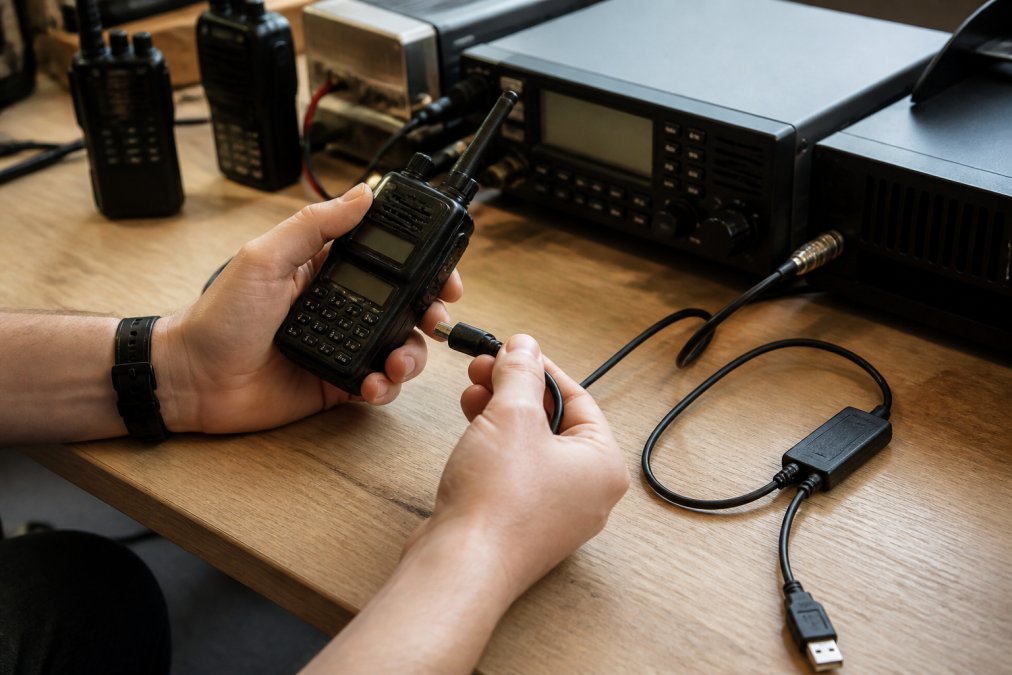
You can't program amateur radio channels without the right cable. Your radio needs a physical connection to your computer, and not every cable works with every radio model.
The programming cable is your bridge between computer and transceiver. It converts USB signals into the serial protocol your radio understands. A bad cable means failed writes, corrupted data, or no connection at all.
What you need:
- Programming cable: Matches your specific radio brand and model
- USB connection: Modern cables use USB-A or USB-C
- FTDI chipset: Look for cables with genuine FTDI chips (not counterfeit versions)
- Driver software: Windows and Mac need proper USB drivers installed
The cable quality matters more than people think. Cheap third-party cables often use unreliable chipsets that drop data mid-transfer. You end up with partial channel lists or settings that won't stick. Quality cables from established manufacturers ensure reliable data transfer between your computer and radio.
Best Radio Programming Software for Beginners
The software you choose determines whether programming takes 30 minutes or three hours. Your choice depends on your operating system, radio model, and budget.
CHIRP is the most widely recommended open-source option for beginners. It runs on Windows, macOS, and Linux, supports over 500 radio models from Baofeng, Yaesu, Kenwood, Icom, and others, and costs nothing. CHIRP's strength is its cross-platform compatibility and active community support. The interface is simpler than manufacturer software, and you can import channels from RepeaterBook directly into CHIRP without manual entry. The trade-off: CHIRP doesn't support every radio model, and some advanced features (like firmware updates) require manufacturer software anyway.
Manufacturer software (Yaesu Cloning Software, Kenwood Master, Icom CS software) works reliably for your specific radio but only on Windows in most cases. These tools are free but clunky, menus are buried, batch importing is limited, and you're locked into one brand. If you own only one radio and use Windows, manufacturer software is adequate.
RT Systems, Inc. software specializes in making radio programming faster by automating tedious tasks. It supports multiple manufacturers and allows spreadsheet-style channel editing and database imports. The advantage is speed and multi-brand support; the disadvantage is Windows-only availability.
Comparison by use case:
- Single radio, Windows user, budget-conscious: CHIRP or manufacturer software
- Multiple radio brands, Windows user: RT Systems or CHIRP
- macOS or Linux user: CHIRP is your only option; manufacturer software won't run
- Frequent programming, advanced features: Manufacturer software + CHIRP for cross-platform flexibility
Most beginners start with CHIRP because it's free, works across operating systems, and has documentation. If you hit a radio model CHIRP doesn't support, you'll need manufacturer software or RT Systems as a fallback.
Step-by-Step Software Configuration Process
Programming your radio breaks into five stages: install drivers, read your radio's current settings, create or import channels, configure tones, and write everything back. Each stage matters.
Installing Drivers and Setting Baud Rate
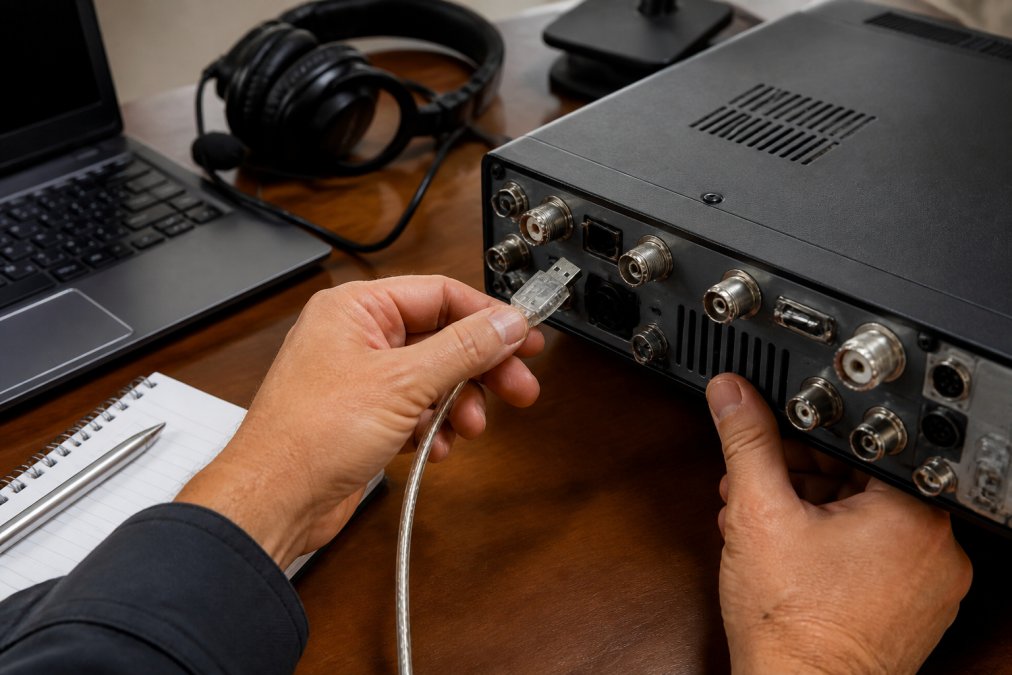
Your computer won't recognize your radio without proper USB drivers. Windows and Mac handle drivers differently, but both require installation before you connect your cable.
Download the driver package from your cable manufacturer's website. For most modern cables, you'll need the FTDI driver. Install it before plugging in your cable. Once installed, your computer assigns a COM port to the connection.
The baud rate is the speed at which your computer talks to your radio. Most amateur radios use 9600 baud, but some older models use 4800 or 19200. Check your radio's manual. In your programming software, set the baud rate to match.
Reading Your Radio and Creating Memory Channels
Before you write anything new, read your radio's current settings. This backs up any channels or settings already stored in memory. If something goes wrong during programming, you can restore the original data.
In your software, select "Read from Radio." This downloads all existing channels, frequencies, and tone settings to your computer. Save this file immediately. Name it something descriptive like "MyRadio_Backup_Jan2026.csv."
Now create your memory channels. You can do this three ways:
- Manual entry: Type each frequency, offset, and tone individually
- Database import: Download channels from RepeaterBook or similar databases
- Spreadsheet paste: Create a CSV file with all your frequencies and import it
Database import is fastest if you're programming 50+ channels. Manual entry works fine for five to ten local repeaters.
Configuring CTCSS and DCS Tones for Repeaters
CTCSS and DCS tones control repeater access. Without the correct tone, your transmission won't trigger the repeater even if your frequency is right.
Common mistakes:
- Using the wrong tone (repeater won't respond)
- Setting tone on receive when you should set it on transmit
- Forgetting to set the tone entirely
Amateur Radio Frequency Offset Explained
The frequency offset is why your radio needs two frequencies for a repeater. Your radio transmits on one frequency and receives on another simultaneously.
How to Find Local Ham Radio Repeaters
You can't program repeaters if you don't know where they are. The ARRL Repeater Directory is the official source for repeater frequencies, offsets, and tones across the United States.
When you find a repeater:
- Note the frequency, offset, and required tone
- Check the band (VHF, UHF, or HF)
- Verify your radio supports that band
- Look for any special restrictions or use guidelines
Troubleshooting Common Programming Issues
Programming fails for predictable reasons. Most problems fall into a few categories.
| Problem | Cause | Solution |
|---|---|---|
| Radio not recognized | Missing driver or wrong COM port | Reinstall driver, try different USB port |
| Read fails | Poor cable connection | Reseat cable, try different USB port |
| Write fails | Wrong baud rate or not in programming mode | Check radio manual, verify baud rate setting |
| Channels corrupted | Interrupted write operation | Restore from backup, write again |
| Tones don't work | Wrong tone or wrong mode | Verify tone against repeater directory |
| No computer connection | Defective cable or driver | Replace cable or reinstall driver completely |
Frequently Asked Questions
What is the difference between manual programming and using software to program amateur radio channels?
Manual programming involves using your radio's keypad to enter frequencies, offsets, and tones directly into memory channels, useful in field operations when a computer isn't available. Software programming connects your radio to a computer via a programming cable, allowing you to configure channels in bulk, import frequency databases, and manage complex settings like CTCSS tones and DCS codes more efficiently. Software is faster for managing multiple channels and reduces entry errors, while manual programming provides essential backup capability when technology isn't available.
How do I set up CTCSS and DCS tones for repeaters when programming amateur radio channels?
CTCSS (Continuous Tone-Coded Squelch System) and DCS (Digital Coded Squelch) are sub-audible tones that allow repeaters to filter incoming transmissions. In most programming software, you'll find a 'Tone' or 'PL Tone' field for each memory channel. Select CTCSS and choose the specific tone frequency (commonly 100 Hz, 110.9 Hz, or 131.8 Hz) that matches your local repeater's requirements. For DCS, select the digital code (001-777) listed in your repeater directory. The repeater's frequency listing will specify which tone and code to use. Always verify these settings match your repeater's specifications to ensure your transmissions are received.
Why is my radio not transmitting on a programmed channel?
Common causes include incorrect frequency offset (your radio transmits on a different frequency than it receives), missing or incorrect CTCSS/DCS tones that the repeater requires, squelch settings that are too high, or the radio not being in the correct mode (VFO versus memory channel mode). Verify your offset matches the repeater's specification (typically +0.6 MHz for VHF or +5 MHz for UHF), confirm tone settings match the repeater directory, and ensure you're transmitting within the band plan for your frequency. If using software, re-read the radio to confirm settings were written correctly, and check that your programming cable has a solid connection.
Do I need a specific cable to program my amateur radio, or can I use any USB cable?
Standard USB cables won't work for radio programming. You need a dedicated programming cable with an FTDI chipset or manufacturer-specific connector that matches your radio's port type. These cables include proper drivers and hardware to establish serial communication at the correct baud rate (typically 9600 bps for most radios). Using the wrong cable risks data corruption or inability to read/write to your radio. Quality programming cables from established suppliers ensure reliable data transfer and compatibility with your specific radio model.