 how-to
How to Fix Radio Programming Cable Driver Issues
Last Updated: November 2, 2026
Quick Summary
To fix cable driver issues, install the correct driver for your cable's chipset before plugging the cable in, then confirm it loaded as a COM port in Device Manager. If the port keeps changing, lock it to a high COM number like COM10 or higher.
- A programming cable that will not connect usually has a counterfeit chip, radio incompatibility, or an old driver.
- Open Device Manager and check Ports to identify whether your cable uses a Prolific or FTDI chip.
- Download the driver from the chip maker's official site, not a random forum.
- A code 10 or code 43 error usually means a driver conflict, not a dead cable.
- A cable with a genuine FTDI chip avoids most CHIRP connection dead ends.
Table of Contents
- Before You Touch a Driver: Check the Cable and Radio First
- Radio Programming Cable Driver Installation Step by Step
- Radio Programming Cable COM Port Troubleshooting
- CHIRP Programming Cable Troubleshooting When Nothing Responds
- Radio Programming Cable Compatibility: Will It Work With Your Radio?
- Common Mistakes That Keep Cables From Working
- Get a Cable and Software Setup That Skips the Driver Headache
- Frequently Asked Questions
Before You Touch a Driver: Check the Cable and Radio First
Most people jump straight into Device Manager when their cable stops working. That is usually the wrong move. According to troubleshooting guidance from Buy Two Way Radios' cable troubleshooting guide, a programming cable that will not connect has three likely causes: a counterfeit chip, incompatibility with the radio, or an old or incompatible driver.
Only one of those is a driver problem. So before you install anything, rule out the other two.
Here is a quick check to run:
- Look at the cable itself. A cheap third-party cable with a cloned chip is the most common culprit. If it worked once and stopped, suspect the chip.
- Confirm the cable matches your radio. A two-pin Kenwood cable will not talk to a Yaesu handheld, no matter what driver you load.
- Try a different USB port. Front-panel ports and hubs cause more failures than people expect.
- Check the radio is on and in the right mode. Many handhelds need to be powered on before the software can read them.
If all four pass, then you have a driver issue. That is where the real work starts.
Radio Programming Cable Driver Installation Step by Step
Driver installation fails when you plug in first and install second. Windows grabs the wrong driver the moment the cable connects, and you spend an hour fighting a device that was never set up correctly. Install the driver first, then plug in.
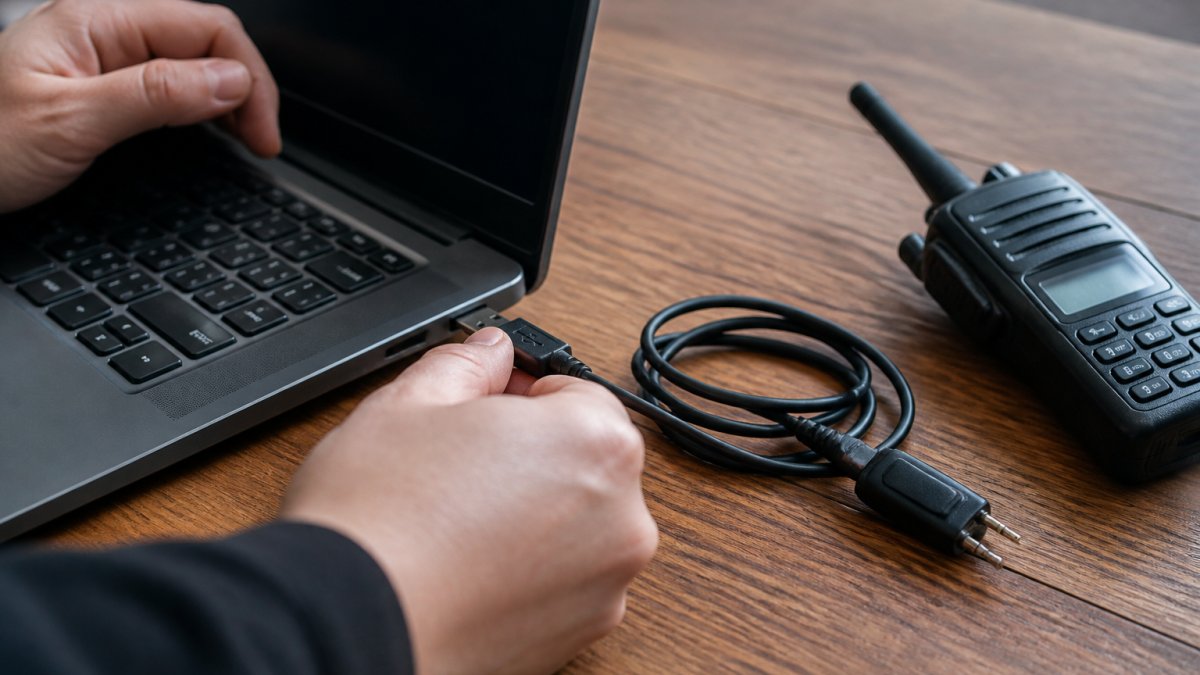
Step 1: Identify the Chipset Inside Your Cable
Open Device Manager and look under Ports. If you see a name like "Prolific USB-to-Serial Comm Port" or "FTDI," that tells you the chip. Prolific chips are common in budget cables and are the usual source of driver trouble. FTDI chips are generally considered more stable.
Write down the chip name. You need the right driver for that specific chip.
Step 2: Install the Correct Driver Before Plugging In
Download the driver from the chip maker's official site, not a random forum. Run the installer and let it finish completely. Only then plug the cable into your computer.
Watch out: if you plug the cable in first, Windows may auto-install a generic driver that conflicts with the correct one. Unplug, uninstall the device in Device Manager, and start over.
Step 3: Confirm the Driver Loaded in Device Manager
Reopen Device Manager and check Ports again. You should see a COM port number next to your cable, with no yellow warning icon. If the icon is there, right-click and check the error code. A code 10 or code 43 usually means a driver conflict, not a dead cable.
If the install still fails at this stage, our step-by-step guide to fixing radio driver errors walks through the deeper fixes.
Radio Programming Cable COM Port Troubleshooting
A COM port that keeps changing numbers is the most common complaint we hear. The fix is to lock the port so the software always finds the cable in the same place.
- Open Device Manager and find your cable under Ports.
- Right-click, choose Properties, then Port Settings, then Advanced.
- Pick a high COM number like COM10 or higher.
- Click OK and replug the cable.
- Set that same port in your programming software.
If the port disappears entirely, the cable or its USB connector is the problem, not the driver. Try another cable before you reinstall anything. For a full walkthrough of connection problems, see our guide to troubleshooting radio cable connection issues.
CHIRP Programming Cable Troubleshooting When Nothing Responds
CHIRP is free and popular, but it is unforgiving about cables. When CHIRP cannot read your radio, the software is rarely the cause. The cable, the port, or the radio model is.
Try these in order:
- Confirm the correct port is selected in CHIRP's Radio menu.
- Check the radio is on and set to the right mode before you click Read.
- Test the cable with another program. If nothing sees it, the cable is bad.
- Verify your radio is supported. Some newer models are not yet in CHIRP's list.
If CHIRP still will not connect after all four, the cable is the likely failure point. A cable with a genuine FTDI chip avoids most of these dead ends.
Radio Programming Cable Compatibility: Will It Work With Your Radio?
Compatibility is the question that decides everything else. A cable built for one brand's two-pin jack will not fit another brand's radio, and no driver can fix a physical mismatch.
Check these before you buy or troubleshoot:
- Connector type: two-pin, single-pin, or a proprietary jack.
- Chipset: genuine FTDI is the safest bet for long-term driver support.
- Radio model support: confirm your exact model is listed by the cable and software maker.
- Operating system: confirm the driver supports your version of Windows.
If you are unsure which cable fits your radio, our guide to choosing the best amateur radio programming cables covers the connector types and chip options in detail.
Common Mistakes That Keep Cables From Working
The same handful of mistakes account for most failed setups. None of them are exotic. They are just easy to repeat.
- Plugging in before installing the driver. Windows installs the wrong one.
- Buying the cheapest cable. Cloned chips fail and break after a Windows update.
- Using a USB hub. Hubs drop the connection mid-transfer.
- Ignoring the COM port number. Software looks at the wrong port.
- Assuming the radio is compatible. A physical mismatch cannot be fixed in software.
- Skipping the driver update after a Windows upgrade. Old drivers stop loading.
If your cable still will not work after fixing all six, our breakdown of why radio programming cables fail covers the seven root causes in depth.
Most failed setups trace back to the same handful of avoidable mistakes.
| Mistake | Cause | Fix |
|---|---|---|
| Plugging in before installing the driver | Windows installs the wrong driver | Install driver first, then plug in |
| Buying the cheapest cable | Cloned chips fail and break after a Windows update | Use a cable with a genuine FTDI chip |
| Using a USB hub | Hubs drop the connection mid-transfer | Plug into a different USB port |
| Ignoring the COM port number | Software looks at the wrong port | Lock the port to a high COM number |
| Assuming the radio is compatible | A physical mismatch cannot be fixed in software | Confirm the cable matches your radio |
| Skipping the driver update after a Windows upgrade | Old drivers stop loading | Update the driver after upgrading Windows |
Get a Cable and Software Setup That Skips the Driver Headache
The cleanest fix for driver problems is to avoid the driver fight altogether. A cable with a genuine FTDI chip and software built for your radio removes most of the guesswork.
Our programming cables use FTDI chipsets, and our support team is reachable by phone and email. Instructional setup videos are also provided.
If you would rather start with a known-good setup than troubleshoot another clone cable, browse our reliable programming cables for ham radio and pick the one built for your model.
Frequently Asked Questions
Why is my radio programming cable not working?
Three causes cover most failures: a counterfeit chip in the cable, a cable that does not match your radio model, or an old or incompatible driver. Start by checking the cable against your radio's programming port, then look at Device Manager to see whether the computer detects the cable at all. If the cable appears with a warning icon, the driver is the problem. If it never appears, the cable or its chipset is the likely culprit.
How do I find the COM port for my radio programming cable?
Open Device Manager, expand Ports (COM & LPT), and look for the entry that appeared when you plugged in the cable. Note the COM number, then select that same port in your programming software. If no port appears, the driver is not loaded. Unplug and replug the cable after installing the correct driver, then refresh Device Manager to see the new port.
How can I tell whether my programming cable uses a Prolific or FTDI chipset?
Plug the cable in and check Device Manager. The port entry usually names the chipset, for example a Prolific USB-to-Serial Comm Port or an FTDI USB Serial Port. You can also check the cable's packaging or the seller's listing. Knowing the chipset matters because each one needs its own driver, and installing the wrong driver is a common reason a cable shows up but never connects.
Can a radio programming cable work without installing a driver?
Some cables use chipsets that Windows recognizes on its own, but many need a driver installed first. If your cable uses a Prolific or FTDI chip, install the matching driver before plugging the cable in. A DB-9-to-Kenwood two-prong cable avoids the USB driver issue entirely by connecting through a serial port,
Driver problems are frustrating, but they are almost always fixable once you know whether the fault is the chip, the port, or the install order. RT Systems, Inc. makes that decision easier with FTDI-based cables, radio-specific software, and support you can actually reach. Get started with RT Systems, Inc. and spend your time on the air, not in Device Manager.