 how-to
Amateur Radio Software Compatibility Check: A 2026 Guide
Table of Contents
- Why Amateur Radio Software Compatibility Matters
- Step 1: Identify Your Radio Model and Firmware Version
- Step 2: Check Radio Programming Software Compatibility With Your Transceiver
- Step 3: Verify Amateur Radio Programming Cable Compatibility
- Step 4: Confirm Radio Programming Software for Windows 11 and Your OS
- Step 5: Test Your Connection Before Full Setup
- Radio Programming Software Troubleshooting: Common Issues and Fixes
- Frequently Asked Questions
Last Updated: October 18, 2026
Why Amateur Radio Software Compatibility Matters
One wrong cable or incompatible software version can waste hours staring at error messages instead of programming frequencies, making amateur radio software compatibility essential to verify upfront.
A systematic compatibility check verifies your radio model, operating system, cables, and software all work together before you start programming.
A compatibility check takes 15 minutes and prevents hours of frustration, confirming your setup works before you invest time learning new software.
Step 1: Identify Your Radio Model and Firmware Version
Find your model number on the back of the radio or inside the battery compartment. Write down the full designation, "Yaesu FT-65R" or "Icom IC-V86," not just the brand.
Check your firmware version in the radio's menu under "Version" or "FW Version"; older firmware sometimes needs different programming approaches.
Create a simple note with these details:
- Radio brand and exact model number
- Firmware version
- Year manufactured (if known)
This note becomes your reference point for verifying software, cables, and drivers against YOUR specific radio, not just any radio from that brand.
Step 2: Check Radio Programming Software Compatibility With Your Transceiver
Not every programming software works with every radio. This is the core compatibility question.
Check the manufacturer's website first: Yaesu, Icom, Kenwood, and Elecraft all publish compatibility lists.
Many enthusiasts prefer third-party programming software, but it doesn't support every radio model. Confirm YOUR radio is on the supported list.
Here's what to check:
- The software's official supported radio list
- Your radio's model number on that list
- Digital mode support, if you need it
Better to learn your first choice won't work now than after you've purchased and installed it.
Step 3: Verify Amateur Radio Programming Cable Compatibility
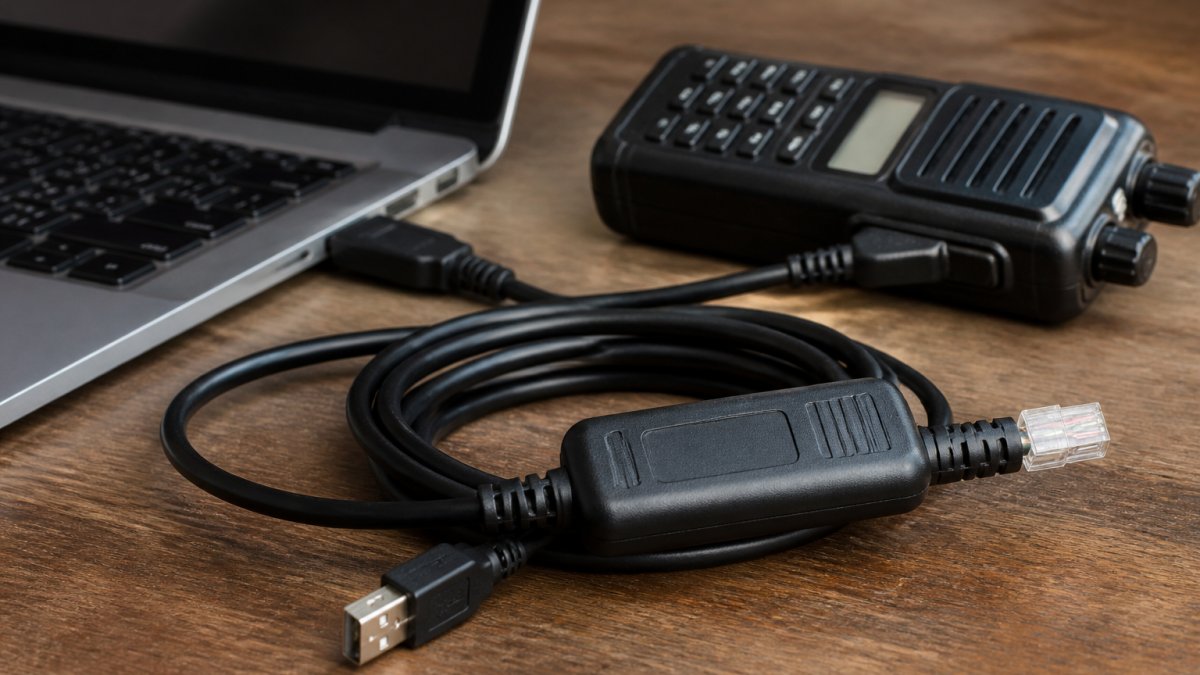
The cable is the most common point of failure. A useful check identifies three things: the electrical interface your radio exposes, the USB-to-serial chipset inside the cable, and the driver that chipset needs on your operating system.
Identify the radio-side interface first
Radios connect through a small number of physical interfaces; knowing which one you have tells you what the cable must adapt.
- USB port on the radio. Many current transceivers expose a USB port directly, presenting as a USB serial device (often using a built-in CP210x or FTDI bridge) plus, on some models, a USB audio device for digital modes. You usually don't need a separate interface box, but you do need the correct driver for the manufacturer's bridge chip.
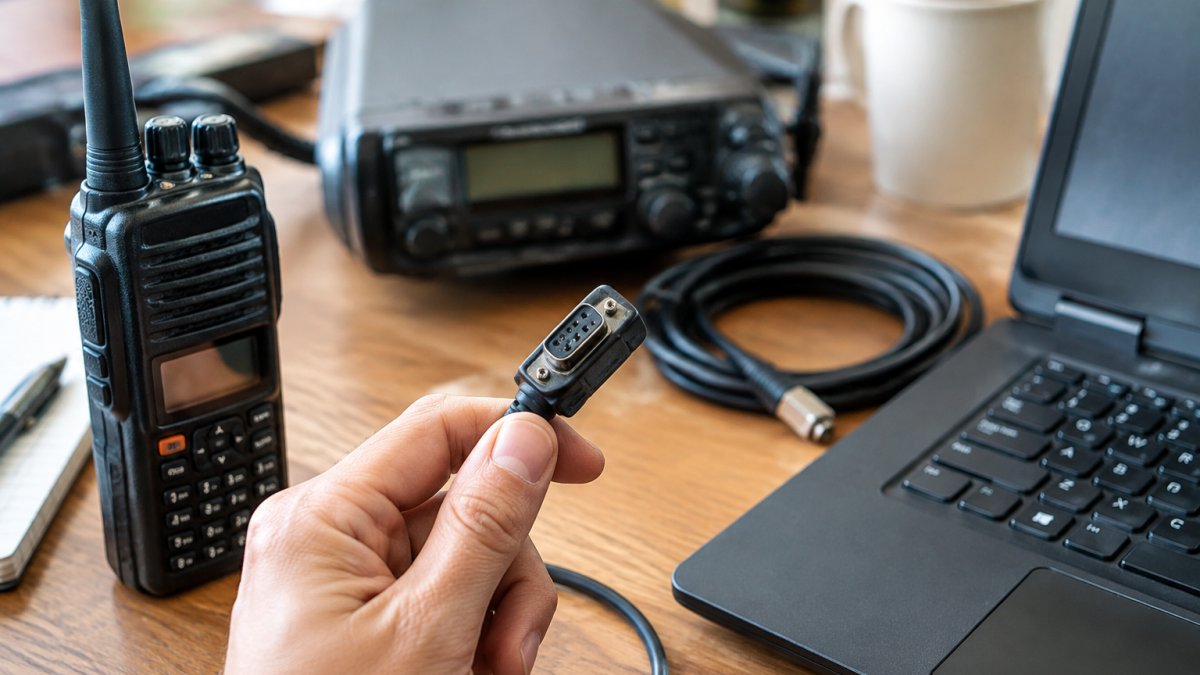
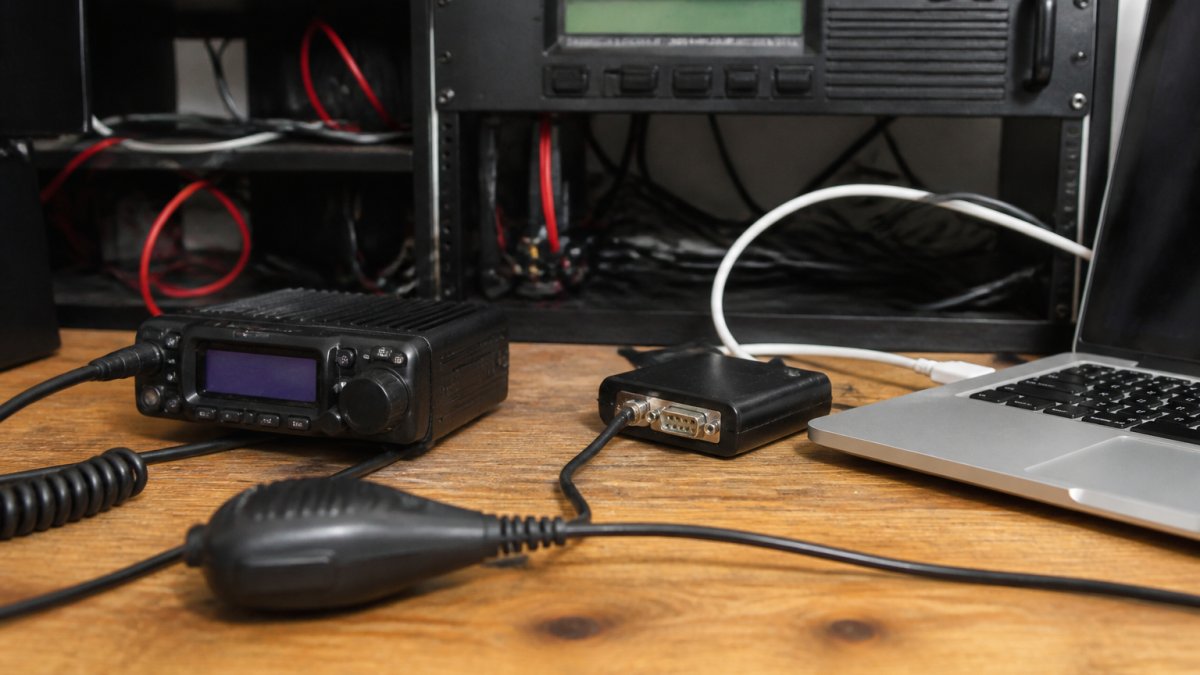
- Serial (CAT) port. Older and many current HF rigs expose an RS-232 style serial port, often on a DE-9 or mini-DIN connector. These need a USB-to-serial adapter, and the adapter's chipset matters as much as the radio.
- Microphone or data jack. Some radios program and run digital modes through the mic or data connector using an audio-style cable plus a separate USB interface (for example, a sound-card interface). These carry both audio and PTT signaling, and the interface must match the radio's pinout.
Check the radio manual's connector diagram before buying, it names the jack and often the signaling type (serial, USB, or audio).
Know the chipset inside the cable
A USB programming cable contains a bridge chip that converts USB to the signaling the radio expects. The chipset determines which driver you install and how reliably the cable behaves.
- FTDI (FT232 family). Widely used and well supported. Current Windows versions generally include or automatically fetch FTDI drivers; macOS and Linux typically have kernel support. FTDI-based cables are a common recommendation when you have a choice.
- Silicon Labs CP210x. Common in cables and in radios with built-in USB. Silicon Labs provides drivers for Windows, macOS, and Linux, and many operating systems include them.
- Prolific PL2303. Very common in low-cost cables, and the most frequent source of trouble. Prolific has changed chip revisions over the years, and older drivers can refuse to work with newer chips (and vice versa). On current Windows versions you may see a Code 10 or Code 43 error in Device Manager when driver and chip revision don't match. Install the current Prolific driver from the manufacturer rather than a bundled or years-old installer.
If a product listing doesn't state the chipset, treat that as a warning sign, a cable that won't tell you what's inside is hard to troubleshoot later.
Match the cable to your operating system and architecture
Cable compatibility is not just "Windows or Mac." The driver must match your OS version and, on some platforms, your processor architecture.
- Windows. Confirm the driver supports your Windows version. On 64-bit Windows, install the 64-bit driver package; a 32-bit driver will not load. Windows 11 generally handles FTDI and CP210x automatically, but Prolific and CH340 cables may still need a manual install.
- macOS. Apple Silicon (M-series) Macs need drivers compiled for arm64, or a chipset the OS supports natively. Older Prolific and CH340 drivers were written for Intel Macs and may not load on Apple Silicon without an updated release. Check the chipset vendor's macOS download page for an Apple Silicon build before you buy.
- Linux. Most FTDI, CP210x, and CH340 chips are supported by in-kernel drivers (ftdi_sio, cp210x, ch341). The usual issue is permissions: your user may need to be in the dialout group to open the serial device, which appears as /dev/ttyUSB0 or similar. Confirm the kernel module loads when you plug the cable in.
Verify before you buy
A short pre-purchase check prevents most cable problems:
- Confirm the radio-side connector type from the manual.
- Confirm the chipset named by the cable seller.
- Confirm a driver exists for your exact OS version and architecture (check the chipset vendor's download page, not a reseller page).
- Confirm the cable listing names your radio model or model family as supported.
- If you already own the cable, plug it in and check that it appears as a serial port before installing any radio software.
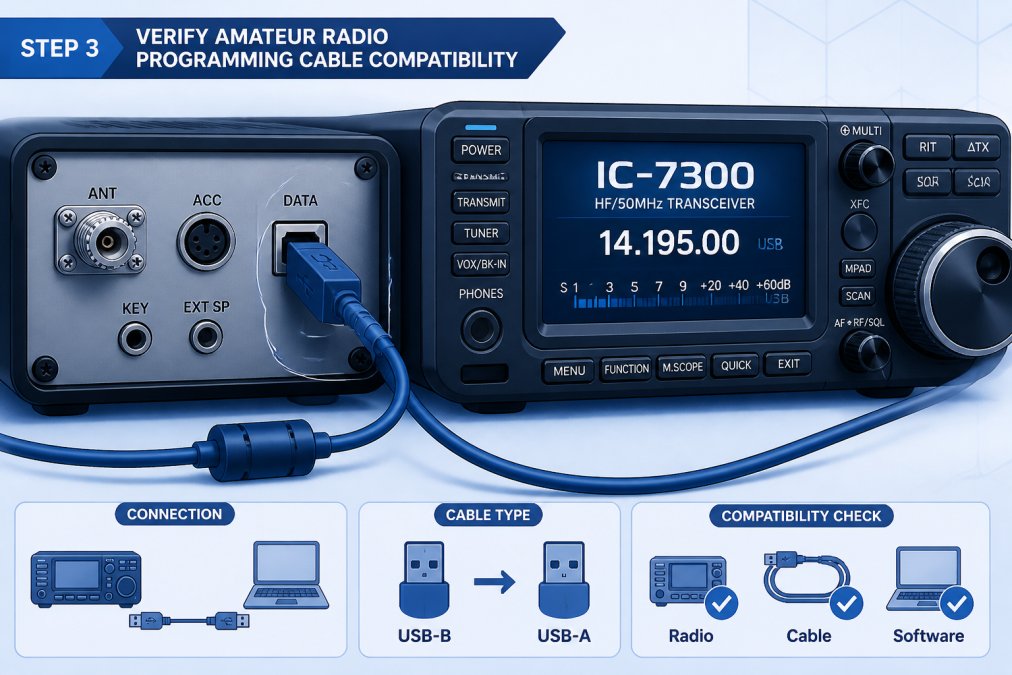
If the cable enumerates as a serial port with no driver errors, you've cleared the most common hurdle. Next, confirm your software and operating system agree.
Step 4: Confirm Radio Programming Software for Windows 11 and Your OS
OS compatibility fails quietly: the installer finishes, the icon appears, then the program won't launch or can't see the radio. A real check covers OS version, processor architecture, driver signing, and runtime dependencies, not just the "Windows 10 or later" line.
Read system requirements precisely
System requirements state a minimum OS version plus an architecture. Read both.
- OS version. "Windows 10 or later" means Windows 10 and 11; "macOS 12 or later" means Monterey and newer. If your OS is older than the stated minimum, assume it will not work rather than hoping compatibility mode will save it.
- Architecture. Requirements may specify 64-bit only, or list separate 32-bit and 64-bit downloads. On 64-bit Windows you can run 32-bit software, but you must install the matching driver architecture for your cable. On macOS, an Intel-only application runs on Apple Silicon only through Rosetta 2, and an Intel-written kernel extension may not load at all.
- Runtime dependencies. Some programming tools require a specific .NET runtime, Visual C++ redistributable, or Java runtime. If missing, the program may fail at launch with a generic error. Check the install notes for prerequisites and install them first.
Windows specifics
- 32-bit versus 64-bit. Confirm your Windows installation type (Settings > System > About). Install the matching software and driver builds. Mixing a 64-bit application with a 32-bit driver, or the reverse, is a common cause of "radio not found" errors.
- Driver signing. Current 64-bit Windows requires kernel-mode drivers to be digitally signed (Driver Signing With Digital Signatures - Windows drivers). Very old cable drivers without a valid signature will not load, and Device Manager will show a warning. The fix is an updated, signed driver from the chipset vendor, not disabling driver signature enforcement, which weakens the system.
- Compatibility mode. If an older programming tool predates your Windows version, right-click the executable, open Properties > Compatibility, and try an earlier Windows version. This sometimes resolves launch failures, but it does not fix missing drivers or unsupported hardware.
macOS specifics
- Apple Silicon versus Intel. Check whether the software ships a native Apple Silicon build, an Intel build that runs under Rosetta 2, or both; native builds are preferable for stability. For drivers, confirm the vendor publishes an Apple Silicon-compatible release; older Prolific and CH340 drivers are the usual culprits when a cable works on an Intel Mac but not an M-series machine.
- Gatekeeper and notarization. macOS blocks unsigned or un-notarized applications by default. If the software won't open, check System Settings > Privacy & Security for a message allowing you to open it anyway. Only do this for software you trust and obtained from the developer.
- System extensions. Drivers that install as system extensions require approval in Privacy & Security and, on recent macOS versions, a restart. Skip the approval and the cable won't appear as a serial port.
Linux specifics
- Distribution and kernel version. Most radio programming tools that support Linux ship as source or as packages for specific distributions. Check the kernel version the software expects and whether your package manager carries the dependencies.
- Serial permissions. Confirm your user is in the dialout group (or the distribution's equivalent) so the software can open /dev/ttyUSB* devices without root.
- Wine as a fallback. Some Windows-only programming tools run under Wine, but USB serial passthrough is inconsistent. Treat Wine as a last resort and verify the specific tool and cable combination before relying on it.
A quick verification sequence
- Note your OS name, version, and architecture.
- Read the software's stated minimum OS and architecture; confirm both match.
- Confirm any runtime dependencies are installed.
- Confirm the cable driver is the correct architecture and is signed (Windows) or approved (macOS).
- Launch the software without the radio connected and confirm it opens cleanly.
- Connect the radio and confirm the software can see the serial port.
This sequence separates OS-level failures from connection-level failures, which makes the rest of the compatibility check fast.
Step 5: Test Your Connection Before Full Setup
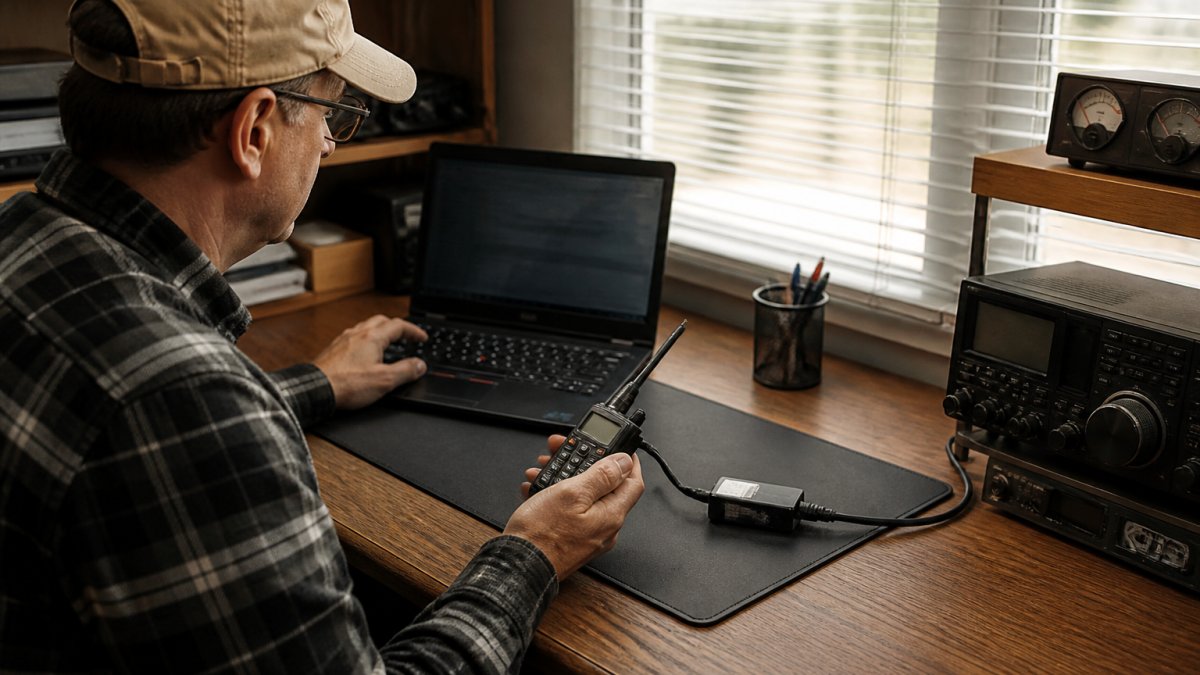
Connect the cable, launch your software, and click "Read" or "Detect Radio." The software should recognize your radio and display its memory contents.
If it works, your setup is compatible, proceed with confidence.
If this fails, you've caught the problem early. The software couldn't communicate with your radio, usually because:
- The cable isn't connected properly
- The cable driver isn't installed
- The software doesn't support your radio model
Test failures are valuable, they pinpoint the compatibility problem before you've invested time programming frequencies.
Try these troubleshooting steps if the test fails:
- Disconnect and reconnect the cable
- Check that the cable is plugged into a working USB port
- Verify the cable driver is installed and current
Most test failures resolve with one of these steps. If not, move to the troubleshooting section below.
Radio Programming Software Troubleshooting: Common Issues and Fixes
Compatibility problems follow predictable patterns.
The software won't launch at all. Your OS likely isn't compatible with the installed version.
The software launches but can't find your radio. The cable connection is broken.
You see garbled text or corrupted frequency data. This suggests a cable communication error.
Most issues resolve within minutes once identified, test systematically, one variable at a time.
Programming your amateur radio doesn't have to be complicated.
Frequently Asked Questions
How do I check whether radio programming software supports my transceiver?
Most amateur radio programming software publishers maintain a supported models list on their website. Find your radio's exact model number (usually on the back or in the manual), then cross-reference it against the software's compatibility list. Check both the radio brand and model, for example, a Yaesu FT-891 is different from an FT-890. If your model appears on the list, the software is designed to work with your radio. If it doesn't, the software may not communicate with your transceiver.
What should I check before buying radio programming software?
Verify three things: your exact radio model and firmware version, your computer's operating system (Windows 11, macOS, or Linux), and whether you need a compatible programming cable. Check the software publisher's system requirements, some require specific Windows versions or processor architectures. Confirm the cable type your radio uses (USB, serial, or audio interface). Many publishers offer trial versions or free software for certain models, so test compatibility before purchasing.
Can I use one programming cable with different radio models?
Not always. Programming cables are often radio-model specific because different transceivers use different connector types, protocols, and voltage requirements. A cable designed for a Kenwood radio may not physically fit or work with an Icom model. Always verify that your cable matches your specific radio model. Some universal cables exist, but they require proper driver support and may not work reliably across all brands. Check the cable manufacturer's compatibility list before assuming it will work with multiple radios.
What do I do if my radio is not communicating with programming software?
Start with these checks: ensure the programming cable is firmly connected to both the radio and computer, verify the correct COM port is selected in the software, and confirm drivers are installed (especially for USB cables with FTDI chipsets). Check that the radio is powered on and in the correct mode for programming. Restart both the radio and computer. If communication still fails, try a different USB port or reinstall drivers. Consult the software publisher's troubleshooting guide or contact their support team, many offer phone and email assistance to diagnose connection problems.