 how-to
D-STAR Radio Setup Guide: Programming Software & Steps
Table of Contents
- What You Need Before Starting D-STAR Radio Setup
- Understanding D-STAR Radio Basics and Digital Voice Terminology
- Troubleshooting D-STAR Radio Connections and USB Setup
- Step-by-Step: Programming Your Radio Memories and Channels
- Using Repeater Directories and Calculators for Accurate Setup
- How to Purchase Radio Programming Software Online
- D-STAR Radio Memory Management Best Practices
- Common D-STAR Setup Mistakes to Avoid
- Frequently Asked Questions
Last Updated: October 13, 2026
What You Need Before Starting D-STAR Radio Setup
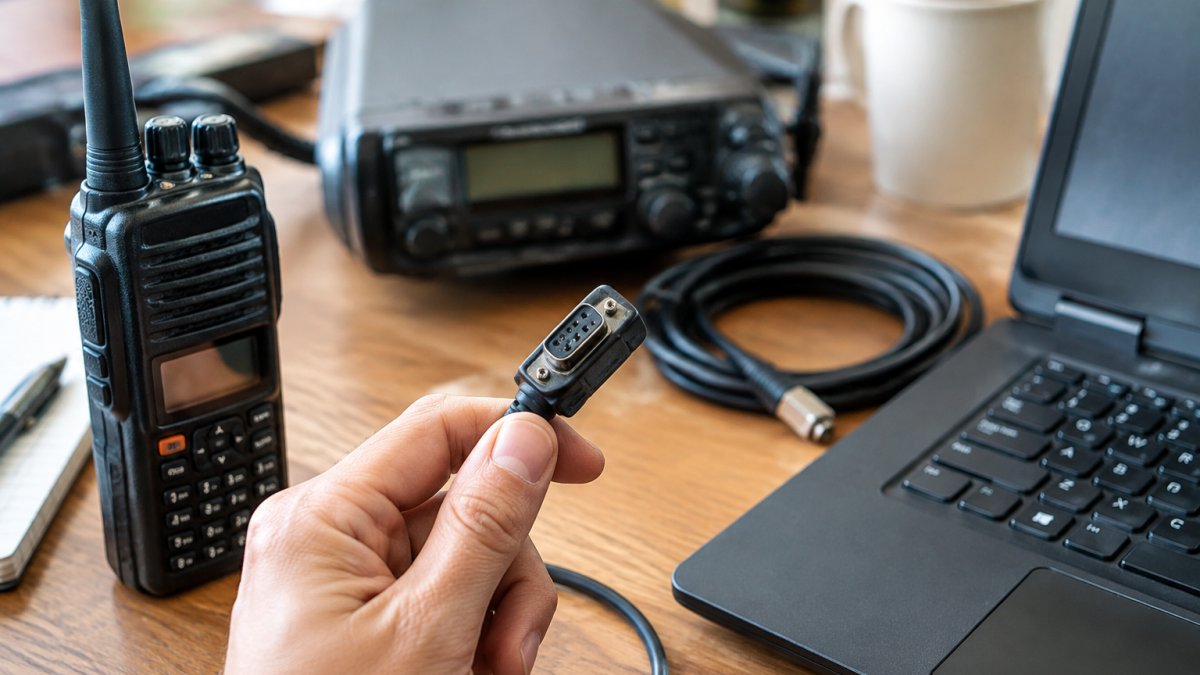
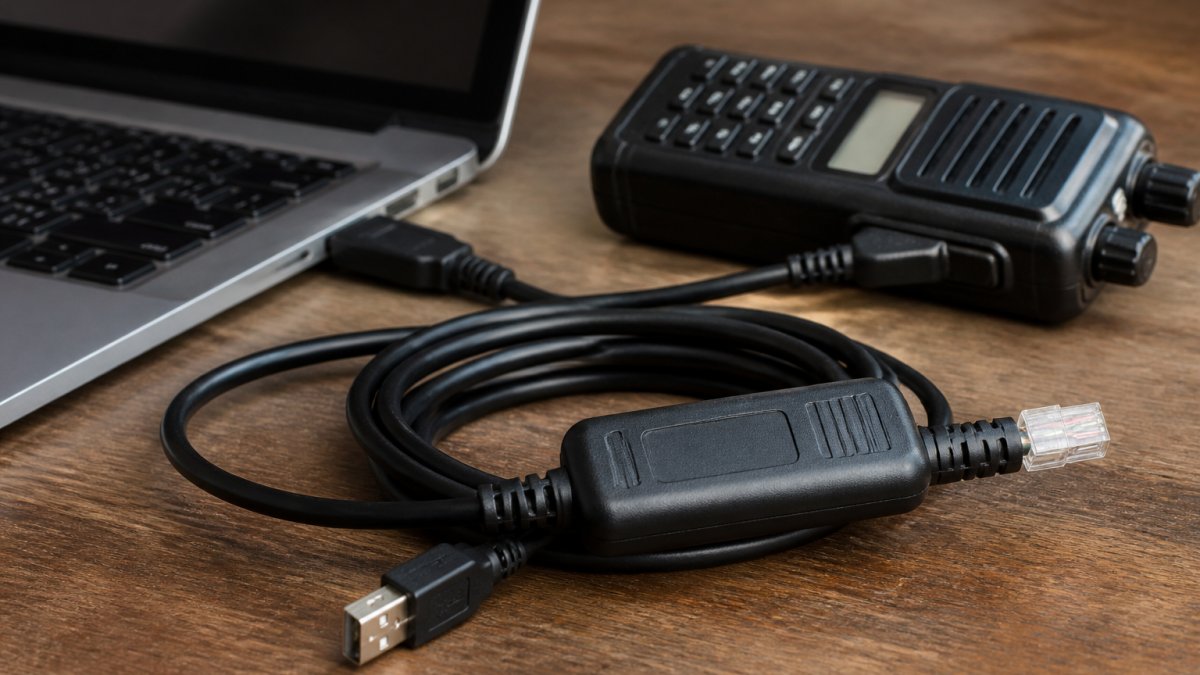
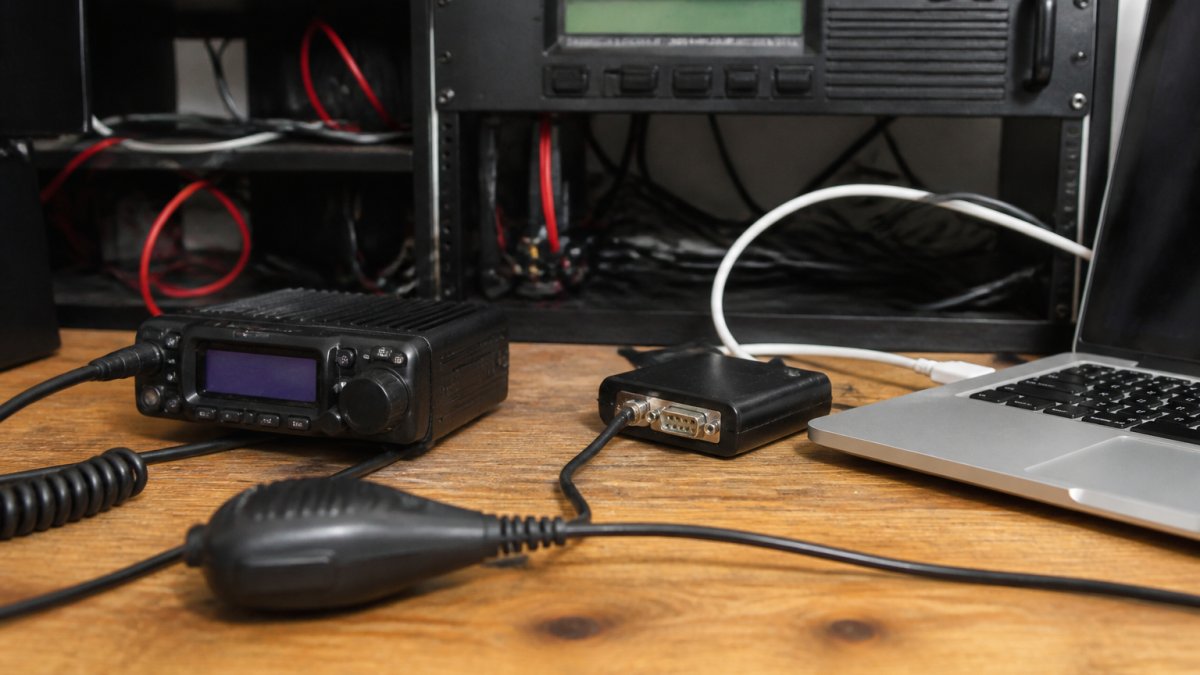
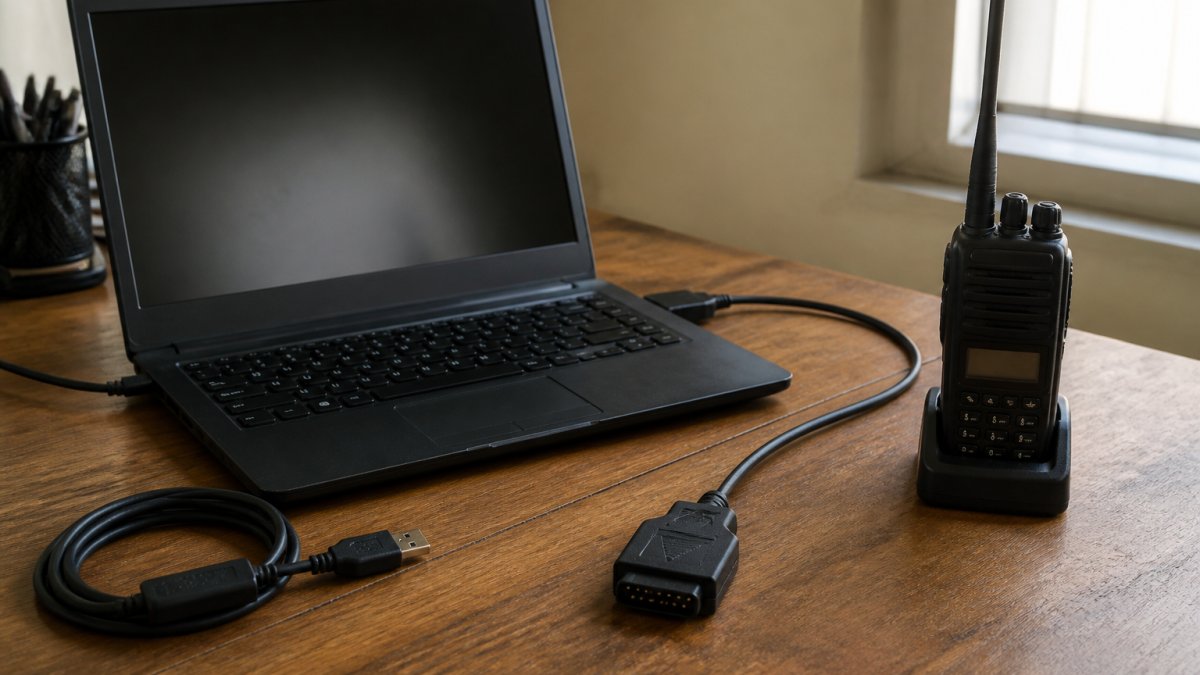
Before connecting your radio to a computer, gather the essentials: a compatible D-STAR radio, a programming cable with proper USB connectivity, a Windows or macOS computer, and the right software for your radio model. D-STAR radio setup requires precision, missing one component creates frustration and delays.
The cable matters more than most people realize. A low-quality USB cable won't reliably transfer data even if it physically connects. Quality cables with proper FTDI chipsets ensure stable communication, critical when managing digital radio memories with callsign and routing information.
Check your radio's compatibility before purchasing software, not all applications work with every model. Your radio's documentation lists compatible software versions; if unsure, contact the manufacturer or check the vendor's compatibility list. RT Systems, Inc. provides software for numerous radio brands, and their documentation clearly states which models are supported.
You'll also want a repeater directory or calculator tool to populate your digital radio memories with accurate repeater frequencies and access details. Having this ready before programming saves time and reduces errors.
Understanding D-STAR Radio Basics and Digital Voice Terminology
D-STAR stands for Digital Standard, a digital voice mode operating on amateur radio frequencies. Unlike FM analog voice, it transmits voice as digital data packets, allowing more efficient spectrum use and enabling internet-linked repeaters and remote access.
The core advantage of D-STAR is connecting to internet gateways and reflectors.
Key D-STAR terminology includes:
DV Mode (Digital Voice): The primary operating mode for voice communication, where most operators spend their time on D-STAR.
Callsign routing: Your amateur radio callsign, which identifies you on the network and lets D-STAR route your transmissions through repeaters and gateways.
Gateway: An internet-connected device that links local D-STAR repeaters to the worldwide network, enabling long-distance communication.
Reflector: A virtual repeater accessible through the internet that allows operators to connect to groups of other users without needing a physical repeater in their area.
Memory banks and memory channels: Storage locations where you program repeater frequencies, callsigns, and routing details. Most D-STAR radios have multiple banks, each holding dozens of channels.
Understanding these terms helps you navigate the programming process and the fields in your radio software. Configuring digital radio memories means telling your radio which frequencies to use, which gateway or reflector to access, and how to route your signal through the D-STAR network.
Troubleshooting D-STAR Radio Connections and USB Setup
Connection problems are the most common obstacle when setting up D-STAR radio software. A radio that won't communicate with your computer usually points to one of three issues: a faulty cable, missing USB drivers, or incorrect software settings.
Start by verifying your USB cable on a different computer. If it works elsewhere, your original computer's USB port or driver installation is the problem; if it fails on multiple computers, replace it.
Driver installation often gets overlooked. Many programming packages require specific USB drivers before your computer recognizes the radio.
Once the cable is connected and drivers are installed, launch your programming software. It should detect your radio automatically; if not, verify you selected the correct COM port or USB device.
A common programming error occurs when users attempt to read settings from the radio before the connection is fully established.
If connection issues persist, check whether your radio's firmware is compatible with your programming software, older firmware sometimes requires updated software, or vice versa. The vendor's website lists firmware compatibility requirements.
Step-by-Step: Programming Your Radio Memories and Channels
Programming your radio memories is where D-STAR radio setup becomes tangible: read your current settings, modify them in software, and write them back. Done correctly, it takes 15-20 minutes; done carelessly, it creates corrupted memory banks and lost configurations.
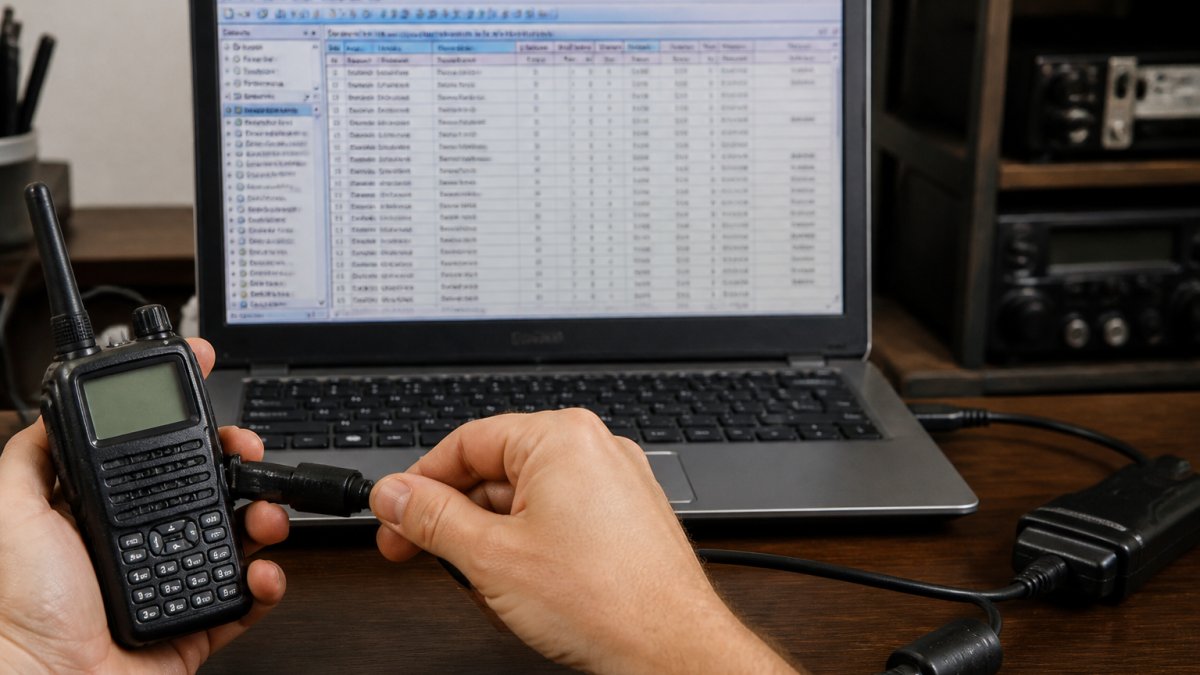
Reading Settings from Your Radio
Open your programming software and connect your radio via USB cable. Allow 10 seconds for the connection to stabilize. Click "Read from Radio" or the equivalent button in your software. The software will query your radio and download all current memory settings, frequencies, and configurations into the software interface.
This step is critical: you're creating a working copy of your radio's current state, so if editing goes wrong you can reload these settings. Some operators read settings multiple times per session, creating backup snapshots at different stages.
The read typically completes in 30-60 seconds depending on your radio model, with a progress indicator. Don't disconnect the cable or close the software while it runs. Once complete, your software displays all memory channels, frequencies, and settings.
Configuring Digital Radio Memories with Callsign and Routing Fields
Now you're editing the actual memory channels. Each memory channel contains several pieces of information: frequency, offset (the difference between transmit and receive frequencies), your callsign, a repeater's gateway or reflector information, and other technical settings.
Start by entering your amateur radio callsign in the designated field, non-negotiable for D-STAR operation. Your callsign identifies you on the network and enables routing through gateways and reflectors; D-STAR networks reject transmissions without valid callsigns.
For each repeater you want to program, you'll need:
- Frequency: The repeater's transmit frequency (usually listed in a repeater directory)
- Offset: The difference between transmit and receive frequencies (often +5 MHz or -5 MHz depending on the band)
- Callsign: Your amateur radio call
- Gateway/Reflector: The specific internet-connected repeater or reflector this memory channel accesses
A repeater directory or calculator tool provides this information, and many are free online. Some programming software includes built-in frequency databases, simplifying this step considerably.
When entering repeater access details, precision matters. A single digit error in a frequency or offset creates a non-functional memory channel. Double-check every entry before moving to the next channel.
Writing Settings Back to Your Radio
After editing all your memory channels and verifying the information, write the settings back to your radio. Click "Write to Radio" or the equivalent button. The software uploads all your configurations back into the radio's memory.
This also takes 30-60 seconds; again, don't interrupt the connection. Once complete, you'll see a confirmation message. Power cycle your radio (off and back on) to ensure all settings are stored.
Test each new memory channel by tuning to it and listening for repeater activity. If a channel doesn't work, re-read the settings from your radio, check the frequency and offset information, and write the corrected settings back.
Using Repeater Directories and Calculators for Accurate Setup
Repeater directories are databases of known D-STAR repeaters, their frequencies, offsets, and gateway information. Accurate data prevents programming errors and ensures your radio can actually access the repeaters you program.
Several free repeater directories exist online, with searchable databases organized by state and region and filters for frequency band, mode, and other criteria. When you find a repeater, the directory provides all the technical details needed for your D-STAR radio setup.
Repeater calculators automate the offset calculation. You enter the repeater's transmit frequency, and the calculator determines the correct receive frequency based on the band and repeater type. This eliminates math errors and saves time.
Some programming software includes repeater data built in. Some programming software includes repeater data built in, reducing manual data entry and transcription errors, a major simplification when programming dozens of channels.
When using any repeater directory, verify the information is current, repeaters occasionally change frequencies or go offline. Cross-reference multiple sources if you're uncertain about a repeater's status.
How to Purchase Radio Programming Software Online
Programming software for D-STAR radios comes from several sources. Original equipment manufacturers (OEM) provide free or bundled software, but many operators find third-party options more user-friendly and feature-rich.
RT Systems, Inc. specializes in radio programming software designed to simplify the process compared to OEM alternatives. Their software works with numerous radio brands and includes features like frequency databases, bulk channel import, and detailed configuration tools. Purchasing from established vendors ensures you receive legitimate software with technical support and regular updates.
When evaluating software, check compatibility with your radio model and operating system requirements, some run only on Windows, others support Windows and macOS. Read reviews from actual operators to gauge real-world reliability and ease of use.
Legitimate vendors provide detailed documentation, instructional videos, and email or phone support. No support resources and minimal documentation is a warning sign, quality programming software includes these because proper setup matters.
License terms vary: some vendors charge a one-time fee, others use subscriptions. Understand what you're buying before committing, reputable vendors clearly state licensing terms and support policies.
D-STAR Radio Memory Management Best Practices
Managing hundreds of radio memories requires organization and discipline. Without a system, you'll create duplicate entries, lose track of programmed frequencies, and waste time searching for repeaters.
Create a naming convention for your memory channels.
Organize memory banks by function or region. One bank for local repeaters, another for statewide repeaters, another for reflectors you access regularly. This organization prevents accidental transmissions on the wrong frequency.
Keep a backup of your radio's configuration files. Most programming software saves current settings to a file; store backups in multiple locations, cloud storage, an external drive, or both.
Before major changes, read the current settings and save them as a backup file. This creates a recovery point: if you make an editing mistake, reload the backup and start over without losing previous work.
Test new memory channels before relying on them in the field. Tune to each, listen for repeater activity, and make a brief test transmission to confirm frequency and offset are correct before you need the repeater in an emergency or event.
Common D-STAR Setup Mistakes to Avoid
The most frequent programming error is incorrect frequency offset.
Another common mistake is forgetting to program your callsign in the repeater access fields.
Operators sometimes program repeater frequencies without verifying they're actually D-STAR repeaters.
Neglecting to back up your radio configuration is risky. Computer crashes, software bugs, or accidental deletions can wipe out hours of programming work.
Incompatible cables or outdated USB drivers cause connection failures that frustrate new operators. Invest in quality cables with proper FTDI chipsets and keep drivers current, these basics prevent most connection issues.
Finally, avoid programming memory channels without testing them. A frequency that looks correct on paper might have a transcription error.
Getting your D-STAR radio properly configured takes time and attention to detail, but it's manageable once you understand the process.
RT Systems, Inc. makes this easier with software designed specifically for radio programming. Their user-friendly interface, built-in frequency databases, and reliable programming cables reduce the technical friction that frustrates many operators.
Frequently Asked Questions
What software is best for programming D-STAR radios?
The best D-STAR programming software depends on your radio model and technical comfort level. Dedicated programming software designed specifically for D-STAR radios simplifies the process compared to OEM (original equipment manufacturer) software. Look for software that supports your radio model, offers an intuitive interface, and includes frequency databases. Compatibility with your operating system and the quality of the programming cable are equally important for reliable data transfer.
Do I need a special cable to program my D-STAR radio?
Yes, a quality programming cable is essential for D-STAR radio setup. Standard USB cables often lack the proper chipset required for reliable data transfer. Professional-grade programming cables with FTDI chipsets ensure stable connections and prevent data corruption. Using a substandard cable can result in programming failures, lost settings, or incomplete memory uploads. Investing in a reliable cable saves time and frustration during the setup process.
How do I connect my radio to a computer for D-STAR programming?
First, install the programming software and USB drivers on your computer. Power off your radio and connect it to your computer using a quality programming cable. Power on the radio and open the programming software. The software should detect your radio automatically. If it doesn't, verify the USB cable is properly seated, check that drivers are installed correctly, and confirm your radio model is compatible with the software. Some radios require you to hold specific buttons during startup to enter programming mode.
What are the essential D-STAR settings I need to configure for my radio?
Essential D-STAR settings include your callsign, repeater frequency, routing information (gateway and reflector details), and digital mode settings. You'll also need to configure memory banks and channels with accurate repeater frequencies obtained from a repeater directory or calculator. Set your RF power appropriately for your location, enable internet access if your radio supports it, and verify all routing fields match your local repeater's requirements. Incorrect routing information is one of the most common setup errors.