 how-to
How to Backup Radio Memory Settings: A 2026 Guide
Table of Contents
- Why Backing Up Your Radio Memory Settings Matters
- Understanding Your Radio's Memory: Battery Backup vs. Non-Volatile Storage
- Method 1: Exporting Configuration Files and Using Memory Cards
- Method 2: How to Clone Radio Settings Across Multiple Devices
- Importing CSV Files to Radio Software for Bulk Frequency Management
- Best Practices for Radio Frequency Management and Cloud Storage
- Safety Precautions for DIY Battery Backups and Hardware Configuration
- Troubleshooting Radio Power Failure and Memory Loss
- Conclusion
- Frequently Asked Questions
Last Updated: October 7, 2026
Why Backing Up Your Radio Memory Settings Matters
One power failure or accidental factory reset wipes out frequencies, repeater settings, and custom profiles you've spent hours programming.
Operators managing emergency frequencies, club repeaters, or travel channels can't afford to reprogram from scratch.
At RT Systems, Inc., we've helped thousands of enthusiasts protect their programming.
This guide covers exporting configuration files, memory cards, cloning, cloud storage, DIY battery backup safety, and recovery from power loss.
Understanding Your Radio's Memory: Battery Backup vs. Non-Volatile Storage
Your radio stores settings in two ways. Understanding the difference determines how vulnerable your programming is.
How Lead Acid Batteries Preserve Radio Settings
Most radios use a battery or similar backup source to maintain memory during outages. With a failed battery, settings vanish within hours or days.
Backup batteries last a limited time and slowly lose capacity, so a radio older than five years may have a backup battery near end of life.
Signs your backup battery is failing:
- Clock resets when the radio powers off
- Settings disappear after a brief power loss
- Radio loses memory after sitting unplugged for a few hours
Replacing the backup battery can be a cost-effective solution. Most radio shops can handle this.
What Happens When Power is Lost
When main power fails and the backup battery is dead, the 12V constant power maintaining your backup radio memory settings cuts off.
If power cuts during an active write, data corruption can occur, which is why a solid backup strategy matters more than hardware alone.
A backup file on your computer or cloud storage is insurance: even if the worst happens, you're minutes from restoring your complete configuration.
Method 1: Exporting Configuration Files and Using Memory Cards
Most modern radios support exporting their complete configuration to a file.
Step-by-Step Export Process
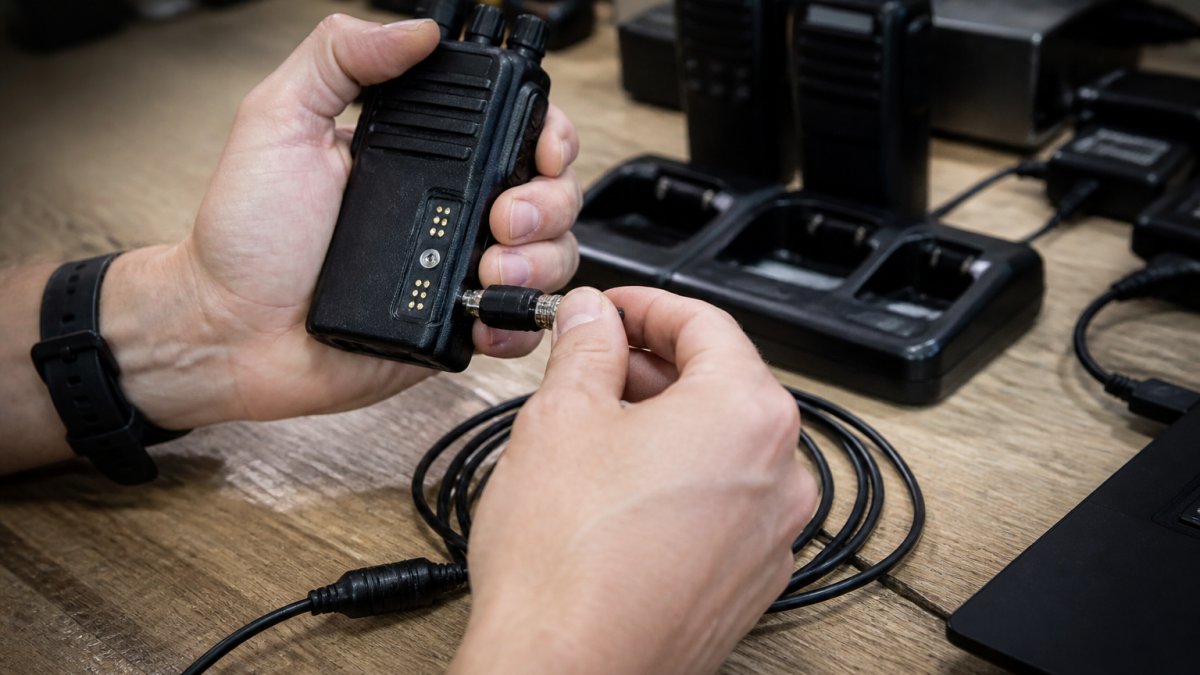
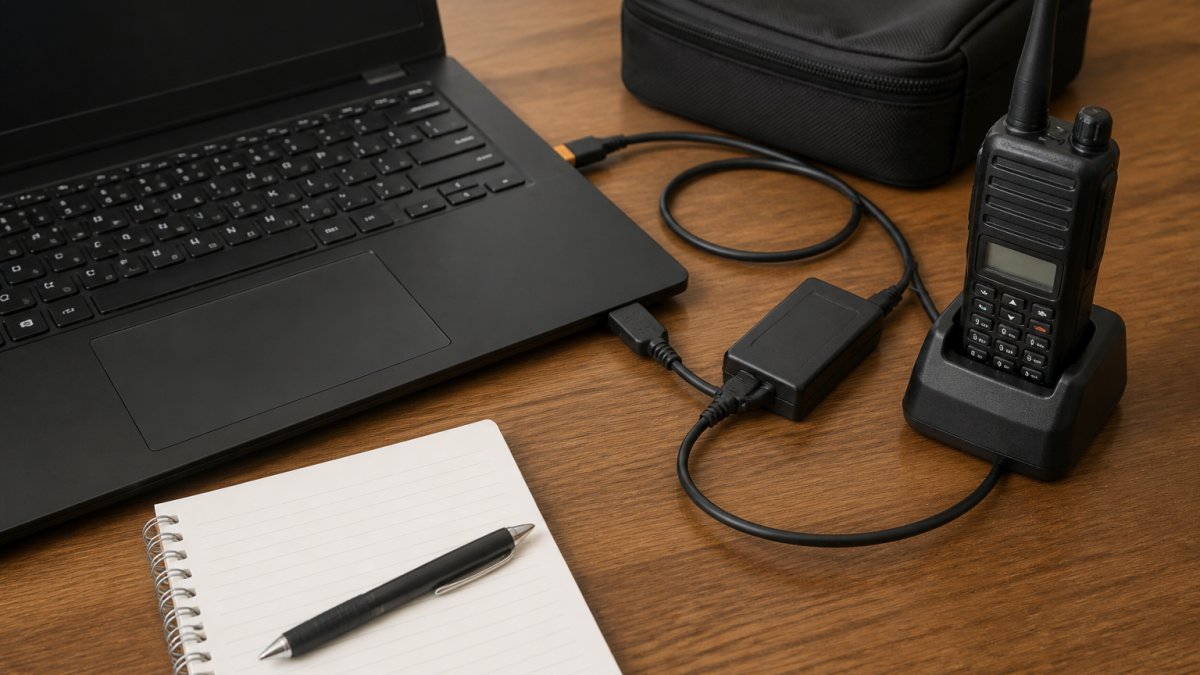
Step 1: Connect your radio to your computer
Use a programming cable with proper FTDI chipset support, like RT Systems, Inc. cables, connecting your radio's programming port to your computer's USB port.
Step 2: Open your radio programming software
Launch the software for your radio model, OEM or third-party. RT Systems, Inc. offers programming software for many radio brands.
Step 3: Read the radio's memory
Select "Read from Radio" or "Import" to pull all current settings into the software, typically in 30-60 seconds.
Step 4: Export as a configuration file
Choose "Export" or "Save As" and select a format, most radios support CSV or proprietary formats.
Step 5: Verify the file saved correctly
Storing Backups on Removable Memory Cards
Some radios support removable memory cards that store multiple backup profiles on the radio hardware.
Check your radio's manual for memory card compatibility. Popular options include:
- SD cards (most common)
- MicroSD cards with adapters
- Proprietary memory modules (older radios)
To backup to a memory card:
- Insert the card into your radio (or use a card reader connected to your computer)
- Select "Export to Card" in your radio's menu or programming software
- Choose a profile name and save
- Eject the card safely
- Store the card in a labeled case
Memory cards are excellent for field backups, carry multiple profiles and swap them without a computer, but cards fail over time, so keep a computer backup too.
Method 2: How to Clone Radio Settings Across Multiple Devices
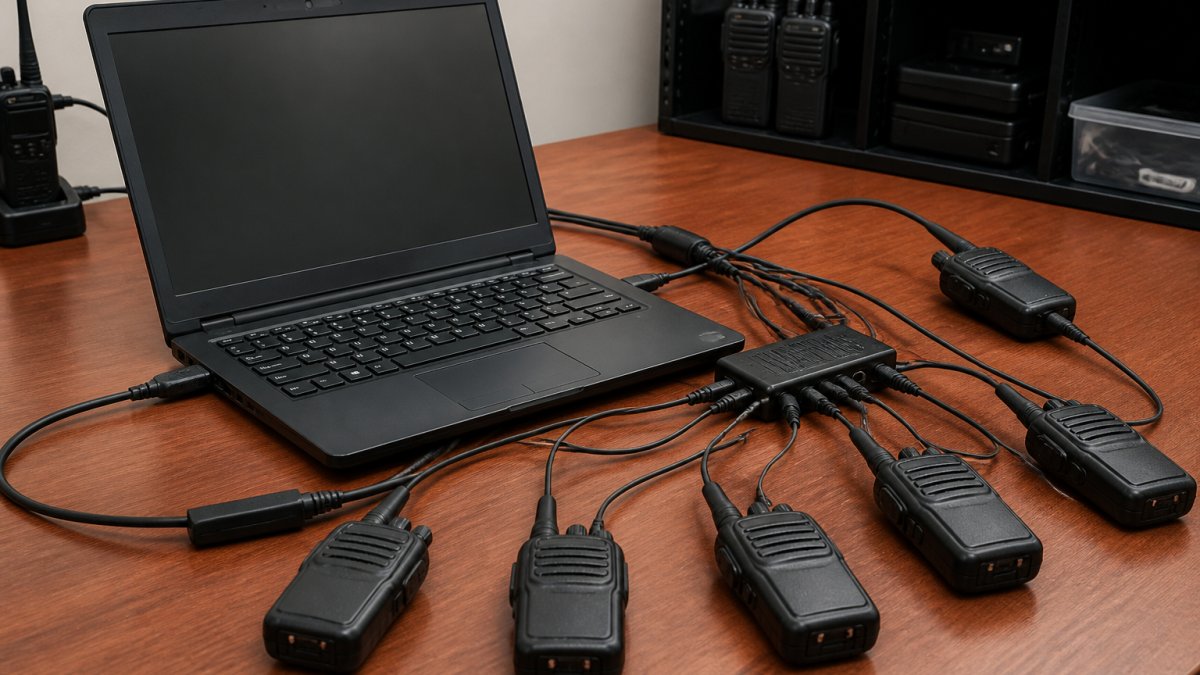
If you manage multiple radios, cloning saves hours of repetitive programming.
Cloning Between Identical Radio Models
Cloning copies the complete memory from one radio to another identical model, same brand and model number.
The process varies by radio:
For Yaesu radios:
- Connect the "clone out" radio to your computer
- Open the programming software and select "Read Clone from Radio"
- Save the clone file
For Kenwood radios:
- Use the radio's menu to enable clone mode
- Connect both radios via the appropriate cable
- Initiate the clone transfer from the source radio
For Icom radios:
- Clone mode is usually accessed through a dedicated menu option
- Connect the radios with a cloning cable
- Select source and destination radios
Cloning is faster than manual programming but only works with identical models; different models require different approaches.
Using Software Utilities for Data Migration
When switching to a different radio model, cloning won't work, use software utilities to migrate your data.
This process involves:
- Export your current radio's configuration as a CSV file
- Open the target radio's programming software
- Import the CSV file
- Map your old frequencies to the new radio's memory structure
- Review for compatibility issues
- Write the configuration to the new radio
Some frequencies may not transfer perfectly. Newer radios often support more memories or different mode options.
RT Systems, Inc. software handles this migration for supported models, guiding you through frequency mapping and flagging compatibility issues before writing to the radio.
Importing CSV Files to Radio Software for Bulk Frequency Management
Managing hundreds of frequencies manually is impractical; CSV import lets you bulk-load channels into your radio.
Preparing Your CSV File
Most radio programming software expects CSV columns like:
| Column | Example | Notes |
|---|---|---|
| Frequency | 146.520 | In MHz |
| Offset | +0.600 | Repeater shift |
| Mode | FM | Modulation type |
| Name | Local Repeater | Channel label |
| Tone | 88.5 | CTCSS tone (optional) |
| Power | High | Or Low/Medium |
Create your CSV in a spreadsheet application:
- Open Excel, Google Sheets, or similar
- Create column headers matching your radio software's requirements
- Enter one frequency per row
- Save as CSV format (not XLSX)
- Double-check frequency values
Common mistakes to avoid:
- Mixing frequency formats (MHz vs. kHz)
- Including leading zeros that change number interpretation
- Leaving required columns blank
Before importing, review your CSV in a text editor to catch formatting errors spreadsheets might hide.
Importing and Verifying Data Integrity
Once your CSV is ready:
- Open your radio programming software
- Select "Import CSV" or "Bulk Import"
- Choose your CSV file
- Map CSV columns to radio memory fields (usually automatic)
- Review the preview
- Click Import
- Verify all frequencies loaded correctly
After import, scan your radio's memory to check that frequency values match your CSV, channel names display correctly, tone values (CTCSS, DCS) are assigned properly, offsets match your repeater database, and power levels are as intended.
If discrepancies appear, don't write to the radio yet, fix the CSV and reimport to prevent corrupted data from reaching your radio.
Best Practices for Radio Frequency Management and Cloud Storage
A backup strategy goes beyond one-time exports. Ongoing organization and secure storage protect your investment.
Organizing Your Radio Profiles and User Settings
Create a folder structure mirroring your radio collection:
Radio_Backups/ ├── Yaesu/ │ ├── FT-891/ │ │ ├── FT891_Daily_Oct2026.csv │ │ ├── FT891_Travel_Oct2026.csv │ │ └── FT891_SOTA_Oct2026.csv │ └── FT-4XR/ ├── Kenwood/ │ └── TM-V71A/ └── Icom/ └── IC-7300/ Name files with context and dates: "Yaesu_FT891_EmergencyFreq_Oct2026.csv" tells you what's inside and when it was created.
Maintain multiple versions:
- Daily profile: Your current working configuration
- Backup profile: A known-good version from last month
- Specialized profiles: Travel frequencies, SOTA activation, club events
This redundancy lets you revert to an older, verified version if a recent export contains errors.
Digital Storage and Cloud Backup Options
Store your backups in at least two locations. A single hard drive can fail. Cloud storage provides geographic redundancy and protection against hardware failure.
Reliable cloud options include:
- Google Drive (15 GB free, encrypted in transit)
- Microsoft OneDrive (5 GB free, automatic versioning)
- Dropbox (2 GB free, file recovery up to 30 days)
Upload your Radio_Backups folder to cloud storage. Set it to sync automatically. This ensures your latest backups are always protected.
Additional security measures:
- Use strong passwords for cloud accounts
- Enable two-factor authentication
- Keep local copies on an external USB drive stored separately
Safety Precautions for DIY Battery Backups and Hardware Configuration
Working with 12V wiring and backup batteries carries real risks. Improper installation can damage your radio or create safety hazards.
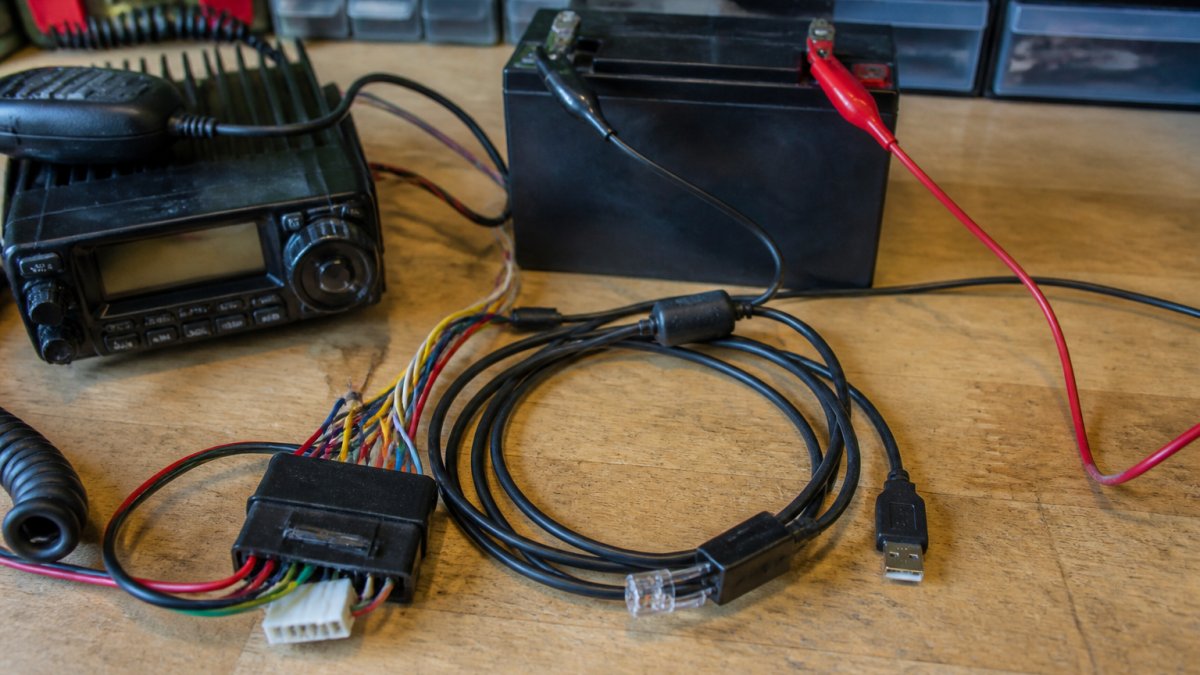
Working with 12V Wiring and Permanent Live Wires
A permanent live wire carries 12V power whenever your vehicle or power supply is on, maintaining backup battery charge.
Identifying the permanent live wire:
- Consult your radio's manual for the correct pin or connector
- Use a multimeter to verify 12V potential when the ignition is off
- The wire is typically red or marked with a + symbol
Installation best practices:
- Disconnect the negative terminal of your vehicle battery before any work
- Use proper gauge wiring (typically 18-20 AWG for backup circuits)
- Install an inline fuse within 18 inches of the power source (usually 1-2 amp fuse)
- Solder connections or use quality connectors; crimped connections can fail
- Insulate all connections with heat shrink tubing
- Reconnect the negative battery terminal last
Common mistakes that cause problems:
- Running the permanent live wire through the radio's fuse block (should have its own fuse)
- Using undersized wire that creates voltage drop
- Neglecting proper insulation, which causes shorts
If you're uncomfortable with 12V wiring, hiring a professional installer can prevent costly radio repairs.
Preventing Firmware Corruption During Backup Operations
Firmware is your radio's operating system; corrupting it during a backup renders the radio unusable.
Safe backup practices:
- Never interrupt a read or write operation (don't unplug the cable)
- Use a stable USB connection (not a hub or extension cable)
- Close all other programs before reading from the radio
If a transfer fails:
- Wait 30 seconds before retrying
- Restart your programming software
- Reconnect the cable
- Attempt the read operation again
Most radios have built-in protections against firmware corruption, but repeated failed transfers can cause issues. If failures persist, the programming cable may be faulty; RT Systems, Inc. cables use FTDI chipsets for reliable, error-free transfers.
Troubleshooting Radio Power Failure and Memory Loss
When your radio loses its settings, systematic troubleshooting identifies the cause and guides recovery.
Recovering Settings After a Factory Reset
A factory reset clears all user programming but shouldn't affect your backup files; recovery is straightforward if you have one.
Steps to recover:
- Locate your most recent backup file
- Connect your radio with the programming cable
- Open your radio programming software
- Select "Import from File" and choose your backup
- Review the imported data
- Select "Write to Radio"
- Wait for the write to complete
- Verify your frequencies and settings are restored
If you don't have a backup:
- Check your cloud storage (Google Drive, OneDrive, etc.)
- Look for backup files in your Documents or Downloads folders
- Search your computer for .csv files or your radio model name
Prevention is simpler than recovery: export your configuration monthly, even if nothing changed, to create a recent restore point.
Using Backup and Restore Functions in Your Software
Most modern radio programming software includes built-in backup and restore functions. These differ from manual exports.
Built-in backup typically:
- Creates a complete snapshot of your radio's memory and settings
- Stores metadata like date, radio model, and serial number
- Restores to an exact previous state
To use built-in backup:
- Open your programming software
- Select "Backup Radio" or similar
- The software reads your radio and creates a backup file
- Name it descriptively with today's date
- Store it in your Radio_Backups folder
To restore from a backup:
- Open your programming software
- Select "Restore from Backup"
- Choose the backup file
- Review what will be restored
- Confirm the restore
- The software writes the backup to your radio
This method is safer than manual CSV import because the software handles compatibility checks automatically.
Conclusion
Backing up your radio memory settings takes minutes but saves hours of frustration. Whether you use configuration file exports, memory cards, cloning, or cloud storage, the key is consistency: export monthly, store backups in multiple locations, and test restoration quarterly.
Radio programming is precise work, one typo in a frequency means you can't reach that repeater. A complete backup ensures you never lose your carefully organized channels and settings.
Frequently Asked Questions
What happens to radio settings if the battery dies?
When a radio's battery loses power, the 12V constant voltage that maintains non-volatile memory is interrupted. Your radio settings, frequencies, and user profiles stored in EEPROM memory can be lost. This is why backing up your radio memory settings before battery replacement is critical. A backup configuration file or cloned settings allow you to restore everything quickly without reprogramming each channel manually.
How do I export radio memory to a CSV file?
Most modern radio programming software includes an export function in the backup and restore menu. Open your radio's configuration file in the software interface, select 'Export' or 'Save As CSV,' then choose your destination folder. CSV format allows you to organize frequencies by name, mode, and other system parameters. You can then edit the file in a spreadsheet or import it into another radio model, making bulk frequency management much faster than manual entry.
Can I use software to backup my radio channels?
Yes. Radio programming software typically includes built-in backup utilities that create configuration files containing all your channels, user profiles, and firmware settings. These files can be stored on your computer, memory card, or cloud storage. Software-based backups are faster and more reliable than manual methods, and they allow you to clone settings across multiple radios or restore them after a factory reset without losing any data.
How often should I update my radio memory backup?
Update your backup after any significant changes: adding new frequencies, modifying repeater settings, or changing user profiles. For active radio users managing multiple channels, monthly backups are a reasonable practice. If you're managing over 200 frequencies across several radios, consider backing up after each programming session. Regular backups ensure your latest configuration is protected and reduce the risk of losing recent frequency updates if hardware failure or power loss occurs.