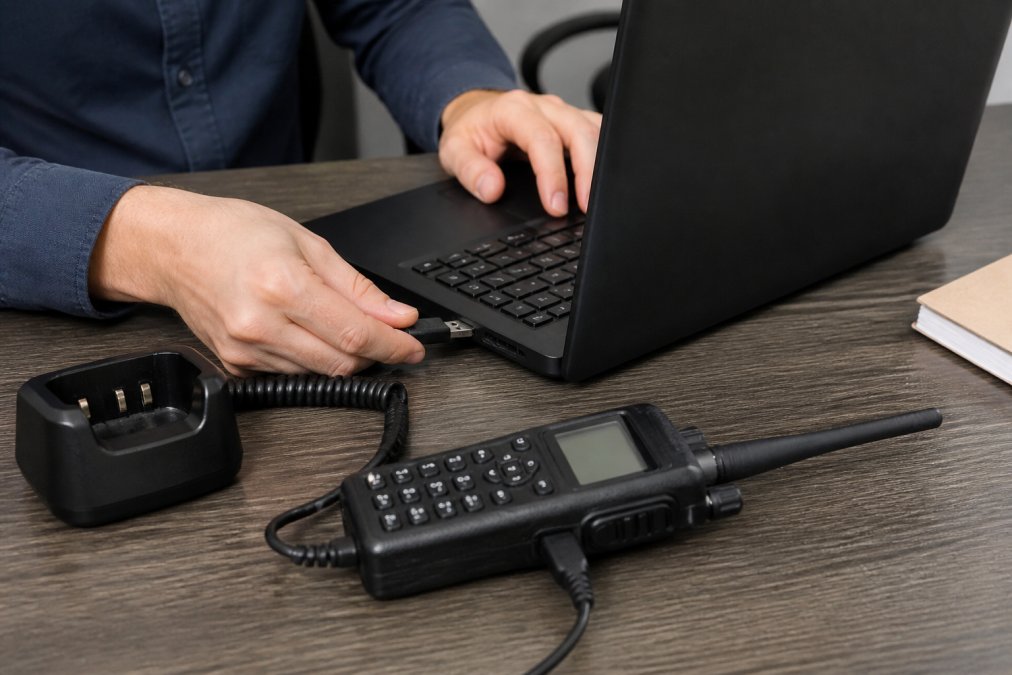
 how-to
Simplest Way to Program Handheld Radios
Table of Contents
- Understanding Radio Programming Basics
- Hardware Requirements: Cables and Adapters for Programming
- Best Radio Programming Software for Beginners
- Step-by-Step Programming Process
- Manual vs Software Radio Programming
- Troubleshooting Radio Programming Errors
- Conclusion
- Frequently Asked Questions
Last Updated: September 27, 2026
Understanding Radio Programming Basics
Programming a handheld radio means storing frequencies, channels, and communication settings into the radio's memory. The simplest way to program handheld radios involves three core methods: manual keypad entry, software with a programming cable, or wireless adapters for newer models.
Each method has trade-offs: manual programming takes time but needs no computer; software programming is faster and handles bulk imports; wireless methods eliminate cables. Casual users managing a few local repeaters can use the keypad, while operators with 50+ frequencies benefit from software.
According to the Baofeng Radio UK programming guide, CHIRP software has become the standard open-source option for many radio models. However, purpose-built software tailored to your specific radio brand often provides better reliability and features designed for your exact model.
Hardware Requirements: Cables and Adapters for Programming
You need three things to program via computer: a radio, a programming cable, and compatible software. The cable is critical, it's where most beginners make their first mistake.
Why cable selection matters
A cheap or mismatched cable causes connection failures, driver conflicts, and corrupted data transfers. Look for cables with FTDI chipsets, which offer reliable data transfer and broad OS support.
Identifying your radio's connector type
Radios use different physical connectors. Buying the wrong one wastes money and time. Here's how to identify what you need:
3.5mm audio jack connectors (also called "3.5mm stereo" or "headphone jack")
- Appearance: Small round jack, same size as old earphone connectors
- Common on: Baofeng UV-5R, UV-82, BF-F8HP; Kenwood TK-3107, TK-2107; Icom IC-W32A
- Verification: If your radio's data port looks like a miniature headphone jack, this is your type
Micro-USB connectors
- Appearance: Flat rectangular port, same as older Android phone chargers
- Common on: Newer Baofeng models (UV-5R Plus, UV-13 Pro); Retevis RT3S, RT3S Plus
- Verification: If the port is flat and rectangular (not round), this is your type
Proprietary connectors (K1, M1, M2, M3 types)
- Appearance: Unique multi-pin connectors, not standard USB or audio jacks
- Common on: Professional Motorola radios (APX, XPR series); Hytera PD series; Icom F-series
- Verification: Check your radio's manual for the connector designation (e.g., "K1 connector")
How to verify before purchasing
- Locate your radio's manual (search "[radio model] manual PDF" online)
- Find the specifications or connectivity section
- Look for "data port," "programming port," or "connector type"
- Match the name or image to the types above
- Search for "[radio model] programming cable" to confirm availability
If your manual doesn't specify, contact the manufacturer's support line or post the radio model in a radio enthusiast forum. Five minutes of verification saves $20-50 on a wrong cable.
Cable quality indicators
When shopping, look for these markers of a reliable cable:
- Explicitly states "FTDI chipset" in the product description
- Includes ferrite cores (small cylindrical sleeves on the cable near connectors) to reduce interference
- Comes from a known electronics retailer, not a generic marketplace seller with no reviews
- Has shielded wiring (cable appears thicker and more robust than cheap alternatives)
- Includes a driver CD or link to driver downloads
Wireless adapters as an alternative
Bluetooth adapters like the BT-A1D eliminate cables entirely. According to Baofeng Radio UK's 2026 wireless programming update, Bluetooth adapters allow you to program without physical connectors. However, setup takes longer initially, compatibility is limited to newer radio models, and you'll still need to install drivers on your computer. Wireless adapters are best for users who already own multiple radios and want to avoid cable management long-term.
Computer requirements
You need Windows 10 or 11, macOS 10.14 or later, or Linux (Ubuntu 18.04+), a USB 2.0 port, at least 500MB free disk space, and internet access for driver installation. Older computers work fine, a 10-year-old laptop will program radios as reliably as a new one.
Best Radio Programming Software for Beginners
The simplest way to program handheld radios is using dedicated software matched to your radio brand, which knows your radio's exact memory structure, tone options, and frequency limits.
Open-source options like CHIRP support hundreds of radio models and handle frequency entry, tone configuration, and memory management across brands like Baofeng, Kenwood, and Icom. It's free and community-supported, with a moderate learning curve of 10-15 minutes.
Brand-specific software from manufacturers like Yaesu, Icom, and Kenwood offers deeper control and easier use because menus match your radio's physical buttons. The trade-off: they only work with that brand. Standardizing your programming approach becomes even more critical when scaling these individual units into complex mesh radio networks for reliable long-range communication.
Comparison of approaches:
| Software Type | Setup Time | Learning Curve | Cost | Best For |
|---|---|---|---|---|
| Open-source (CHIRP) | 20 minutes | Moderate | Free | Multi-brand users, budget-conscious operators |
| Brand-specific | 15 minutes | Low | Varies | Single-brand users wanting simplicity |
| RT Systems | 10 minutes | Low | Varies | Users prioritizing reliability and support |
| Manual keypad | 2-3 hours | Low | None | Occasional users, emergency backup |
Step-by-Step Programming Process
Installing Software and Drivers
Download your software from the manufacturer's website and run the installer. Next, install the driver for your programming cable. Most cables use FTDI drivers, which are standard and widely available. Download from the manufacturer's website, not random sources. On Windows 11, you may see a security prompt, click "Install anyway", this is normal for third-party drivers. Restart your computer after installation.
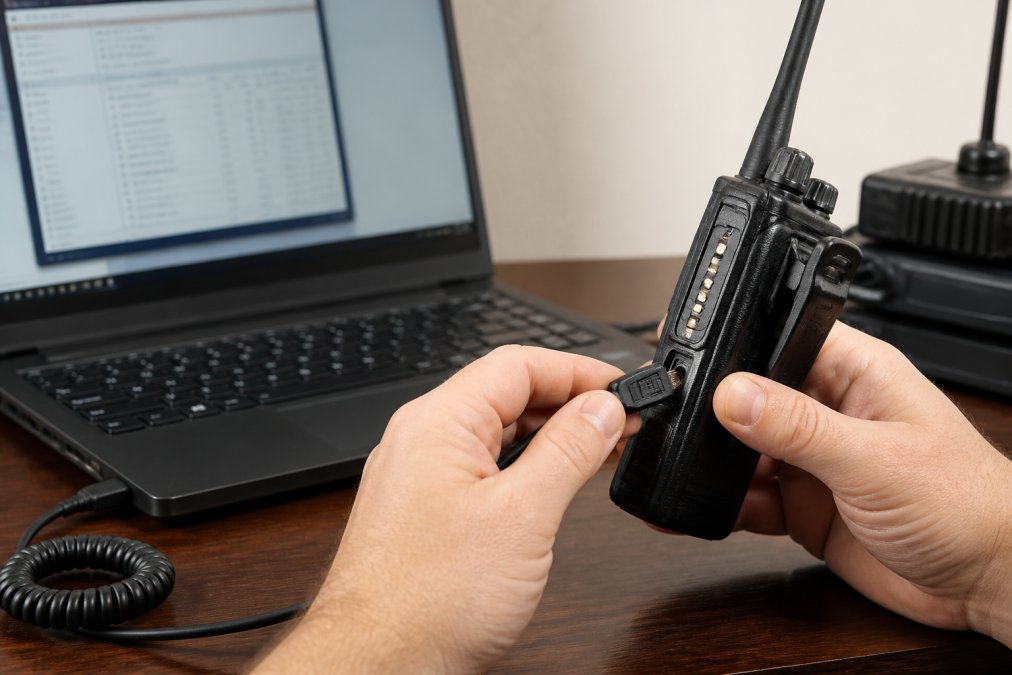
Connecting Your Radio to Your Computer
Plug your programming cable into your radio's data port (usually a small jack on the side or bottom) and connect the USB end to your computer. Open your programming software. If the software doesn't detect your radio automatically, verify the cable is fully inserted, the driver installed correctly, and you selected the correct COM port. Some radios require holding specific buttons while connecting, check your radio's manual.
Reading and Modifying Frequencies and Channels
Click "Read from Radio" in your software to download all current frequencies, tones, and settings. This usually takes 30 seconds to 2 minutes. Your radio's channels now appear in a table where each row is a memory slot with frequency, tone settings, offset, and other parameters.
Writing Data Back to Your Radio
Click "Write to Radio" in your software. The process takes 1-3 minutes. Do not disconnect the cable during writing, interruption corrupts the radio's memory. Wait for a "Write Complete" message before unplugging. Test your work by scrolling through channels and verifying frequencies display correctly.
Manual vs Software Radio Programming
Manual programming uses your radio's keypad to enter frequencies directly, no computer required. Use it for 1-5 channels, when no computer is available, or for emergency entries. Access the radio's menu, select "Add Channel," enter the frequency, set tone parameters, and save. This takes 2-3 minutes per channel; software does 50 channels in 2 minutes.
Software programming advantages:
- Bulk import from CSV files
- Faster for large channel lists
- Easier tone and offset configuration
- Backup and restore capabilities
- Error checking before writing
Troubleshooting Radio Programming Errors
Cable not detected is the most common issue. The software can't find your radio because the cable or driver failed.
Conclusion
The simplest way to program handheld radios combines three elements: matching software to your radio model, using a quality programming cable with proper drivers, and understanding the read-modify-write workflow. For most users, this takes under an hour to set up and minutes to execute.
Frequently Asked Questions
What is the simplest way to program handheld radios for someone with no technical experience?
The simplest approach combines three elements: quality programming software designed for your radio model, a reliable USB programming cable with proper drivers, and step-by-step instructions. Start by reading your radio's manual to identify your model, download the correct software, install drivers for your cable, then connect your radio to upload or download frequency data. Most beginners complete their first programming session in 15-20 minutes once everything is properly set up. Avoid manually entering frequencies through the keypad unless absolutely necessary.
Is it easier to program a radio manually or via software?
Software programming is significantly easier for managing multiple frequencies and channels. Manual keypad programming works for a few channels but becomes tedious and error-prone beyond 10-15 frequencies. Software lets you import CSV files, edit multiple channels at once, and verify settings before uploading to your radio. Manual programming remains valuable as a backup if your computer is unavailable, but for regular use and bulk frequency management, software saves hours of time and reduces mistakes.
What equipment do I need to program a handheld radio?
You need four essentials: a compatible handheld radio, a USB programming cable designed for your radio model, a Windows or Mac computer with USB ports, and the correct programming software or application. The cable quality matters significantly, cheap or counterfeit cables cause connection failures and driver issues. Look for cables with FTDI chipsets, which provide reliable data transfer and stable driver support across Windows versions. Some newer models support wireless programming via Bluetooth adapters, eliminating the cable requirement.
Why should I use programming software instead of free alternatives like CHIRP?
Free software like CHIRP works well for supported radio models, but manufacturer-specific or third-party programming solutions offer advantages: optimized interfaces for your exact radio model, reliable customer support, and reliable cable compatibility. Professional programming software is built specifically for your radio's memory structure, tone settings, and duplex modes, reducing the risk of configuration errors. For new radio owners or those managing complex setups across multiple radios, dedicated software provides better reliability and support than generic tools.