 How-to
Program Kenwood Radios in 2026: A Beginner's Step-by-Step Guide
Last Updated: November 17, 2026
Quick Summary
To program Kenwood radios, first match model-specific software and a known-good cable to your exact radio, then install the driver and note the COM port. Read the radio's current settings before editing, write changes back, and verify the upload by tuning to new channels.
- Kenwood lists model-specific downloads, including the free ARCP-990 Radio Control Program at version 1.04.
- Cables are often more interchangeable across models than the programming software is.
- Use the same physical USB port every time, since Windows assigns ports per socket.
- Never edit before a successful read completes, or writing back can wipe channels.
- Make a backup file before every editing session and restore it if a write goes wrong.
Table of Contents
- What You Need Before You Program Kenwood Radios
- Step 1: Connect Your Radio and Read Its Current Settings
- Step 2: Edit Channels, Frequencies, and Scan Options
- Step 3: Write Settings Back and Verify the Upload
- Common Programming Errors and How to Fix Them
- Backing Up and Restoring Radio Settings Safely
- Get the Right Software and Cable for Your Kenwood
- Frequently Asked Questions
What You Need Before You Program Kenwood Radios
Learning to program Kenwood radios starts with one honest truth: the software and cable must match your exact model. Get that pairing right and the rest is routine. Get it wrong and you will spend an evening chasing COM port errors. This guide walks you through the full process, from picking the right tools to verifying that your channels actually stuck.
Kenwood itself lists model-specific downloads rather than one universal package. Its amateur radio download page offers items such as the ARCP-990 Radio Control Program, listed as free at version 1.04 and dated January 2019, plus a Virtual COM Port Driver, also free and dated October 2026 (KENWOOD amateur radio software downloads). Notice what that tells you: software ages, drivers get refreshed, and each file targets a particular radio family. Before you touch a cable, confirm three things:
- Your exact radio model and firmware version
- The matching programming software for that model
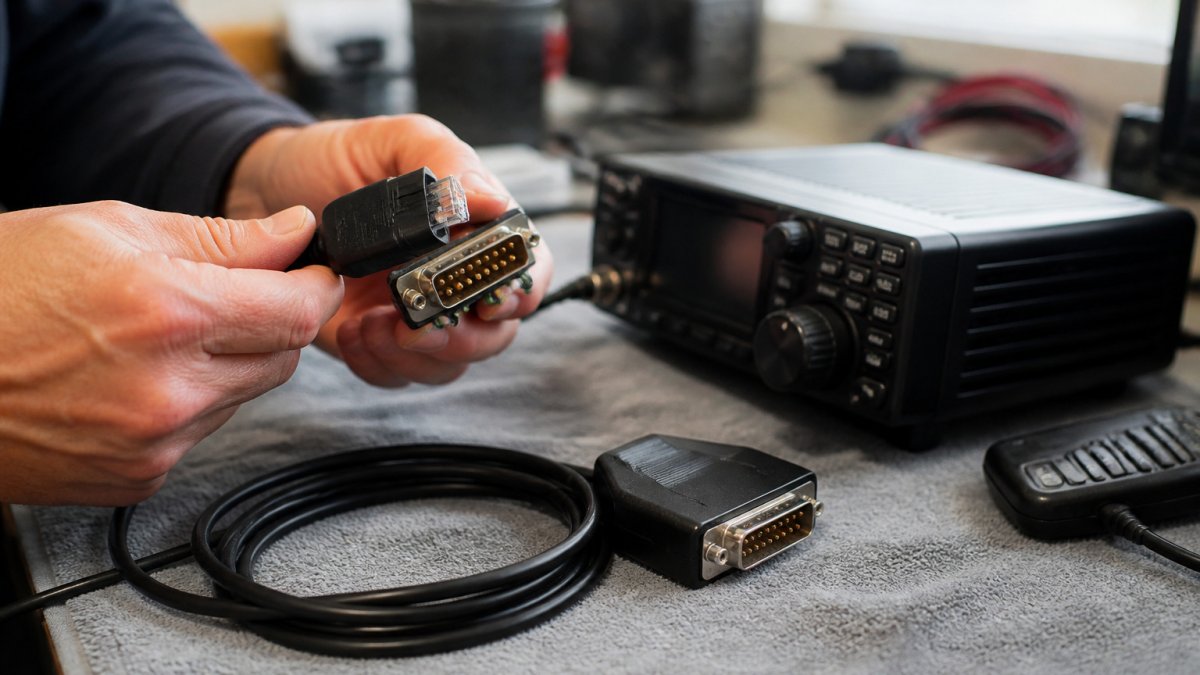
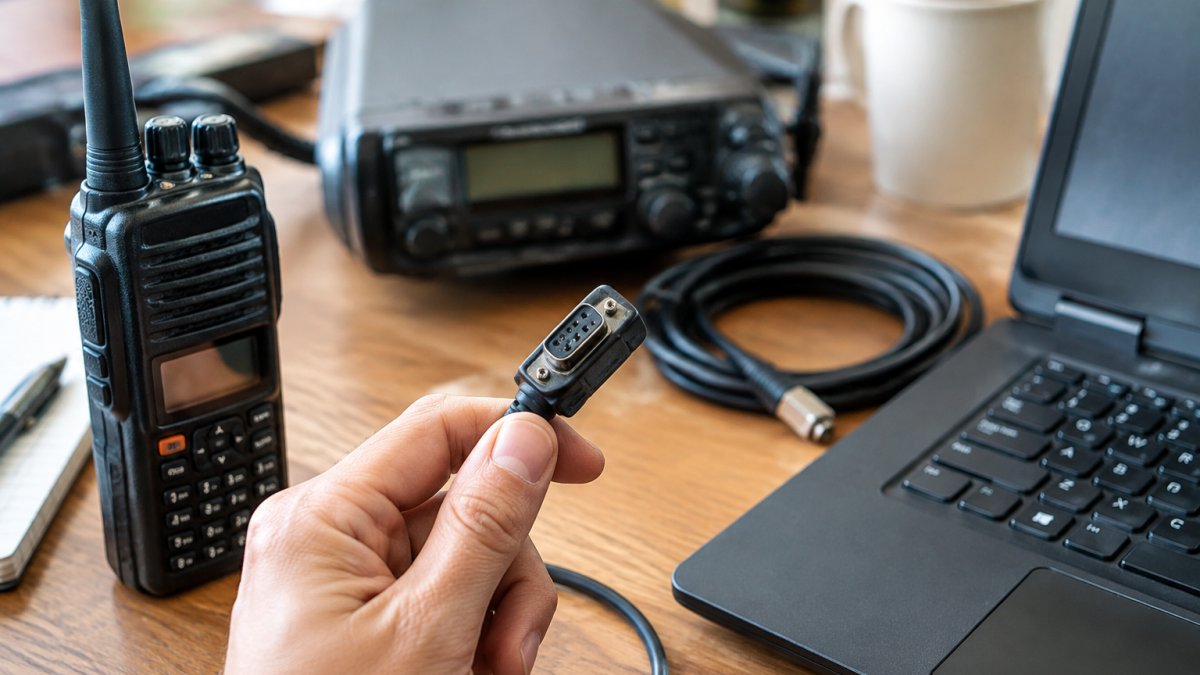
- A programming cable with a known-good USB-to-serial chipset
Matching Software and Cables to Your Radio Model
Software compatibility is the first gate. A package built for one radio family will not necessarily open another, even within the same brand. A RadioReference forum reply put it plainly: the user needs software specific to the radio, while the cable may work across models (RadioReference forum thread on programming Kenwood radios). That distinction matters. Cables are often more interchangeable than software.
So shop in this order:
- Identify your model number from the label under the battery.
- Find software that names that model explicitly.
- Then choose a cable the software vendor supports.
If you are unsure whether software exists for your radio, this guide on whether there is software for your radio covers model-by-model availability.
Installing Drivers and Finding the COM Port
Driver installation is where most beginners stall. Plug in the cable first, then let the driver install, then open Device Manager and note which COM port appears. If nothing shows up, or the port vanishes when you reconnect, work through this guide to fixing radio programming cable driver issues before you blame the software.
One habit pays off here: use the same USB port every time. Windows assigns ports per physical socket, so switching sockets can shuffle the port number and confuse older software.
Step 1: Connect Your Radio and Read Its Current Settings
The first real action is a read, not a write. Connect the cable to the radio, power the radio on, and use the software's read function to pull current memory contents into the program. This does two things: it proves the connection works, and it captures a baseline you can restore later.
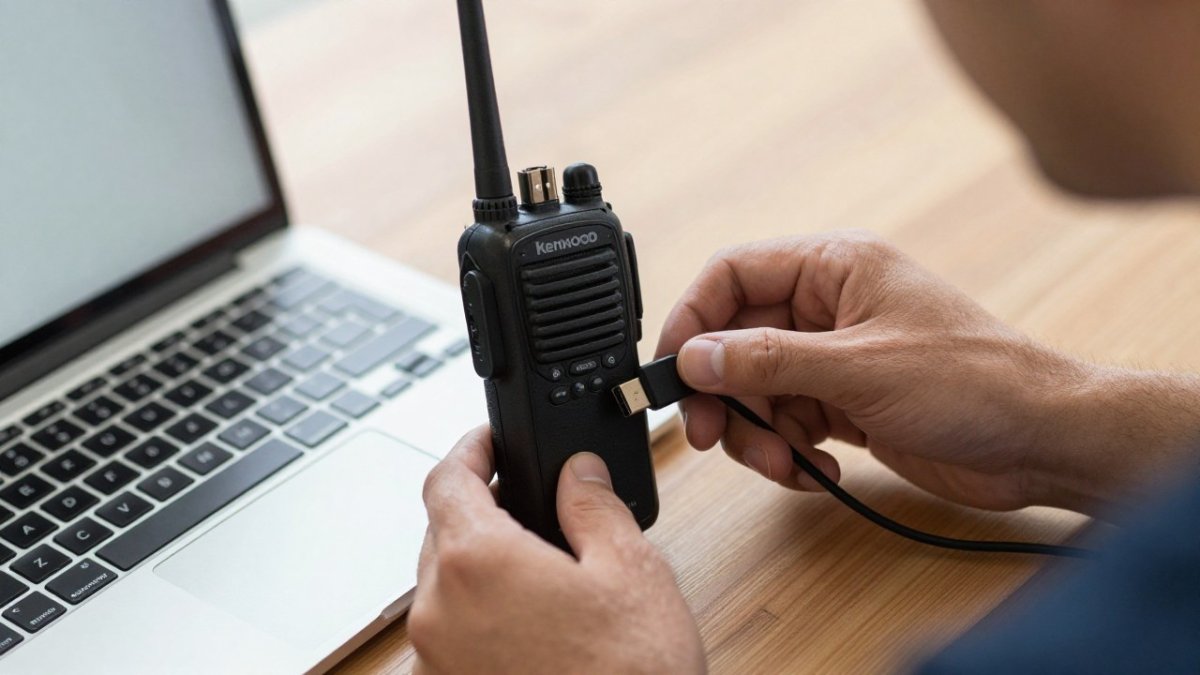
Watch out: never start editing before a successful read completes. If the read fails halfway, you are editing a partial file, and writing it back can wipe channels.
Step 2: Edit Channels, Frequencies, and Scan Options
Editing is the easy part once data is on screen. Channel frequency, tone codes, channel name, and scan behavior are usually edited in a grid, much like a spreadsheet. Fill in frequencies, label each channel clearly, and set scan skip flags for channels you do not want the radio to stop on.
Keep these rules in mind:
- Enter frequencies in the format the software expects.
- Name channels short enough to fit the radio's display.
- Set transmit restrictions deliberately, especially for receive-only frequencies.
- Save your work to a file before writing.
Menu and scan settings often live on a separate tab. Change only what you understand, and leave the rest at default.
Step 3: Write Settings Back and Verify the Upload
Writing sends your edited file to the radio. Use the software's write function, wait for the completion message, then disconnect and power-cycle the radio. Verification is not optional. Tune to two or three of your new channels and confirm they receive as expected.
If the radio ignores your changes, the write likely failed silently. Reconnect, read the radio again, and compare. A mismatch tells you the upload did not take.
Common Programming Errors and How to Fix Them
Most programming failures fall into a small number of buckets, and the order you check them in matters more than the specific error text. Work from the outside in: physical connection first, then driver and port, then software-to-model match, then the write itself. Serial port communication errors are the most frequent culprit, and this article on fixing serial port communication errors gives targeted fixes.
Diagnose in this order
- Physical connection. Reseat the cable at both ends, confirm the radio is powered on, and check that the connector is fully inserted. A read that fails midway is often a loose plug, not a software problem.
- Driver and COM port. Open Device Manager and confirm the cable appears as a COM port. If it does not, or if the port number changes when you reconnect, the driver is the issue, not the radio.
- Port selection in the software. The software may be pointed at a port that no longer exists. Reselect the current port from the dropdown and retry the read.
- Software-to-model match. If the read works but the write does not, confirm the model selected in the software matches the radio exactly. A near-match (same series, different model) can accept a write and then behave unpredictably.
- Radio mode. Some radios must be in a specific state, powered on, in a particular mode, or with a specific key held, before they will accept a programming connection. Check the software's connection instructions for your model.
Symptom-to-cause reference
| Symptom | Likely cause | Fix |
|---|---|---|
| "Cannot open COM port" | Wrong port selected, or port reassigned | Check Device Manager, reselect the current port |
| Cable not detected at all | Driver missing or failed to install | Reinstall the USB driver, then reconnect |
| Read fails midway | Loose cable connection or radio powered off | Reseat cable, confirm power, retry read |
| Write reports success, radio unchanged | Wrong model selected in software | Confirm model in software settings, re-read and compare |
| Port number changes between sessions | Cable plugged into a different USB socket | Use the same physical USB port every time |
| Software opens but shows no channels | Connected to the wrong radio or a blank memory | Re-read the radio and confirm the model |
Silent write failures
A write that reports success but leaves the radio unchanged is the most frustrating failure because there is no error to chase. The cause is usually a model mismatch inside the software, or a write that completed to a partial file. The fix is the same either way: reconnect, read the radio again, and compare what comes back against what you intended to send. A mismatch tells you the upload did not take. If the read itself returns the old channel plan, the write never reached the radio, go back to the port and model checks.
Watch out: never edit a file after a failed read. Writing a partial file back can wipe channels, and the radio will not warn you before it does.
Backing Up and Restoring Radio Settings Safely
A backup is a saved file of everything you read from the radio. Make one before every editing session and store it somewhere you will find it again. If a write goes wrong, you restore the backup instead of rebuilding 200 channels by hand. For a deeper walkthrough, see this 2026 guide on backing up radio memory settings.
Treat backups like insurance: cheap to make, painful to skip.
Get the Right Software and Cable for Your Kenwood
The right tools remove most of the friction. RT Systems, Inc. builds programming software and high-quality cables for many radio brands, with FTDI-chipset cables for reliable data transfer and an interface designed to make complex settings manageable. Tech support is available by phone and email when a connection misbehaves.
If you are ready to buy, this ranked comparison of the best programming cables for mobile radios helps you match a cable to your setup.
Programming a Kenwood radio rewards preparation more than speed. Match the software to your model, confirm the cable and driver, read before you write, and keep a backup. That sequence turns a frustrating evening into a ten-minute task. Get started with RT Systems, Inc. and program your Kenwood with software and cables built for the job.
Frequently Asked Questions
What programming software is available for Kenwood radios?
Kenwood publishes model-specific tools on its amateur radio software download page, including the ARCP-990 Radio Control Program (Version 1.04, dated January 2019) and a Virtual COM Port Driver dated October 2026, both listed as free. Because these tools are tied to specific models, a single download will not cover every Kenwood radio. Third-party options such as RT Systems provide model-specific software and cables for a wider range of radios, which helps when you program Kenwood radios across several models.
What cable do I need to program a Kenwood radio?
You need a programming cable that matches your radio's connector and, ideally, uses an FTDI chipset for reliable data transfer. Cable compatibility is model-specific: a cable that works on one handheld may not fit or communicate with a mobile radio. Before you buy, confirm the cable lists your exact model. If your computer does not recognize the radio, check the driver and the assigned COM port first, since a loose or mismatched cable is the most common cause of connection failures.
Why is my computer not recognizing my Kenwood radio?
The usual causes are a missing or outdated USB driver, the wrong COM port selected in the software, or a cable that does not match the radio. Open Device Manager, look for the virtual COM port, and note the port number. Then select that same port in your programming software. If nothing appears, reinstall the driver, try a different USB port, and confirm the radio is powered on. A cable with an FTDI chipset reduces these connection problems.
Can I program a Kenwood radio without a computer?
Some Kenwood radios allow limited front-panel editing of channels and menu settings using the menu button and arrow buttons, but this is slow for anything beyond a few frequencies. For bulk channel programming, scan lists, and settings backup, a computer with the correct software and cable is the practical route. Reading settings from the radio first, then editing and writing them back, also gives you a backup you can restore if something goes wrong.