 How-to
7 Ham Radio Connection Errors and How to Fix Them
Last Updated: November 4, 2026
Quick Summary
Most ham radio connection problems trace back to four causes: power, wiring, antenna, and settings. Work a checklist in order, confirm the radio powers on and shows normal voltage, wiggle every connector while watching the meter, and check frequency, mode, and offset before touching hardware. Write down what changed, one variable at a time.
- Low output voltage is the most common hidden cause of odd radio behavior.
- A good power cable reads less than 1 ohm end to end.
- A drop of 2 V or more between receive and transmit usually means the supply, fuse holder, or power cable.
- Below 2:1 SWR is generally usable on most HF bands; above 3:1, stop transmitting.
- A programming cable that won't connect is almost always a driver, port, or chipset problem.
Table of Contents
- Start With a Ham Radio Troubleshooting Checklist
- Diagnose Power Supply and Low-Voltage Problems First
- Check Wiring, Connectors, and Loose Connections
- Inspect Coaxial Cable, Feed Line, and Antenna Condition
- Troubleshoot Poor Transmission and Weak Signal Reports
- Fix Reception, Audio, and Interference Problems
- When Your Ham Radio Programming Cable Is Not Working
- When Radio Programming Software Cannot Detect the Radio
- Frequently Asked Questions
Start With a Ham Radio Troubleshooting Checklist
Most ham radio connection problems come down to four things: power, wiring, antenna, and settings. A checklist keeps you from guessing. A small set of causes accounts for most ham radio connection problems, and the same ones come up again and again.
Here's the order that saves the most time:
- Confirm the radio powers on and shows normal voltage.
- Wiggle every connector while watching the meter.
- Inspect the coax and antenna for water, corrosion, or a bad center pin.
- Check frequency, mode, and offset before touching hardware.
- Write down what changed. One variable at a time.
That last step is the one people skip. It's also the one that turns a frustrating afternoon into a ten-minute fix.
The Symptom Log That Saves Hours
A symptom log is a simple written record of what the radio does, when it does it, and what you changed right before it started.
- Date and time of the fault
- Band and mode in use
- What the meter, audio, or software showed
When a fault comes back, the log tells you whether it's the same problem or a new one. That alone narrows the search.
Work through the checklist in this order to find most connection faults fast.
| Step | What to do |
|---|---|
| 1 | Confirm the radio powers on and shows normal voltage |
| 2 | Wiggle every connector while watching the meter |
| 3 | Inspect the coax and antenna for water, corrosion, or a bad center pin |
| 4 | Check frequency, mode, and offset before touching hardware |
| 5 | Write down what changed, one variable at a time |
Diagnose Power Supply and Low-Voltage Problems First
Low output voltage is the most common hidden cause of odd radio behavior. A transceiver that transmits weakly or resets mid-contact often has a power supply that can't hold its DC voltage under load.
Check these with a multimeter:
- AC voltage at the wall outlet. Confirm it's steady before blaming the radio.
- DC voltage at the supply terminals. Measure it with the radio off, then on receive, then on transmit.
- Voltage drop under load. A big drop on transmit points to the supply, the wiring, or a loose connection.
Watch out: a supply that reads fine at idle can sag hard the moment you key the mic. Always measure while transmitting.
Check Wiring, Connectors, and Loose Connections
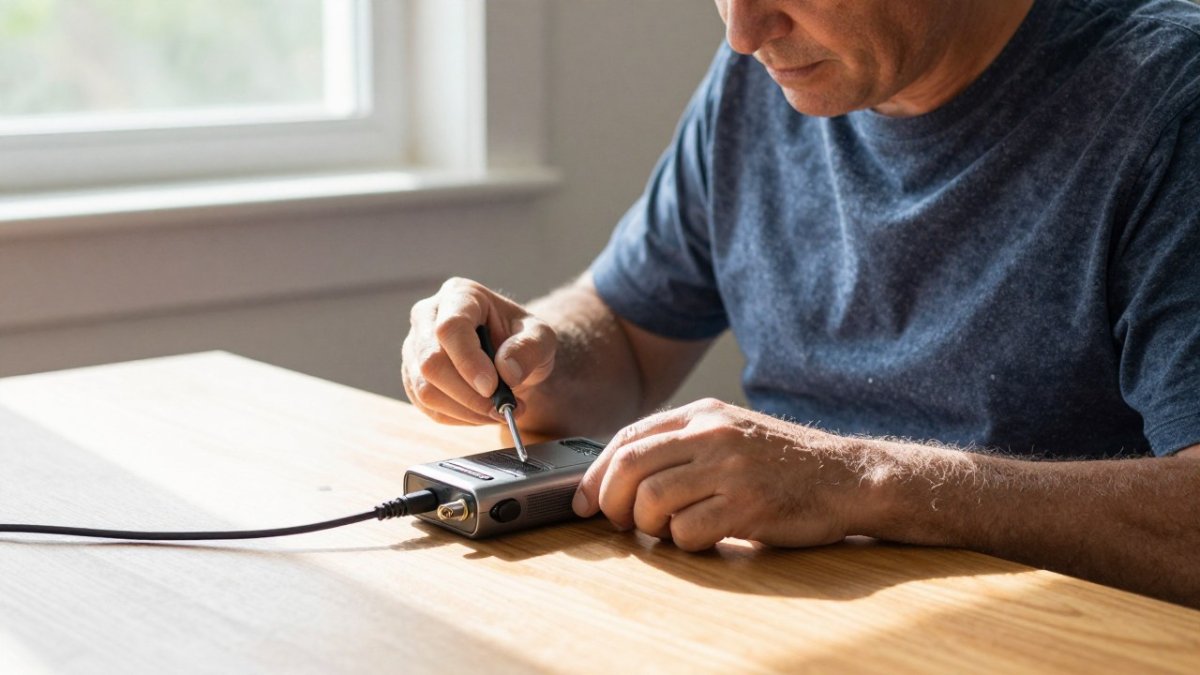
A loose connection can mimic a dozen other faults, and the only way to catch it is to test the circuit instead of eyeballing it. Start at the back of the transceiver and work outward, but bring a multimeter and a symptom log rather than just your hands.
The Continuity and Voltage-Drop Test
Disconnect power from the radio before testing continuity. Set the multimeter to resistance (ohms) and confirm the meter reads near zero when you touch the probes together; a meter with a bad lead will lie to you for the rest of the session.
- Power cable, end to end. Probe the positive pin at the radio end against the positive terminal at the supply end. A good power cable reads less than 1 ohm. Anything above a few ohms points to a corroded fuse holder, a pulled crimp, or a wire that has flexed one too many times.
- Ground side. Repeat on the negative conductor. A high-resistance ground is a common cause of a radio that transmits weakly only on some bands.
- Fuse holders. Pull each fuse and inspect the spring tension. A fuse that wiggles in its holder will pass current at idle and drop voltage the moment you key the mic.
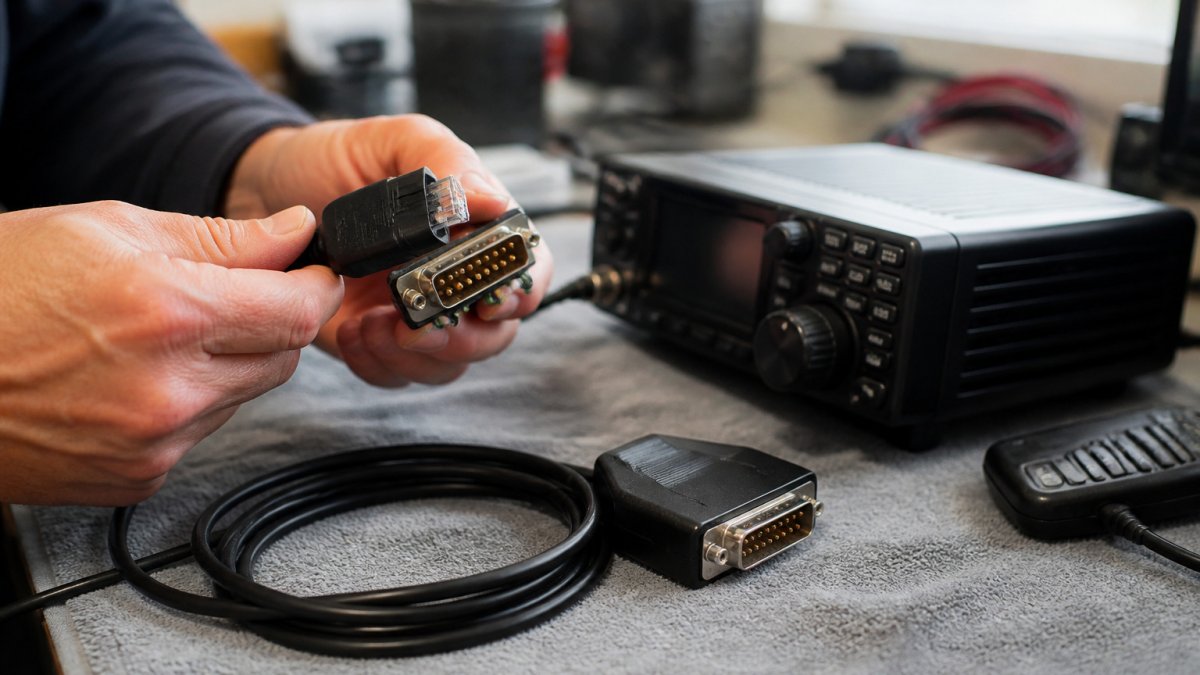
- Connector pins. Look for a pin that has backed out of its shell. Push each plug fully home and tug gently on the wire, not the shell, to confirm the crimp holds.
Measure Voltage Under Load, Not at Idle
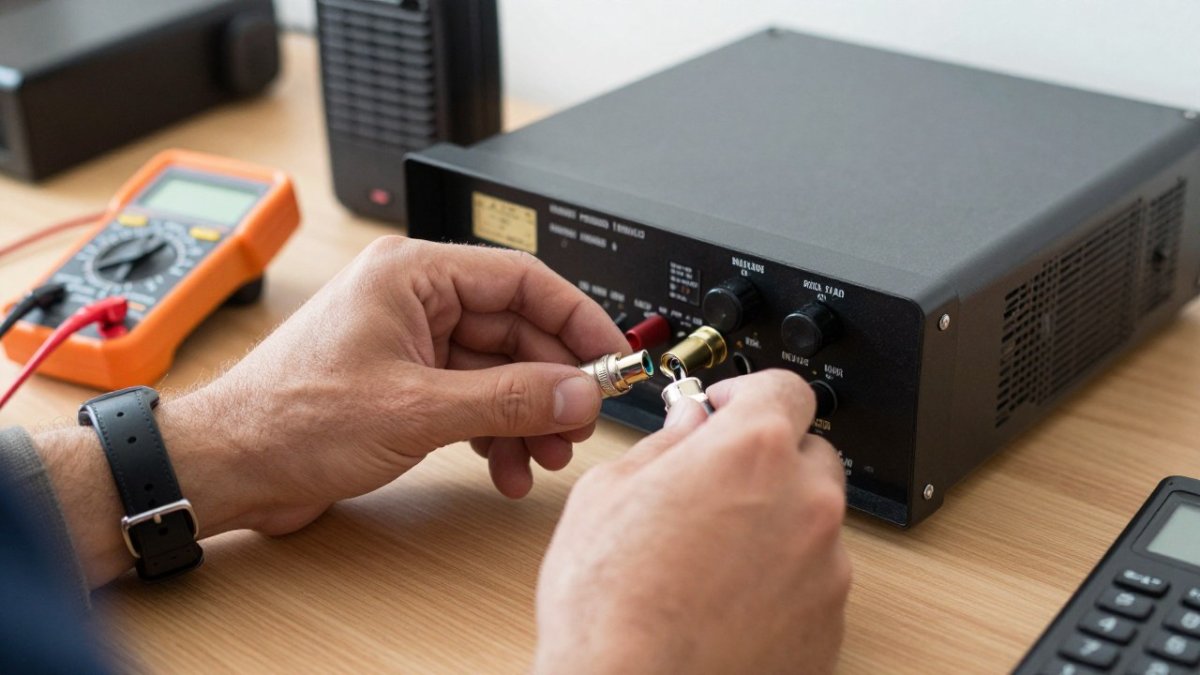
A supply that reads 13.8 V at idle can sag to 11 V or lower on transmit. With the radio connected and the meter clipped to the DC terminals at the radio end of the power cable, key the transmitter into a dummy load and watch the reading.
Isolate an Intermittent Connection
Intermittent faults are the hardest to catch because they disappear when you start testing. Use the symptom log to record the band, mode, power level, and DC voltage at the moment the fault appears.
Watch out: never probe inside a transceiver with the cover off while the radio is powered.
For a deeper walkthrough of cable and connector faults, our troubleshooting radio cable connection issues guide covers each test in order.
Inspect Coaxial Cable, Feed Line, and Antenna Condition
A weak signal or high SWR usually traces back to the feed line or the antenna, not the radio. The difference between a guess and a diagnosis is a measurement, so work through the feed line with an SWR meter or antenna analyzer and a multimeter before you climb the tower or replace the coax.
Measure Before You Transmit
An antenna analyzer is the safest tool because it tests the antenna system with a low-level signal instead of full transmitter power. If you only have an inline SWR meter, keep transmit power low and key briefly. A high SWR means reflected power is coming back into the transmitter, and sustained transmission into a bad match can damage the final amplifier stage.
- SWR reading. Below 2:1 is generally usable on most HF bands; above 3:1, stop transmitting and find the fault before you key up again.
- Continuity of the center conductor. With the coax disconnected at both ends, the center pin should read near zero ohms end to end.
- Shield continuity. The shield should also read near zero ohms end to end.
Inspect the Connectors and Weatherproofing
Climb the run and check each joint by hand and by eye:
- Center pin condition and tightness; a pin that pushes back when you press it has lost its solder joint.
- Weatherproofing at every joint; cracked tape or a loose boot lets water wick into the braid.
- Antenna mount and ground; a corroded mount adds loss you cannot see from the front panel.
A balun that has taken on moisture will cause loss you cannot see from the front panel. If the SWR is high on every band, suspect the feed line or a connector; if it is high on one band only, suspect the antenna or the tuner setting for that band.
Separate a Feed-Line Fault From Propagation
Before you tear apart the antenna system, verify the radio against a known-good antenna, such as a dummy load or a simple wire antenna you trust.
Watch out: never transmit into an antenna system you have not checked for a short. A shorted feed line can destroy a transmitter final in seconds.
If you suspect the cable itself, our article on why radio programming cables fail explains the root causes that apply to coax and feed line too.
Troubleshoot Poor Transmission and Weak Signal Reports
Weak transmission is rarely the radio's fault alone. Before you open the case, confirm output power on a meter and ask for a signal report from a known station.
Common causes of a weak signal:
- Low DC voltage under transmit load
- A poor antenna match raising SWR
- Wrong power setting in the menu
Compare your signal report on two bands. If it's weak on both, look at the antenna and power. If it's weak on one, suspect the band or the tuner.
Fix Reception, Audio, and Interference Problems
Reception trouble splits into two camps: your equipment, or interference from outside. Audio that's distorted on every signal points to a local fault. Audio that's clean on some signals and rough on others points to RFI or band conditions.
Work through it this way:
- Check receiver sensitivity against a known weak signal.
- Test the microphone and audio levels.
- Look for a birdie or a steady carrier on the frequency.
Distinguishing a real fault from propagation saves you from tearing apart a radio that's working fine.
When Your Ham Radio Programming Cable Is Not Working
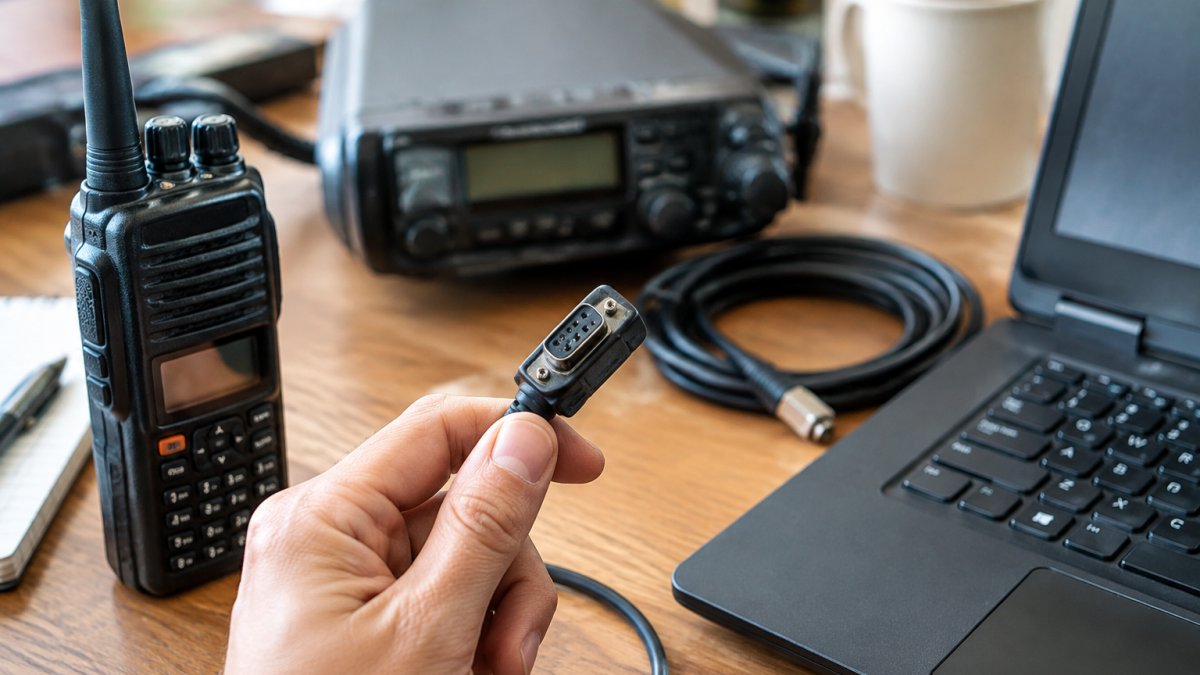
A ham radio programming cable that won't connect is almost always a driver, port, or chipset problem, not a broken cable. The radio and computer simply aren't talking.
First, confirm the cable shows up in Device Manager. If it doesn't, the driver is missing or the port is wrong.
Our dedicated driver-fix guide for programming cables walks through the exact steps.
Driver, Port, and Chipset Checks
Run these in order:
- Open Device Manager and look for the cable under Ports.
- Note the COM port number and match it in your software.
- Reinstall or update the driver for the cable's chipset. For a detailed walkthrough of port and chipset troubleshooting, see our step-by-step driver error fix guide.
- Try a different USB port, preferably one directly on the computer.
- Swap the cable to rule out a bad unit.
High-quality cables with FTDI chipsets avoid most of these headaches.
When Radio Programming Software Cannot Detect the Radio
When radio programming software cannot detect the radio, the cause is usually a mismatch between the software, the cable, and the radio model.
Check that the radio is powered on and not in a menu that blocks programming. Confirm the correct model is chosen in the software.
Before chasing hardware, confirm your software and radio actually work together with our amateur radio software compatibility check.
Digital-Mode and Computer-Interface Errors
Digital modes add a second layer of connection points. The computer interface, the sound card routing, and the CAT control all have to line up.
- Confirm the interface is selected as the audio device.
- Match baud rate and COM port for CAT control.
- Check that PTT keys through the correct method.
A ham radio connection error in a digital mode is often just one setting out of place. Change one thing, test, then move on.
Frequently Asked Questions
Why won't my computer connect to my ham radio?
Most computer-to-radio connection failures come from the cable or the port, not the radio. Check that the programming cable uses a genuine FTDI chipset, confirm the correct COM port in Device Manager, and make sure the radio is powered on and in the right mode. If the software still cannot see the radio, try a different USB port and a known-good cable. A ham radio connection that fails on one cable but works on another points to the cable, not the transceiver.
How do I know if a ham radio programming cable is working?
Plug the cable in without the radio attached and open Device Manager. A working cable appears as a USB serial port with no warning icon. If nothing appears, the driver is missing or the cable is faulty. With the radio connected and powered on, the software should list an available port. Swapping in a known-good cable is a quick way to confirm whether the cable is the problem.
What should I check when my ham radio has poor reception?
Work from the antenna inward. Inspect the coax and connectors for corrosion or a loose center pin, confirm the antenna is resonant for the band, and check that the correct mode and frequency are selected. Compare against a second receiver or a known repeater to separate a local fault from band conditions. If the radio transmits fine but receives weakly, the problem is usually in the feed line, the antenna, or a setting such as attenuator or squelch rather than the transmitter.
Why does my radio programming software fail to read or write memories?
Read and write failures usually trace to three things: the wrong COM port selected, a cable without the proper chipset, or a radio model mismatch in the software. Confirm the software is set to your exact model, close any other program using the same port, and try a slower write speed. If the transfer drops partway through, the cable or the USB port is the likely culprit.
Connection errors on a ham radio are rarely mysterious once you have a system. Start with power, then wiring, then the antenna, then settings, and log what you change. When the problem is a programming cable or software that won't detect your radio, RT Systems, Inc. makes it simpler with reliable software, high-quality cables built on FTDI chipsets, and support by phone and email. Get started with RT Systems, Inc. and spend less time troubleshooting and more time on the air.