 blog
Easy Ham Radio Programming Solutions 2026
Last Updated: October 22, 2026
Quick Summary
Ham radio programming means loading frequencies, repeater offsets, tone settings, and channel labels into your radio's memory using software and a USB cable. The right tool and workflow can cut setup time from hours to minutes, whether you choose free open-source options like CHIRP or commercial packages like RT Systems.
- CHIRP is free and supports hundreds of radio models on Windows, Mac, and Linux, but works best for fewer than 100 channels.
- Genuine FTDI chipsets in programming cables are the industry standard for reliability across all platforms.
- The read-edit-write-verify workflow prevents most programming errors and takes five minutes to set up correctly.
- Repeater offsets and tone settings cause most programming failures; verify these in the ARRL repeater directory before writing to your radio.
- Match your tool to your workload: one radio with fewer than 100 channels needs only CHIRP, but multiple radios or 200+ channels justify a commercial package.
Table of Contents
- Why Ham Radio Programming Frustrates Users (And How to Fix It)
- Understanding Ham Radio Programming Software Options
- CHIRP Radio Programming: Free Option and Its Limitations
- How to Program a Handheld Ham Radio: Step-by-Step Workflow
- Choosing the Right Ham Radio Programming Cable
- Setting Up Local Repeaters and Managing Frequency Databases
- Advanced Features: Digital Communication and APRS Tracking
- Troubleshooting Common Programming Failures
- Frequently Asked Questions
Why Ham Radio Programming Frustrates Users (And How to Fix It)
Most amateur radio operators face the same wall when they buy their first handheld radio. They open the manual.
This is where easy ham radio programming solutions come in.
Below, we'll show you exactly how to program a handheld ham radio efficiently, which tools actually work, and how to avoid the common mistakes that waste your time.
Understanding Ham Radio Programming Software Options
Programming a radio means loading frequencies, repeater offsets, tone settings, and channel labels into your radio's memory. You have three realistic paths: OEM software from the radio manufacturer, free open-source tools like CHIRP, and commercial third-party packages such as RT Systems. Each path has a different cost, learning curve, and compatibility footprint, and the right choice depends on how many radios and channels you manage.
OEM Software vs. Third-Party Solutions
OEM software ships with or is downloadable from the radio maker. It is usually free, but it is built for one brand and often one model family.
Third-party software is built to be friendlier and to handle multiple brands in one interface. CHIRP is the best-known free option: it is open source, runs on Windows, Mac, and Linux, and supports hundreds of radio models through a community-maintained list.
Multi-Platform Compatibility and Radio Support
The hidden trap is compatibility. A tool that runs only on Windows will not help if your laptop is a Mac. A cable that works with one radio's connector will not fit another.
A practical compatibility check looks like this:
- Radio model: Search the software's supported-radio list for your exact model number, not just the brand. Manufacturers sometimes reuse model names across revisions.
- Operating system: Confirm the current release supports your version of Windows, macOS, or Linux. Older tools may not run on the newest macOS releases without workarounds.
- Repeater data: Some packages include current repeater databases; others require you to import a file from a directory such as the American Radio Relay League (ARRL) repeater directory.
A five-minute check here prevents the most common beginner mistake: buying a cable or software package that does not support the radio already on your desk.
CHIRP Radio Programming: Free Option and Its Limitations
CHIRP is free, open-source ham radio programming software. It's popular because it costs nothing and supports many radios.
But CHIRP has real limits. The interface is less polished than commercial tools. Support is community-based, not professional.
Many operators use CHIRP to start, then move to dedicated software when their needs grow.
How to Program a Handheld Ham Radio: Step-by-Step Workflow
Most guides describe programming as a list of menu items. A tested workflow is different: you read the radio's current settings first, edit a copy, write it back, and verify. That read-edit-write-verify loop is what separates a five-minute job from an hour of guessing. The steps below assume a USB programming cable and software that supports your exact radio model.
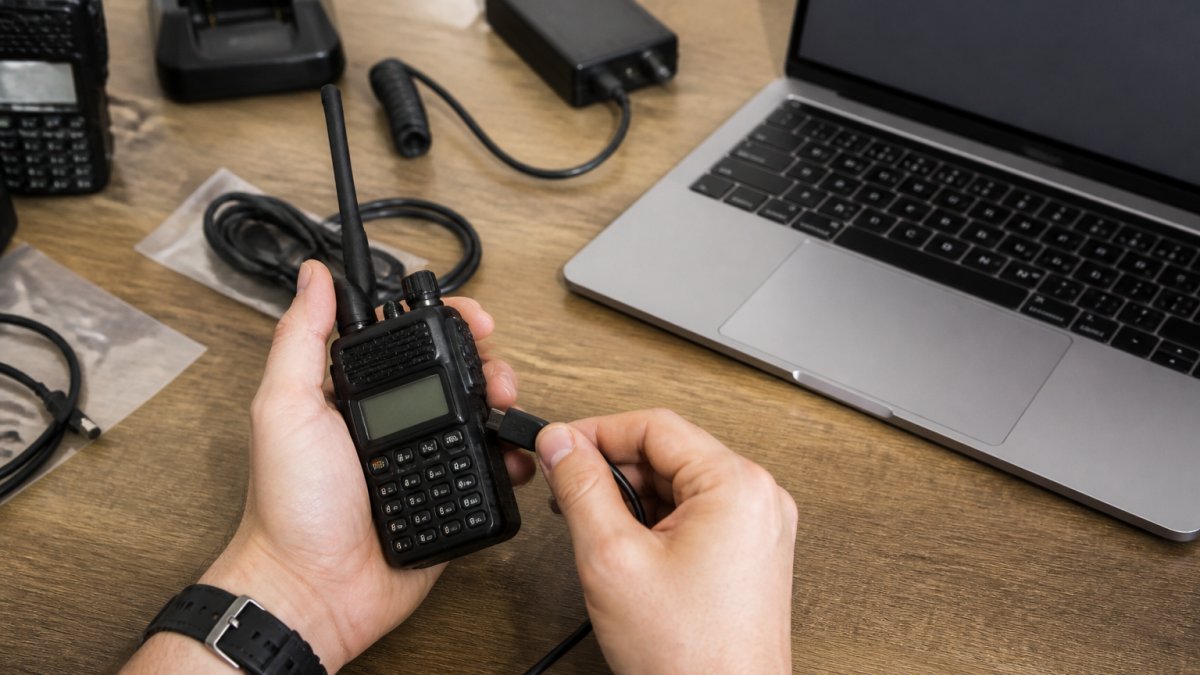
Step 1: Gather Your Equipment and Verify Compatibility
Collect these before you start:
- Your handheld radio, fully charged
- A programming cable with the correct connector for your model
- A computer running Windows, macOS, or Linux
Verify compatibility first. Check the software's supported-radio list for your model number, confirm the cable's chipset (genuine FTDI is the reliable standard), and confirm the software runs on your operating system version. Five minutes here saves thirty minutes of driver troubleshooting later.
Step 2: Connect, Install Drivers, and Read the Radio
Plug the cable into the radio and the computer, then install any required driver.
Before editing anything, use the software's Read from Radio function. Reading first does two things: it confirms the connection works, and it gives you a backup of the radio's existing configuration.
If the read fails, work through this order: confirm the radio is powered on and in the correct mode, reseat the cable at both ends, try another USB port, reinstall the driver, and test the cable on a second computer.
Step 3: Edit Channels in the Software
With the read file open, edit a copy rather than the original. Import a repeater list or add channels manually, then organize them by purpose: local repeaters, regional frequencies for travel, club channels, and simplex channels.
Keep the first write small. Program five to ten channels, write them to the radio, and test before importing hundreds. This staged approach catches configuration errors while they are still easy to fix.
Step 4: Set Repeater Offsets and Tone Settings
A repeater needs an offset, the difference between transmit and receive frequency, and usually a tone (CTCSS or DCS) to access it. For 2-meter repeaters the standard offset is typically ±0.6 MHz; for 70-centimeter it is typically ±5 MHz.
Tone settings act like a digital key: the repeater listens for a specific subtone, and your transmission will not trigger it without the correct code.
Step 5: Write to the Radio and Verify
Use the software's Write to Radio function and wait for the confirmation message before unplugging the cable. Then verify in the field: key up on a simplex frequency where you can hear yourself, check that a local repeater responds, and confirm channel labels and tones match your plan.
Keep the read backup and the edited file together. If a later write goes wrong, restoring the backup takes minutes instead of rebuilding the channel list from scratch.
Choosing the Right Ham Radio Programming Cable
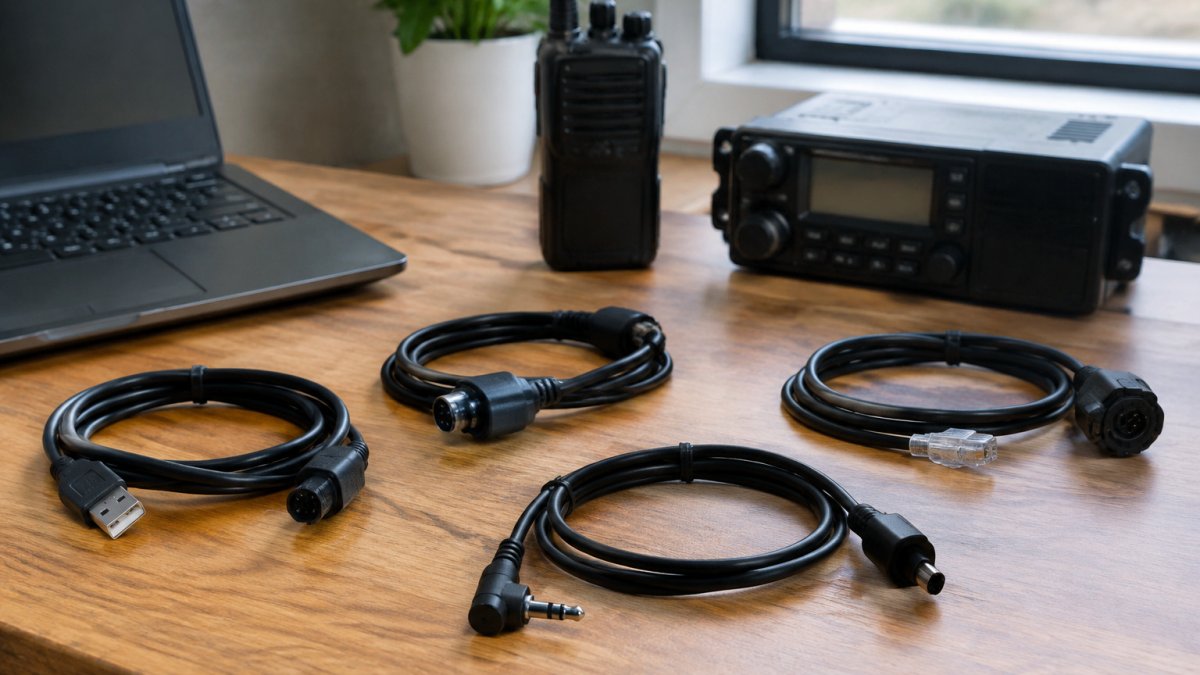
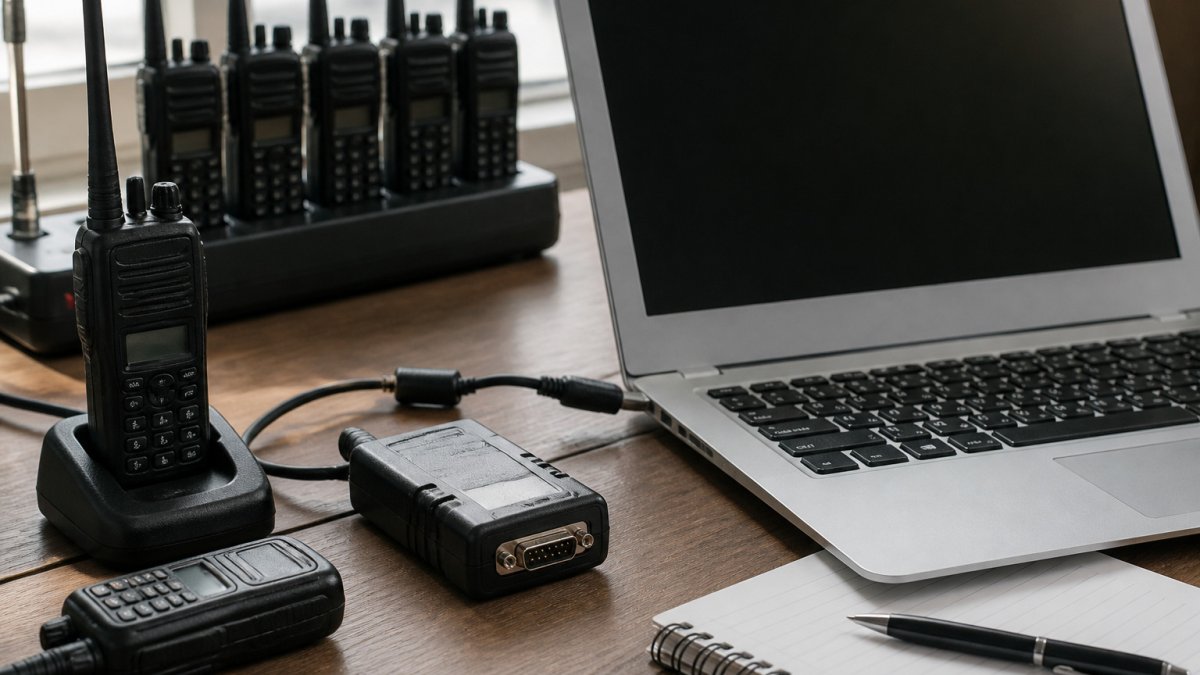
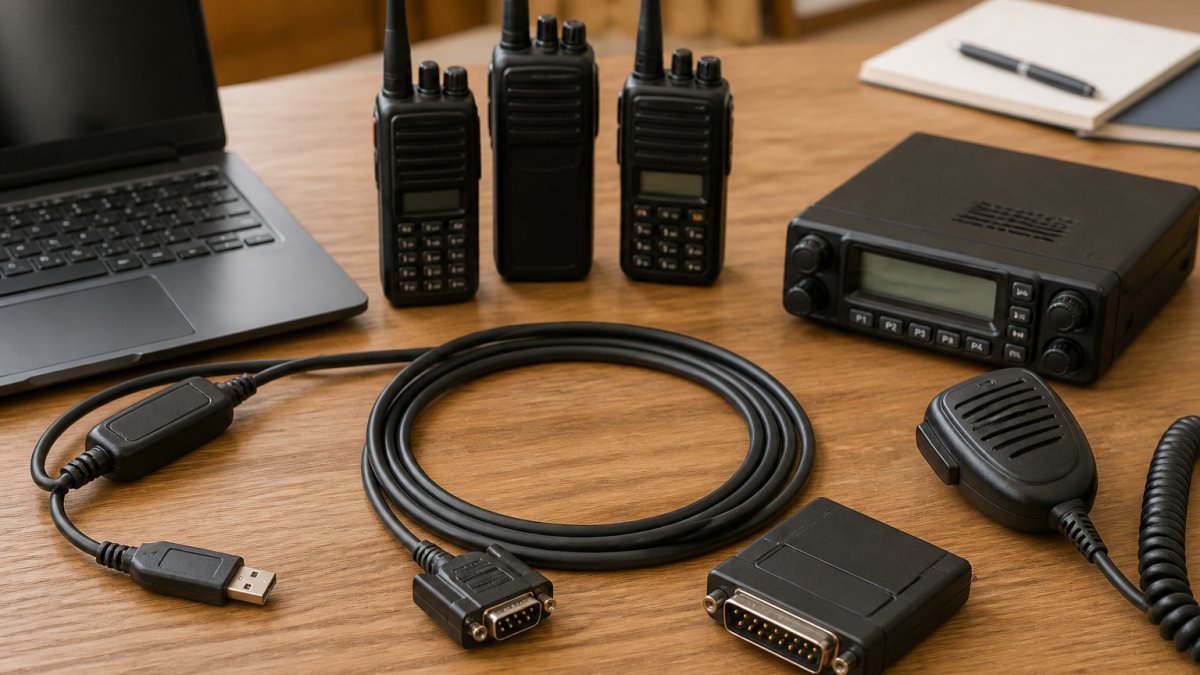
The cable connects your radio to your computer. A bad cable wastes hours. A good cable works every time.
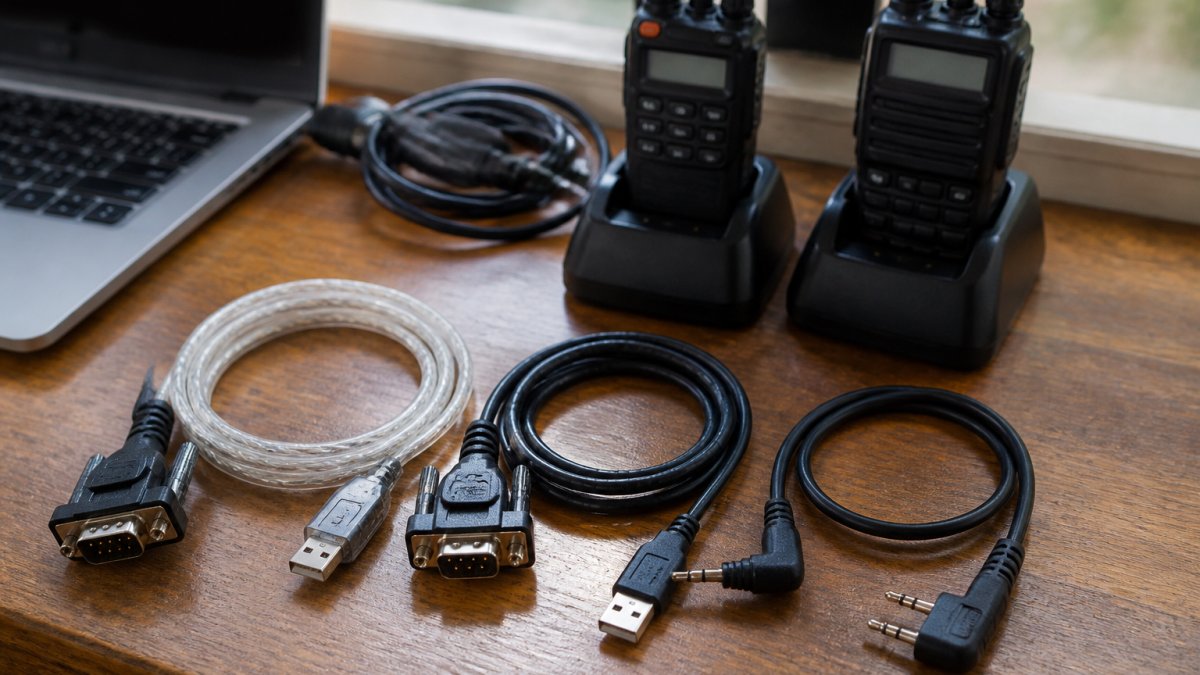
Cable Types and Connector Standards
Different radios use different connectors. Yaesu uses one type. Icom uses another. Kenwood uses yet another. You need the right connector for your radio.
USB cables are standard now. Serial cables are older but still in use. Some radios need proprietary connectors. Check your radio's manual to find the connector type.
FTDI Chipsets and Data Transfer Reliability
The chipset inside the cable matters. FTDI chipsets are industry-standard for ham radio programming cables.
Cheap cables sometimes use knockoff chipsets. These fail randomly. They cause data corruption. They stop working after a few uses.
RT Systems, Inc. cables use genuine FTDI chipsets. This isn't marketing, it's the difference between a cable that works every time and one that doesn't.
Setting Up Local Repeaters and Managing Frequency Databases
Repeaters are the backbone of local ham radio communication. Setting them up correctly is essential.
Finding Repeater Information and Offset Values
Repeater directories list all active repeaters in your area. The American Radio Relay League (ARRL) repeater directory is the official source. It shows frequency, offset, tone settings, and coverage area for thousands of repeaters.
Many programming tools include built-in repeater databases. This saves you from manually looking up each repeater.
Bulk Importing Channels Without Data Loss
When you import a large repeater database, say, 500 channels for your region, you need software that handles it reliably. Some tools lose data during bulk imports.
The best approach: import into a test channel first. Verify that frequencies, offsets, and tones are correct. Then import the full list. This takes two minutes and prevents disasters.
Advanced Features: Digital Communication and APRS Tracking
Once you master basic ham radio programming, you can explore advanced modes.
Digital modes like D-Star and DMR require special programming.
APRS (Automatic Packet Reporting System) tracks your location on a map. It requires a special frequency and tone settings.
These features are optional for beginners. Master basic repeater programming first. Add advanced modes once you're comfortable.
Troubleshooting Common Programming Failures
Programming fails. It happens to everyone. Here's how to fix the most common problems.
Connection and Driver Issues
Your software doesn't see your radio. First, check the cable. Is it plugged in? Try a different USB port.
If that doesn't work, reinstall the driver. Download it from the radio manufacturer's website. Uninstall the old driver first. Restart.
If your radio still doesn't appear, try a different computer. This tells you whether the problem is your computer or your cable.
Frequency and Tone Configuration Errors
You programmed a repeater but it doesn't respond. Check these:
- Is the offset correct? (Check your repeater directory again)
- Is the tone code correct? (Double-check the CTCSS or DCS code)
- Are you transmitting on the right frequency? (Many radios default to receive frequency)
Most "broken" radios just have the wrong tone code.
Radio Model Compatibility Problems
Your software doesn't support your radio model. This happens with older radios or newer ones that came out after your software was released.
Check if there's a software update. Many tools add new radio support regularly. If no update exists, try CHIRP, it supports hundreds of models and updates frequently.
Frequently Asked Questions
Is ham radio programming difficult for beginners?
Ham radio programming doesn't have to be complex. Most modern handheld radios and ham radio programming software are designed with intuitive interfaces. The main challenge is understanding frequency offsets, CTCSS tones, and repeater settings, but once you learn these concepts once, the process becomes straightforward. Using dedicated programming software instead of OEM tools significantly reduces the learning curve. Many radio clubs offer guidance, and instructional videos can walk you through each step.
Why use ham radio programming software instead of CHIRP, which is free?
CHIRP is a valuable free option, but it has trade-offs. CHIRP supports a wide range of radio brands, but not every model or advanced feature. Dedicated ham radio programming software often provides more specialized support for specific radio models, better customer support, and compatibility with features like digital communication modes. If CHIRP fully supports your radio and meets your needs, it's a solid choice. If you need broader radio support, a more efficient workflow, or specialized features, paid solutions offer advantages.
Do I need a special cable to program a ham radio?
Yes, you need a programming cable designed for your specific radio model and computer. Standard USB cables won't work because radio programming cables include specialized connectors and often use FTDI chipsets to ensure reliable data transfer. Using a high-quality programming cable prevents connection failures, data corruption, and frustration. Cheap or generic cables frequently cause problems. Verify that any cable you choose is compatible with both your radio model and your operating system before purchasing.
Can one programming program work with different radio brands?
Some ham radio programming software supports multiple radio brands, while others are brand-specific. CHIRP is known for broad multi-brand support. Specialized programming software may focus on specific radio models, offering deeper features for those models. If you manage radios from different manufacturers, look for software with multi-brand compatibility. Always verify that the software you choose officially supports each radio model you own before committing to it.
Programming a ham radio doesn't require a degree in electronics. It requires the right tools and a clear process. RT Systems, Inc. has built both for over 20 years. Our programming software works with dozens of radio brands, our cables use reliable FTDI chipsets, and our support team answers questions by phone and email. If you're tired of struggling with OEM software or spending hours on manual setup, get started with easy ham radio programming solutions that actually simplify the process.