 ultimate-guide
The Beginner's Guide to Setting Up D-STAR on Modern Radios
Last Updated: November 8, 2026
Quick Summary
D-STAR setup on modern radios means configuring four memory items (receive frequency, offset direction, offset amount, and shift) plus the three routing fields RPT1, RPT2, and URCALL. The fastest correct path is DR mode, where you select a repeater from the list and the radio fills RPT1 and RPT2 for you. Gateway access also requires a registered callsign entered exactly as approved, including any suffix.
- D-STAR is an open standard maintained by the Japan Amateur Radio League, so different brands interoperate.
- Register your callsign with your regional gateway and wait for confirmation before programming anything.
- RPT1 is the repeater you transmit into, RPT2 is the next hop, and URCALL is the destination.
- On Icom radios the gateway flag is a leading G, so W1ABC C becomes GW1ABC C in RPT2.
- For a first contact, pick a local repeater, set URCALL to CQCQCQ, and transmit a short call.
Table of Contents
- What D-STAR Is and How Digital Voice Works on Modern Radios
- D-STAR Registration and Callsign Setup for Gateway Access
- D-STAR Radio Programming: Memories, Frequency, Offset, and Repeater Shift
- Configuring RPT1, RPT2, and URCALL Routing Fields
- Using DR Mode and the Repeater List for a First Digital QSO
- D-STAR Hotspot Setup Across Radio and Hotspot Configurations
- D-STAR Reflector Setup and Current Network Conventions
- Troubleshooting a D-STAR Radio That Will Not Connect
- Frequently Asked Questions
What D-STAR Is and How Digital Voice Works on Modern Radios
D-STAR is a digital voice and data protocol for amateur radio, developed in Japan and maintained as an open standard. It converts speech into a digital stream, tags each transmission with your callsign, and routes traffic over the internet through gateways.
New owners often say the radio works fine, but the routing fields feel like a foreign language. That is a fair reaction. D-STAR asks you to think about where a signal should go, not just what frequency it uses.
The Open Protocol Behind D-STAR
The protocol is published and maintained by the Japan Amateur Radio League, which is why radios from different manufacturers can talk to each other on the same repeater. The practical result: a handheld from one brand can reach a mobile rig from another through a shared gateway. Many modern radios include D-STAR, so setup is often a configuration task rather than a hardware project.
D-STAR Registration and Callsign Setup for Gateway Access
Gateway access generally requires a registered callsign.
Without that registration, your radio still transmits. It simply cannot reach anything beyond the local repeater's RF footprint.
Here is the sequence that works:
- Confirm your license is active in the FCC database, since the gateway checks it.
- Register your callsign with the gateway covering your area.
- Wait for the confirmation email before programming anything.
- Enter the callsign exactly as registered, including any suffix.
A common mistake is programming a suffix the gateway has not approved. The radio shows a transmit indicator, and nothing else happens.
The FCC amateur radio service rules govern what your license permits; the gateway registration is a separate layer on top of that.
D-STAR Radio Programming: Memories, Frequency, Offset, and Repeater Shift
Every D-STAR memory channel needs four things set correctly: the receive frequency, the offset direction, the offset amount, and the shift. Get any one wrong and the radio transmits outside the repeater's input.
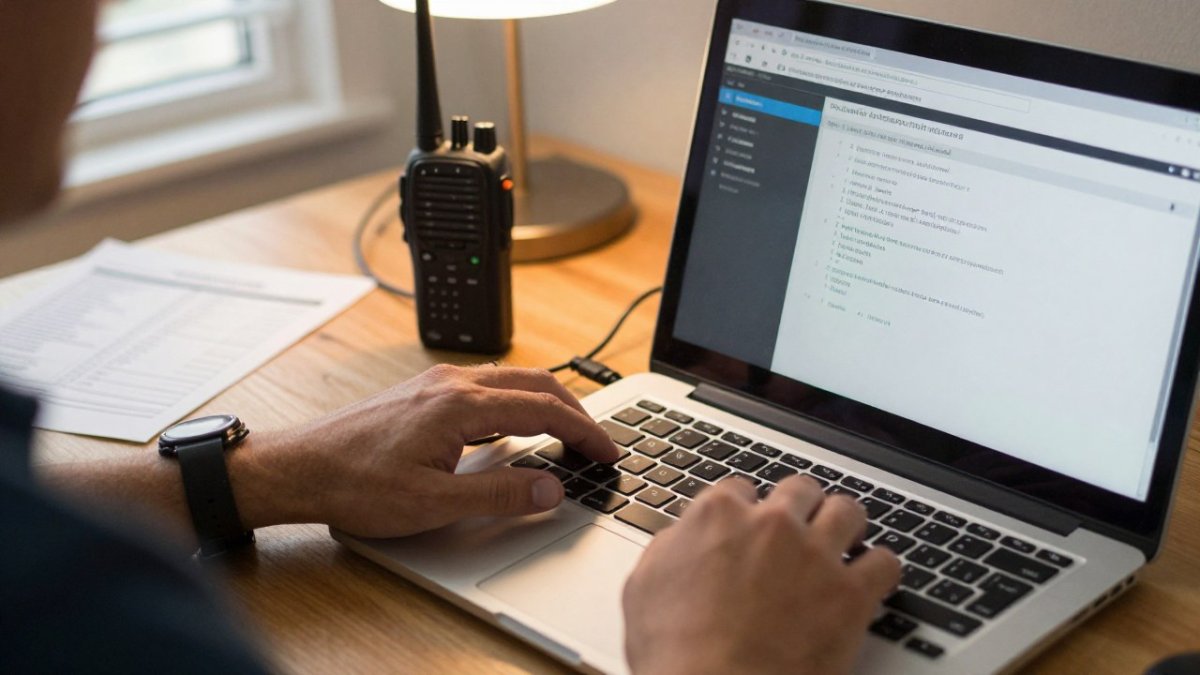
Most modern radios default to a standard offset for the band, and most D-STAR repeaters follow the same convention. Verify it per repeater rather than trusting the default.
If you are new to memory entry, our walkthrough on how to program a D-STAR radio for beginners covers the front-panel steps in order. For repeater entries specifically, the guide to programming amateur radio repeaters correctly walks through frequency and offset entry one field at a time.
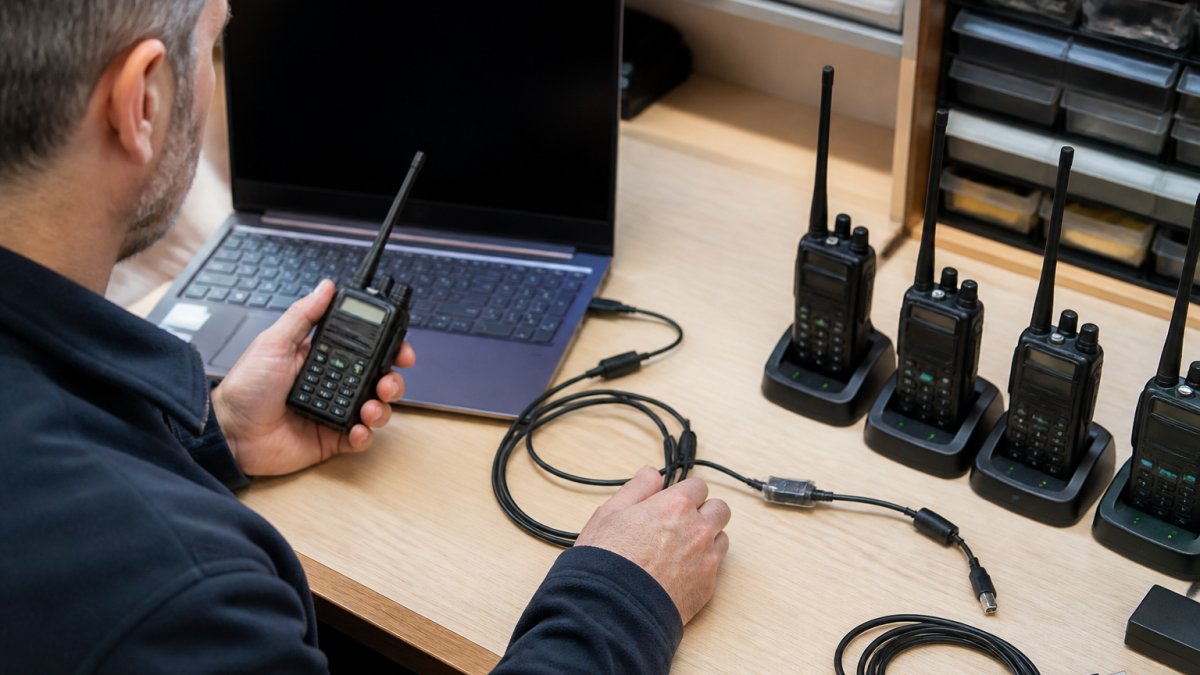
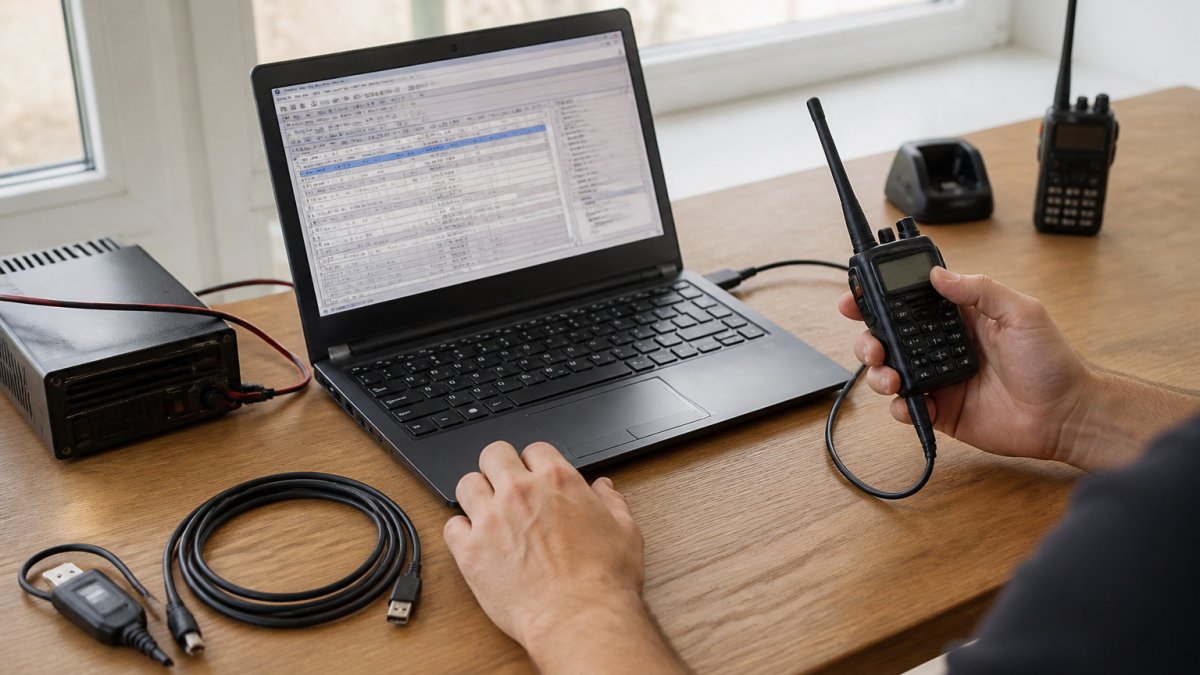
Front-panel programming works. It can be slow, and one mistyped digit can ruin a channel, so many operators prefer software once they have more than a handful of memories.
Configuring RPT1, RPT2, and URCALL Routing Fields
These three fields decide where your signal goes, and they are the reason D-STAR setup confuses people. Read them as a route, not as settings. RPT1 says "enter here." RPT2 says "leave this way." URCALL says "deliver it there."
- RPT1 is the repeater you are transmitting into, with a module letter. On a 2-meter repeater with a C module, the entry looks like W1ABC C. The space before the module letter is part of the field on most radios, and a missing space is a common silent failure.
- RPT2 is the next hop, usually the same repeater callsign with the gateway flag set. On Icom radios the gateway flag is a leading G, so the same repeater becomes GW1ABC C. If you are working through a hotspot, RPT2 is the hotspot callsign with its own module letter, not the distant repeater.
- URCALL is the destination: a specific station callsign, a reflector name such as REF001CL or DCS001CL, or CQCQCQ for a general call. Use CQCQCQ when you want anyone monitoring the repeater or reflector to hear you; use a specific callsign only for a directed call.
A useful mental model is a shipping label. RPT1 is the receiving dock, RPT2 is the outbound carrier, and URCALL is the delivery address.
How the fields differ across current radio families
Generic instructions gloss over the menu differences, and that is where most setup time is lost. The field names are the same, but the path to them is not.
- Icom handhelds and mobiles with DR mode (for example the ID-52A, ID-51A Plus2, IC-705, and IC-9700) let you skip manual RPT1 and RPT2 entry entirely. In DR mode you select a repeater from the repeater list, and the radio fills RPT1 and RPT2 from that record. You only choose URCALL. This is the fastest correct path and the one to teach a new operator first.
- Icom radios in DV mode without DR require you to type RPT1, RPT2, and URCALL by hand in the DV set menu. The gateway flag and module letter must be entered exactly, and the radio will not correct a swapped pair for you.
- Kenwood TH-D74A and TH-D75A expose the same fields through their own DV memory and repeater-list menus. The callsign and module entry is similar, but the gateway flag convention and the order of the fields in the menu differ from Icom, so do not copy an Icom field order into a Kenwood memory.
Menu order can differ between radio models, so check the manual for your specific model before entering fields by hand.
Validate the route before you transmit
Before keying up, read the three fields back as a sentence: "I am entering [RPT1], leaving via [RPT2], and delivering to [URCALL]." If that sentence does not match the repeater's published data, fix it before transmitting. Most repeater coordinators publish the exact RPT1 and RPT2 strings on their website or repeater directory listing, and copying those strings is more reliable than reconstructing them from memory.
Watch out: swapping RPT1 and RPT2 produces a radio that keys up with no repeater response, which looks exactly like a hardware fault. Our D-STAR setup guide covering programming software and steps shows the correct field order for common radio families, and programming software that displays all three fields side by side makes a swapped pair visible before you transmit.
Using DR Mode and the Repeater List for a First Digital QSO
DR mode removes most of the field entry. You pick a repeater from a list, pick a destination, and the radio fills RPT1, RPT2, and URCALL for you.
That is the fastest path to a first digital QSO. Build the list once, then select rather than type.
You can add repeaters by hand or import them in bulk. Operators managing a travel route or a club event usually import; the guide to bulk importing repeater frequencies explains the file format and the import order.
For a first contact, pick a local repeater, set URCALL to "CQCQCQ," and transmit a short call.
D-STAR Hotspot Setup Across Radio and Hotspot Configurations
A personal hotspot extends D-STAR coverage anywhere you have internet, which matters when no repeater is in range. The hotspot handles the network side; the radio still needs correct routing fields.
Hotspot setup varies by device, but the pattern holds:
- Configure the hotspot's Wi-Fi and modem settings.
- Register the hotspot's callsign with the gateway.
- Set the radio's RPT1 to the hotspot's frequency and callsign.
- Set RPT2 to the gateway flag.
- Point URCALL at a reflector or a station.
Pi-Star is a hotspot platform used by many operators, and its dashboard exposes fields similar to those on your radio. Mismatched callsign suffixes between hotspot and radio are the usual culprit when a hotspot links but carries no audio.
D-STAR Reflector Setup and Current Network Conventions
Reflectors are conference servers where multiple repeaters and hotspots meet. The naming conventions matter: REF, XRF, DCS, and XLX identify different reflector families, and each uses its own linking method.
Modern radios often support reflector linking directly through a menu. Older ones need the reflector name in URCALL. Either way, the destination field changes, not the repeater fields.
Reflector families use different naming and linking conventions. Check the reflector's own documentation before linking, since numbering schemes differ between families.
Troubleshooting a D-STAR Radio That Will Not Connect
Many D-STAR failures are configuration errors rather than hardware faults, and working through the layers in a fixed order, changing one setting at a time, is a practical way to find the cause. The decision tree below moves from the physical layer outward, so you stop at the first layer that fails rather than guessing.
Step 1: Confirm the physical and RF layer
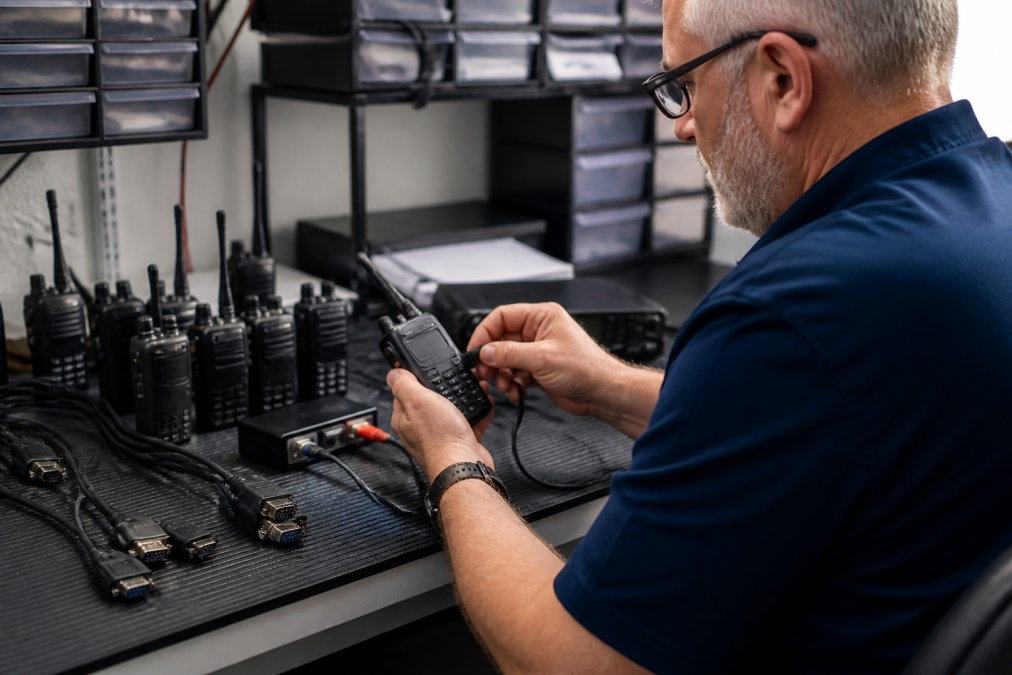
Start with the cable and the antenna. A marginal USB connection produces symptoms that look like configuration errors, and our guide to troubleshooting radio cable connection issues covers the checks worth doing before you touch a single field. Confirm the radio transmits on a simplex analog frequency first; if it does not, the problem is not D-STAR.
Step 2: Confirm registration and gateway access
If the radio transmits locally but nothing leaves the repeater, check registration before anything else. Log in to the gateway account, confirm the callsign is approved, and confirm the suffix in the radio matches the suffix on the account exactly. A callsign that is registered but entered with a different suffix will key the repeater and produce no network audio.
Step 3: Isolate radio-side versus hotspot-side faults
This is the step generic troubleshooting skips. If you are using a hotspot, the fault can live in the radio, in the hotspot, or in the link between them, and the symptoms overlap.
- Test the radio against a known-good repeater. If it works there, the radio routing fields are correct and the fault is on the hotspot side.
- Test a known-good radio against the hotspot. If it works, the hotspot is configured correctly and the fault is in the first radio's routing fields.
- Check the hotspot dashboard. Pi-Star and similar platforms show the last heard station, the linked reflector, and the modem status. If the dashboard shows your callsign when you transmit, the radio-to-hotspot link is working and the fault is downstream.
Step 4: Verify the routing fields against published data
If the physical layer, registration, and hotspot link are all sound, the fault is almost always in RPT1, RPT2, or URCALL. Read the three fields back as a route and compare them to the repeater's or reflector's published strings. A swapped RPT1 and RPT2, a missing module letter, or a missing space before the module letter will each produce a clean key-up with no response.
Step 5: Run a pre-transmission validation checklist
Before every first transmission on a new channel, confirm each item in order.
- Callsign registered and suffix matches the gateway account.
- Receive frequency matches the repeater's published output.
- Offset direction and amount match the repeater's published input.
- RPT1 matches the repeater callsign and module letter, with the space.
- RPT2 matches the repeater gateway flag and module letter, or the hotspot callsign and module.
- URCALL is set to CQCQCQ for a general call or the correct reflector or station for a directed call.
- Local operating rules allow the mode and frequency you are using.
Symptom-to-cause reference
| Symptom | Likely Cause | Fix |
|---|---|---|
| Radio keys, no response | RPT1/RPT2 swapped or missing space | Verify route order and spacing |
| Repeater responds, no audio | Wrong URCALL destination | Set to CQCQCQ |
| Gateway rejects transmission | Callsign not registered or suffix mismatch | Confirm gateway approval and suffix |
| Hotspot links, no audio | Suffix mismatch between radio and hotspot | Match callsign suffixes |
| Works on one repeater, not another | Wrong module letter or offset for that repeater | Recheck published repeater data |
| No connection at all | Cable or driver fault | Check cable and port |
Work the tree in order and change one variable at a time. Changing all three routing fields at once tells you nothing about which one was wrong, and it usually creates a second fault before you have found the first.
Frequently Asked Questions
What radios work with D-STAR?
D-STAR is supported by transceivers from several major amateur radio brands, including handhelds, mobiles, and base stations. Modern radios often include DR mode and built-in repeater lists that simplify D-STAR setup. Check your radio's manual for D-STAR compatibility. Many older models can also be programmed for D-STAR with the right software and cable. RT Systems supports a wide range of radio brands, so you can confirm compatibility on their website before you buy.
How do I register a callsign for D-STAR?
D-STAR registration is typically handled through a regional gateway or repeater trustee, not a single global database. In the United States, many gateways use a registration system tied to the repeater's callsign. You provide your amateur callsign and basic details, and you receive a password or validation. Once registered, your callsign is recognized for gateway access. Some radios also require you to enter your callsign in the programming software. Always follow the instructions from your local repeater group.
What are URCALL, RPT1, and RPT2 in D-STAR?
URCALL is the destination field: it can be a specific callsign, a repeater, or a reflector. RPT1 is the local repeater you are transmitting through, and RPT2 is the gateway or destination repeater. For a simple local QSO, URCALL is often set to CQCQCQ, RPT1 to your local repeater's callsign with the module letter, and RPT2 to the same repeater with a gateway designator. Getting these three fields right is the most common hurdle in D-STAR setup, so double-check them in your programming software.
How do I use D-STAR through a repeater?
First, register your callsign with the repeater's gateway. Then program your radio with the repeater's frequency, offset, and routing fields: RPT1 for the local repeater, RPT2 for the gateway, and URCALL set to CQCQCQ for a general call. Use DR mode if your radio supports it to select from a repeater list. Key up and identify; if you hear nothing, verify the repeater is linked and your routing fields match the repeater's published information. A programming cable and software make bulk edits faster.
How do I configure a D-STAR radio for a personal hotspot?
D-STAR hotspot setup involves configuring both the hotspot and the radio. On the hotspot (often running Pi-Star), enter your callsign, the hotspot's frequency, and the reflector or destination you want. On the radio, set RPT1 to your hotspot's callsign (often with a module letter like B), RPT2 to the same, and URCALL to CQCQCQ or a specific reflector. Many hotspots use a simplex frequency; ensure your radio's memory matches. Test with a local echo or parrots, then move to live reflectors.
How do I troubleshoot a D-STAR radio that will not connect?
Start with the routing fields: confirm RPT1, RPT2, and URCALL match the repeater's or hotspot's published data. Check that your callsign is registered and entered correctly. Verify frequency and offset, and ensure you are within range. If using a hotspot, confirm it is online and linked to the right reflector. Try a different memory channel or re-upload your codeplug. Many connection problems trace to a typo in RPT2 or a missing module letter. Programming software that displays your channels side by side can help you spot inconsistencies.