 how-to
Radio Programming Tools for Club Events: A How-To Guide
Table of Contents
- Why Radio Programming Tools Matter for Club Events
- Choosing the Right Ham Radio Programming Software for Your Club
- Setting Up Your Radio Programming Cable and Connection
- Step-by-Step: Radio Channel Programming for Your Event
- Programming Radios for an Event: Workflow and Best Practices
- Automating Music Rotation and Announcements
- Common Mistakes to Avoid When Programming Club Radios
- Testing and Backup: Ensuring Reliability on Event Day
- Frequently Asked Questions
Last Updated: October 17, 2026
Why Radio Programming Tools Matter for Club Events
Radio programming tools for club events keep staff, volunteers, and performers across large venues and outdoor spaces connected and responsive.
Standard radios ship with generic frequencies, but events need custom channels organized by role or location. Radio programming tools for club events load exactly the frequencies and settings your team needs, without manual entry on every radio.
RT Systems, Inc. simplifies this error-prone process: our software and cables program multiple radios identically, so your whole team speaks on the same channels from day one.
Without proper programming, you risk miscommunication, missed alerts, and chaos when coordination matters most.
Choosing the Right Ham Radio Programming Software for Your Club
Selecting ham radio programming software for your club is a long-term decision, so evaluate tools against your operating pattern. Most clubs fall into one of three profiles.
Profile 2: Recurring events with a rotating crew. Prioritize repeatability, saved templates, versioned channel files, and diffing last month's configuration against this month's.
Criteria worth scoring before you commit:
- Exact model support, not just brand support. Confirm your specific model and firmware revision are listed; "supports Yaesu" is meaningless if your model isn't updated for.
- Frequency database coverage for your area. Pre-loaded repeater data saves hours, but only if it covers your regions and is current.
- Batch and template workflow. Can you save a configuration, clone it across radios, and edit it once for the whole fleet? This is the single biggest time-saver for recurring events.
- Cable and driver compatibility. Look for a known-good chipset (FTDI is the common standard) and published driver guidance for current operating systems.
- Import and export formats. CSV import and export let you build channel lists in a spreadsheet, share them with a co-organizer, and archive them for next year.
- Update cadence. Manufacturers release new models and firmware regularly; stale tools eventually fail on newer radios.
- Support and documentation. When something breaks the night before an event, real support and clear docs matter more than any feature.
Score each candidate 1 to 5, weighting batch workflow and exact model support highest for recurring events. The best weighted score is almost always the right choice.
One trade-off: manufacturer software is often free and guaranteed for its own radios, but covers one brand, updates slowly, and offers limited batch tooling.
Setting Up Your Radio Programming Cable and Connection
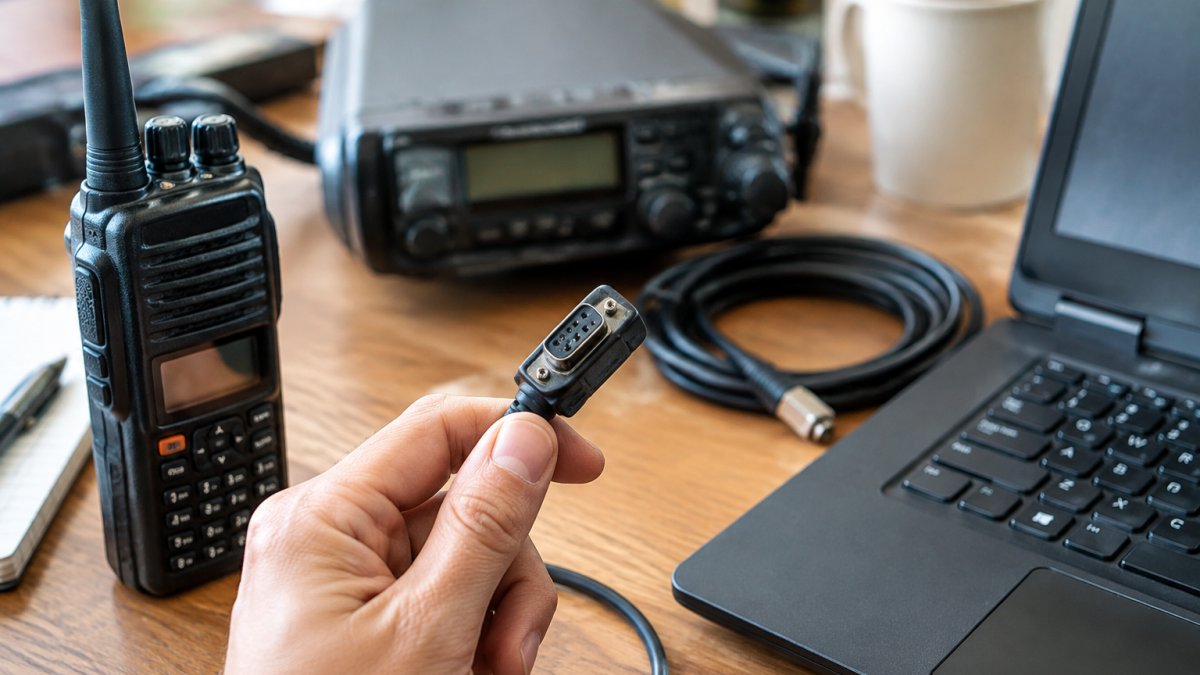
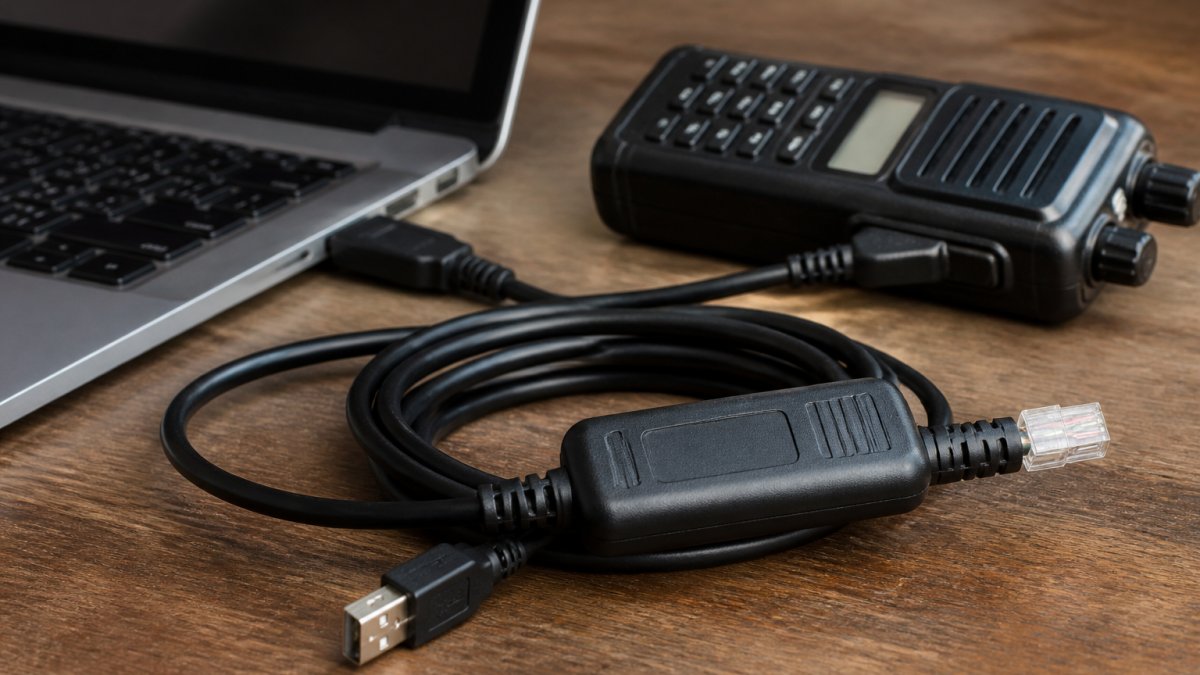
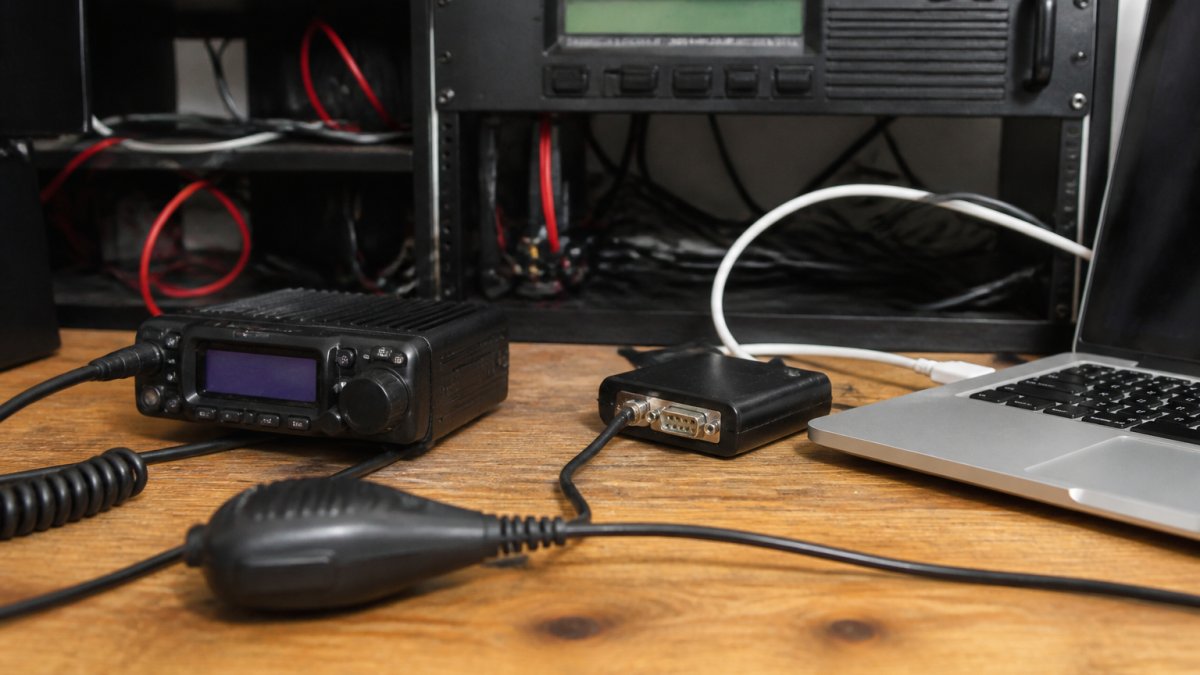
A quality radio programming cable matters as much as the software. Cheap cables cause connection failures, corrupted transfers, and hours of troubleshooting before an event.
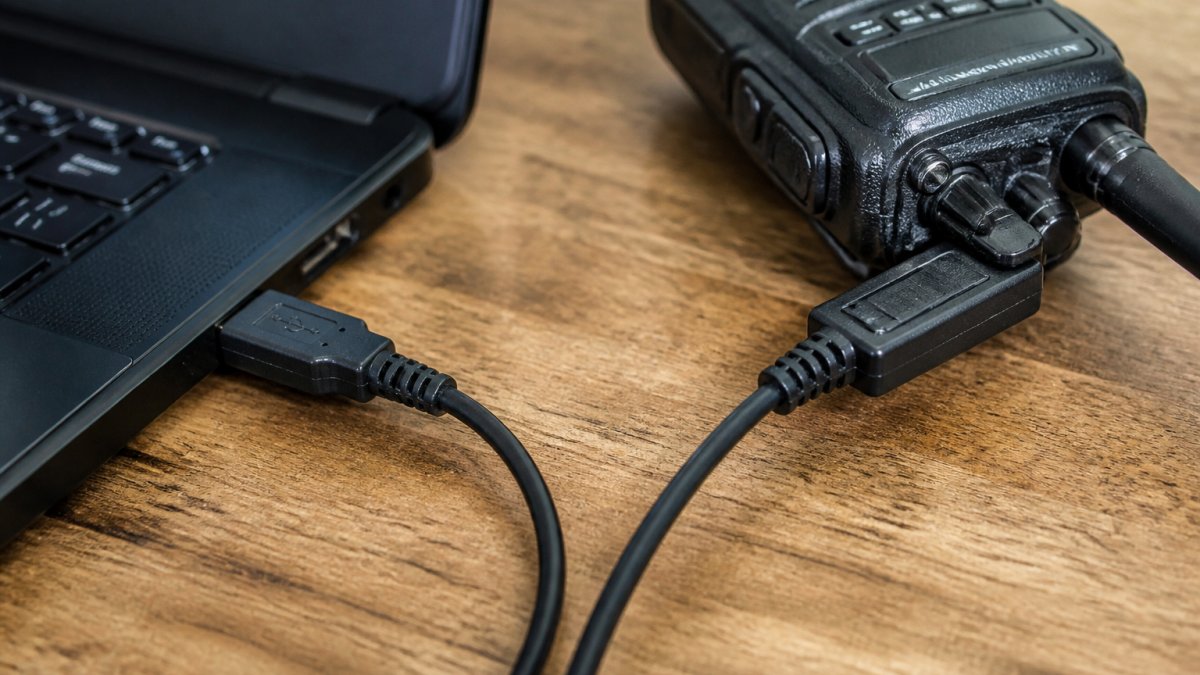
RT Systems, Inc. cables use FTDI chipsets for stable radio-to-computer connections: clean transfers every time, no retries, no lost channels, no corrupted settings.
Setup steps are straightforward:
- Install the software on your computer and any required drivers
- Connect the cable to your radio and the USB port on your laptop
- Launch the software and verify the connection is detected
- Test with one radio before programming your entire fleet
Common mistakes: generic USB cables (which don't work for radio programming), skipped driver installs, and outdated software.
Step-by-Step: Radio Channel Programming for Your Event
Programming radios for an event follows a logical workflow you can replicate for any future event.
Step 1: Import or Create Your Frequency List
Start by listing every frequency your event will use. This typically includes:
- Primary team channel (all staff)
- Department-specific channels (security, catering, setup crew)
- Emergency or backup frequencies
- Repeater frequencies for extended range
Build the list manually or import a CSV from a previous event. RT Systems, Inc. software includes regional frequency databases, so you can search local repeaters instead of starting from scratch.
Save it with a filename including the event name and date for later reprogramming or troubleshooting.
Step 2: Organize Channels by Event Role and Location
Don't dump all frequencies into one list. Organize logically so users find the right channel instantly under pressure.
A typical structure looks like this:
- Channels 1-5: Primary team communications
- Channels 6-10: Security and access control
- Channels 11-15: Setup and logistics
- Channels 16-20: Backup and emergency frequencies
Name channels clearly, "MAIN TEAM," "SECURITY," "SETUP," not cryptic abbreviations, so a volunteer instantly knows which channel to use.
Step 3: Configure Tone and Squelch Settings
Tone settings (CTCSS or DCS) prevent interference from other users on the same frequency; squelch determines how sensitive the radio is to incoming signals.
For most club events, match tone frequencies to your repeaters or team channels, and set squelch high enough to ignore background noise but not so high that weak signals get missed.
RT Systems, Inc. software lets you configure tone and squelch in a clear interface and apply settings to all channels at once, instead of hunting through manufacturer menus.
Step 4: Test and Verify All Channels
Before the event, test every channel on at least one radio:
- Program a test radio using your completed channel list
- Power it on and cycle through each channel
- Verify the frequency displays correctly
- Check that tone and squelch settings are active
- Listen for any audio issues or interference
This 15-minute check catches errors before they affect your team; fixes happen in the software and a reprogram, far faster than live troubleshooting.
Programming Radios for an Event: Workflow and Best Practices
Once your channel list is tested, programming the whole fleet is straightforward. The workflow most clubs use:
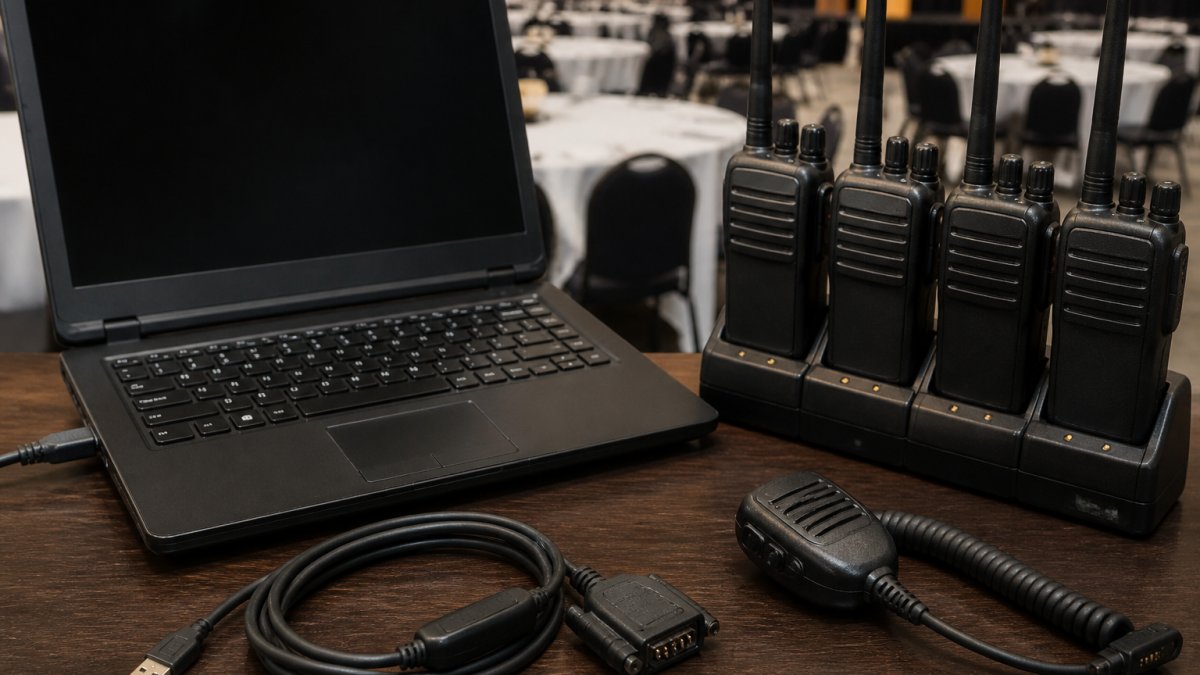
Gather all radios in one location with your programming computer and cable set up, not scattered across the venue.
Program in batches. Connect, load the channel list, transfer, disconnect, move on. Most transfers take 30 seconds to 2 minutes; 10 radios are done in about 20 minutes.
Label each radio as you finish, using tape with the assigned user or role, to prevent confusion and simplify inventory.
Keep a master list of which radio has which channels, so mid-event problems are easy to diagnose.
Best practices for programming radios for an event include:
- Program all radios identically unless specific roles need different channels
- Add at least one backup frequency to every radio
- Test the entire programmed fleet 24 hours before the event
- Keep the programming computer and cable accessible during setup, in case you need to reprogram a radio
- Document your channel list and settings in case you need to reprogram after the event
Automating Music Rotation and Announcements
Start with the run of show, not the channel list. Write the timeline in 15- or 30-minute blocks, doors, opening set, headline set, changeover, closing.
Separate the music path from the coordination path. Putting music cues and crew chatter on one channel means they compete for airtime and the crew drowns out the cue. Design two parallel paths:
- Music and cue channel: DJ, sound engineer, lighting lead, and stage manager only. Short, scripted cues ("house lights down in 30," "next track ready," "mic check").
- Coordination channel: everyone else, including security, front-of-house, and volunteers. Announcements and status updates go here.
This split is the most useful structural decision for a club event, and the piece generic radio-programming advice omits.
Automate recurring announcements with a simple cadence. You don't need broadcast automation software: a designated announcer with a printed cue sheet and a watch is sufficient and more reliable. The pattern:
- At each block boundary, the announcer reads a one-line status on the coordination channel ("Changeover in 10, stage clear").
- Five minutes before a hard cue, the stage manager calls it on the music channel.
- At the cue itself, a single word ("go") confirms execution.
Keep announcements under 15 seconds; long ones on a shared channel are the fastest way to lose the crew's attention.
Build a music rotation plan that survives a changeover. With multiple DJs or live sets, the risk is dead air during the handoff.
Common Mistakes to Avoid When Programming Club Radios
Most programming problems stem from a few predictable mistakes:
Using the wrong cable. Generic USB cables look similar but don't work. Invest in a quality cable from RT Systems, Inc. with proper FTDI support.
Forgetting to install drivers. Modern computers sometimes block unsigned drivers; install them explicitly and restart after setup.
Programming identical channels across different radio models. Older radios may not support frequencies newer models do; check specs first.
Leaving channels empty or unnamed. Blank channels confuse users; name every active one, even "BACKUP" or "SPARE."
Overloading one channel. If 50 people talk on one channel at once, nobody hears clearly.
Ignoring battery life. Constant transmitting drains batteries; remind users to keep transmissions brief and switch to lower power when possible.
Testing and Backup: Ensuring Reliability on Event Day
Event day is no time to discover your radios don't work. Test comprehensively the day before.
Test protocol:
- Program at least three radios with your full channel list
- Power them on and verify each channel displays correctly
- Test transmission and reception on every channel
- Check battery levels and charging
- Verify tone and squelch settings are active
- Test range by having team members move to different areas of the venue
If a radio fails, reprogram it immediately using your backup computer setup; keep one computer and cable reserved for troubleshooting.
Backup strategy:
- Program at least 20% more radios than you expect to use
- Keep backup radios powered off and stored safely until needed
- Have one fully programmed radio available as a reference if someone needs quick help
- Store your channel list on a USB drive and backup computer, in case your main computer fails
Redundancy sounds excessive until you need it; one backup radio has saved countless events from communication failures.
Radio programming tools for club events transform chaotic setup into smooth coordination. The process isn't complicated, it just requires the right software, a reliable cable, and a clear workflow.
Frequently Asked Questions
What equipment do you need to program club radios?
You need three core components: a compatible radio, a quality radio programming cable with an FTDI chipset, and ham radio programming software installed on your computer. The cable connects your radio to your laptop via USB. Most modern radios work with standard cables, but verify compatibility with your specific radio model before purchasing. Having a backup cable and a second computer available on event day adds reliability.
How do you test programmed radios before an event?
After programming radios for an event, perform a three-step verification: First, check that all channels appear correctly in your software and match your written frequency list. Second, power on each radio and manually cycle through channels to confirm they display and transmit on the correct frequencies. Third, conduct a live test with team members at different locations using the actual event channels. Document any issues and reprogram as needed. Always test at least 24 hours before the event.
Can radio programming software save and share channel configurations?
Yes. Most ham radio programming software allows you to save complete channel configurations as files on your computer. This lets you back up settings, share configurations with other club members, and quickly reprogram multiple radios with identical setups. Store these backup files on cloud storage or an external drive. This approach saves hours when you need to set up radios for future events and protects against data loss if your computer fails.
Why should I use dedicated radio programming software instead of free alternatives?
Dedicated radio programming software is built specifically for reliability, ease of use, and comprehensive radio support. While free options exist, professional software offers better customer support. For club events where broadcast reliability is critical, professional software reduces the risk of programming errors that could disrupt your event.