 how-to
Customizing Radio Settings With Software: A Step-by-Step Guide
Table of Contents
- Understanding Radio Types and Programming Approaches
- Preparing Your Computer and Radio Programming Cable
- Choosing and Installing Radio Programming Software
- Programming Radio Memory Channels and Frequencies
- Radio Settings Backup and Restore Best Practices
- Configuring Regional and Country Settings
- Verifying Your Configuration and Troubleshooting Common Issues
- Frequently Asked Questions
Last Updated: October 9, 2026
Understanding Radio Types and Programming Approaches
Customizing radio settings with software has become essential for radio enthusiasts managing multiple channels and frequencies. But not all radios work the same way. The approach you take depends entirely on what type of radio you own.
Three main radio types dominate the market: vehicle infotainment radios, Android head units, and two-way radios. Each requires different software and methods. Understanding which one you have is your first step.
Vehicle Infotainment Radios vs. Android Head Units vs. Two-Way Radios
Vehicle infotainment radios are built into your car. They handle AM/FM broadcast stations, sometimes satellite radio, and increasingly, streaming audio. These radios rarely need customizing radio settings with software because the manufacturer controls the firmware.
Android head units replace your factory radio with an aftermarket touchscreen system. These devices run Android software and let you install apps, customize the home screen, change wallpapers, adjust themes, and modify button colors and icons.
Two-way radios (also called transceivers or amateur radios) are a completely different animal. These radios transmit and receive on specific frequencies. Programming them requires specialized software and a programming cable.
Two-way radios come from brands like Yaesu, Kenwood, Icom, Motorola, and others. Each brand's radio requires either OEM software (which tends to be clunky and frustrating) or third-party alternatives that simplify the process.
The type of radio you own determines everything else: the software you'll use, the cable you'll need, and the customization options available to you.
Preparing Your Computer and Radio Programming Cable
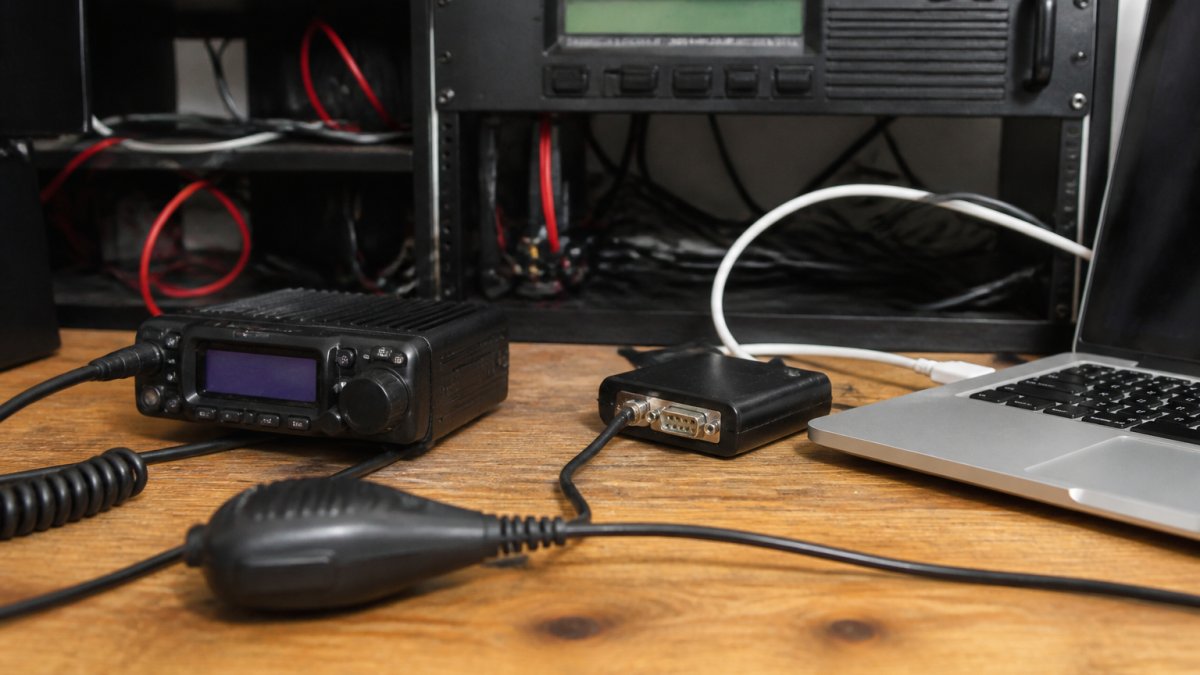
Before you start customizing radio settings with software, your computer and radio need to communicate. This requires the right cable and proper drivers installed on your system.
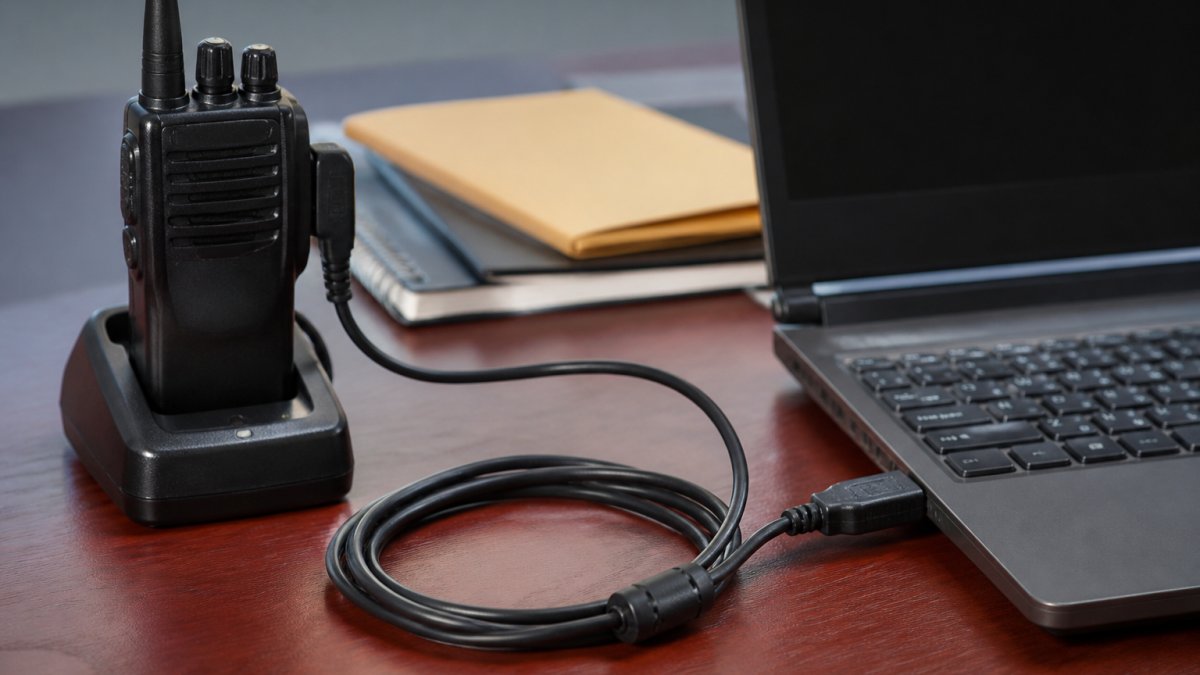
Checking Compatibility and Drivers
Start by identifying your radio model and your computer's operating system. Most programming software runs on Windows. Some solutions support Mac, but support is limited. Check the software provider's compatibility list before purchasing anything.
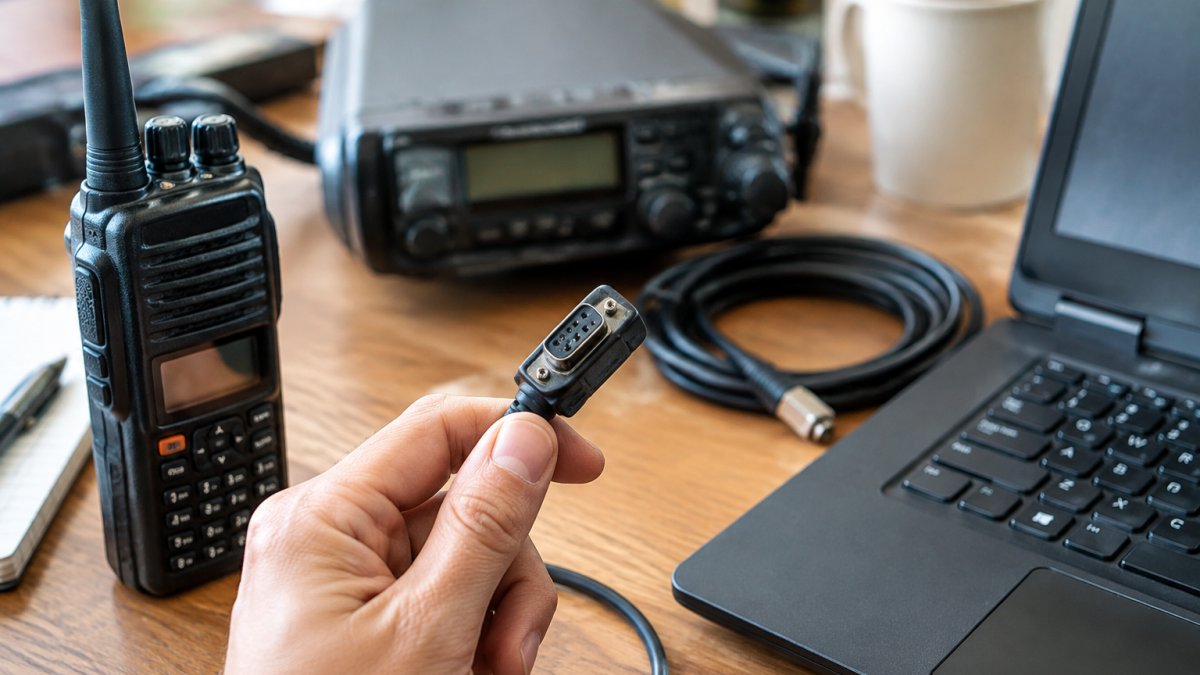
Next, verify that your computer has the necessary USB ports. Many modern laptops lack standard USB-A ports, so you might need a USB-C adapter. Also check whether your radio has a programming port.
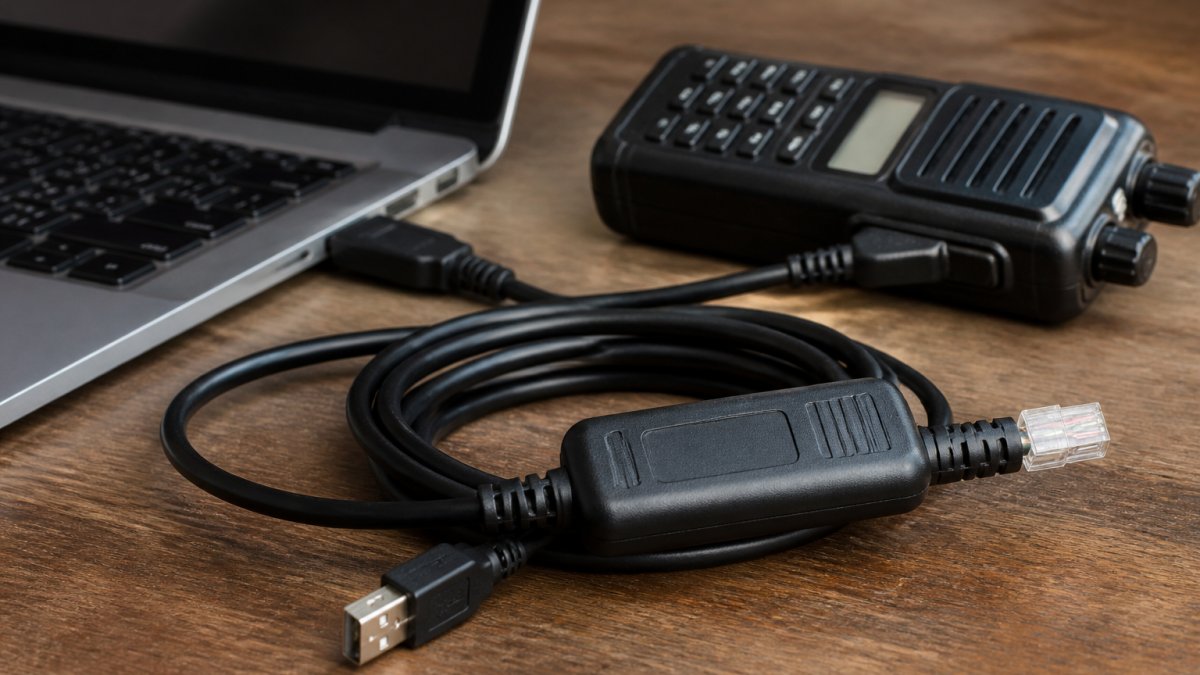
Download the correct drivers for your cable before connecting anything. Quality programming cables use FTDI chipsets, which require specific drivers. Installing drivers first prevents connection issues later.
Your computer should recognize the cable as a serial COM port once drivers are installed. On Windows, check Device Manager to confirm the port appears. If the port doesn't show up, the driver installation failed.
Connecting Your Radio Programming Cable
Power on your radio before connecting the cable. This prevents damage from power surges during connection. Locate the programming port on your radio. Most radios label it clearly on the back or side.
Insert the cable connector firmly into the radio's programming port. The connection should feel snug but not forced. Plug the USB end into your computer. Wait a few seconds for the system to recognize the device.
Open your programming software and check the connection status. Most software displays a green indicator when the radio is detected. If you see a red X or error message, disconnect the cable and try a different USB port. Some computers reserve certain USB ports for specific devices.
Never force the cable connection. A poor connection causes data corruption during programming. If the connector doesn't fit smoothly, you may have the wrong cable for your radio model.
Choosing and Installing Radio Programming Software
The right software makes customizing radio settings with software fast and reliable. Poor software wastes hours and risks losing your data.
Start by confirming which software supports your specific radio model. Many generic programs claim broad compatibility but work poorly with certain radios. Check user forums and reviews from other radio owners with your exact model.
Download the software from the official website only. Never use third-party download sites. Install it on your computer following the provided instructions. Most programs require administrator privileges to install properly.
Launch the software and connect your radio via the programming cable. The software should detect your radio automatically. If it doesn't, check that drivers installed correctly and the cable connection is secure.
Create a backup of your radio's current settings before making any changes. Most software includes a "Read" or "Download from Radio" button. Click it to save your existing configuration. Store this backup file in a secure location. If something goes wrong, you can restore your original settings.
Programming Radio Memory Channels and Frequencies
This is where customizing radio settings with software becomes practical. You can program hundreds of channels in minutes instead of hours.
Setting Transmit and Receive Frequencies
Open your software and create a new channel. Enter the receive frequency first. This is the frequency your radio listens on. For local repeaters, find the frequency in online databases or ask other radio operators in your area.
Enter the transmit frequency next. For simplex (direct radio-to-radio) communication, transmit and receive frequencies are identical. For repeater use, transmit and receive frequencies differ. The software usually calculates the transmit frequency automatically if you specify a repeater offset.
Set the transmit power level. Most radios offer multiple power settings: low (1 watt), medium (5 watts), and high (25-50 watts). Lower power saves battery and reduces interference. Use the minimum power needed for reliable communication.
Configure the squelch setting. Squelch silences your radio when no signal is present. Higher squelch levels block weaker signals. Start with medium squelch and adjust based on your location and the signals you receive.
Customizing Preset Stations and Radio Bands
Name each channel clearly. Instead of "Channel 1," use "Local Repeater" or "Club Net." Good naming saves time when you're searching for a frequency during an event.
Assign each channel to a radio band. Your software lets you organize channels by function: VHF, UHF, amateur, commercial, emergency, etc. This organization makes scanning and selecting channels faster.
Set the mode for each channel. Most amateur radios support FM (frequency modulation) for voice. Some support digital modes like D-Star, DMR, or System Fusion. Select the correct mode for each frequency.
Group channels into banks or pages if your radio supports it. This feature lets you switch between different sets of channels. Many users create separate banks for home, travel, and club events.
Adjusting Audio Settings and Equalizer
Access the audio settings in your software. Most radios let you adjust the audio home screen display, selecting what information appears when you power on the radio.
Configure the equalizer if your radio supports it. Different voice frequencies respond better to different equalizer settings. Experiment with presets for voice clarity, bass boost, or treble enhancement. Save your preferred setting.
Set alert tones and notification sounds. Some radios offer customizable alert frequencies and volumes. Configure these to suit your preference and environment.
Adjust volume levels if your software allows it. Some radios store default volume settings. Set this to a comfortable listening level for your typical use.
Radio Settings Backup and Restore Best Practices
Losing your radio configuration is frustrating. Backups protect you from accidental deletion, software crashes, and hardware failure.
Back up your settings regularly. After programming new channels or adjusting settings, save a backup immediately. Use a descriptive filename: "Radio_Config_October2026_Final.csv" tells you exactly what the file contains and when you created it.
Store backups in multiple locations. Keep one copy on your computer, one on an external USB drive, and one in cloud storage. If your computer fails, you still have your configuration.
Label your backup files clearly. Include the radio model, date, and version number. When you need to restore, you'll know exactly which backup to use.
Test your backup by restoring it to your radio in a safe environment. This confirms the backup is valid before you actually need it.
Keep old backups for at least six months. You might want to revert to a previous configuration if new settings cause problems. Older backups also serve as a record of how your radio setup evolved.
Configuring Regional and Country Settings
Two-way radios operate under different rules in different regions. Your software must match your location's regulations.
Select your country or region in the software settings. This restricts available frequencies to those legal in your area. Using frequencies outside your region's allocation is illegal and creates interference for other users.
For amateur radio operators, select your license class. Different license levels permit different frequencies and power levels. Your software enforces these restrictions automatically.
Some radios include specific regional firmware versions. Verify that your radio's firmware matches your country. Incorrect firmware can prevent access to legal frequencies or allow access to illegal ones.
If you travel internationally, you may need different software versions or firmware for different countries. Never program frequencies that are illegal in your current location, even if they're legal elsewhere.
Verifying Your Configuration and Troubleshooting Common Issues
After programming your radio, verify everything works before relying on it.
Testing Frequencies and Channels
Turn on your radio and select the first programmed channel. Listen for the correct frequency. Switch to the next channel and confirm it's correct. Spot-check several channels throughout your list.
If you programmed repeater frequencies, activate the repeater. Transmit a short test message and listen for your transmission to repeat back. This confirms both transmit and receive frequencies are correct.
Test the audio quality. Adjust the volume and equalizer settings. Make sure voice is clear and understandable.
Check that memory channels are stored in the correct banks or pages. Navigate through your channel organization to confirm everything is accessible.
Resolving Software and Connection Errors
If your software won't connect to your radio, disconnect the cable and reconnect it. Wait 10 seconds between disconnection and reconnection. This resets the communication.
Check Device Manager to confirm the programming cable appears as a COM port. If it doesn't, reinstall the cable drivers. Restart your computer after installing drivers.
If the software displays an error when reading from your radio, the radio may have corrupted memory. Try disconnecting and reconnecting the cable, then attempt to read again.
For persistent connection problems, try a different USB port on your computer. Some USB ports have power issues or compatibility problems. Front-panel ports often work better than rear ports.
If your software crashes when programming, reduce the number of channels you program at once. Program 50 channels, write them to the radio, then program the next batch.
Customizing radio settings with software transforms how you manage your radio.
Frequently Asked Questions
What software can I use to program my radio?
The right radio programming software depends on your radio model and brand. OEM software provided by manufacturers works for their specific radios, but third-party options often offer simpler interfaces and support multiple brands. Many radio enthusiasts prefer dedicated programming software because it's easier to use than OEM tools and provides better memory channel management. Check your radio's manual or the manufacturer's website to confirm compatibility before downloading any software.
Do I need a special cable to program a radio with software?
Yes, you need a radio programming cable to connect your radio to your computer. These cables use specific connectors matched to your radio model and typically feature FTDI chipsets for reliable data transfer. A quality radio programming cable is essential because poor connections can cause data corruption or failed transfers. Verify that the cable's connector type matches your radio's port before purchasing, and ensure your computer recognizes the cable through proper driver installation.
How do I back up my radio settings before editing them?
Most radio programming software allows you to read and save your current radio settings to your computer as a backup file. Open your programming software, connect your radio via the programming cable, and select 'Read from Radio' or a similar option. Save the resulting file to a secure location on your computer. This backup protects you if something goes wrong during editing, you can always restore the original settings by selecting 'Write to Radio' and loading your backup file instead.
What happens if my radio is not recognized by the programming software?
If your radio doesn't appear in the software, first check that the programming cable is firmly connected to both the radio and your computer's USB port. Verify that you've installed the correct drivers for your cable, missing or outdated drivers are the most common cause. Restart your computer and try a different USB port. If the radio still isn't recognized, check that your radio model is actually supported by the software you're using, as not all programs work with all radio brands.