 how-to
Move Radio Settings to New Computer: A Step-by-Step Guide
Table of Contents
- Why Moving Radio Settings Matters
- What You'll Need Before You Start
- Step 1: Locate Your Configuration Files and User Folders
- Step 2: Back Up Your Radio Settings and Database
- Step 3: Importing CSV Files to Radio Software on Your New Computer
- Step 4: Transfer Settings via External Storage or Cloud Sync
- Troubleshooting Radio Software Migration Issues
- Verifying Your Settings After Migration
- Frequently Asked Questions
Last Updated: September 30, 2026
Why Moving Radio Settings Matters
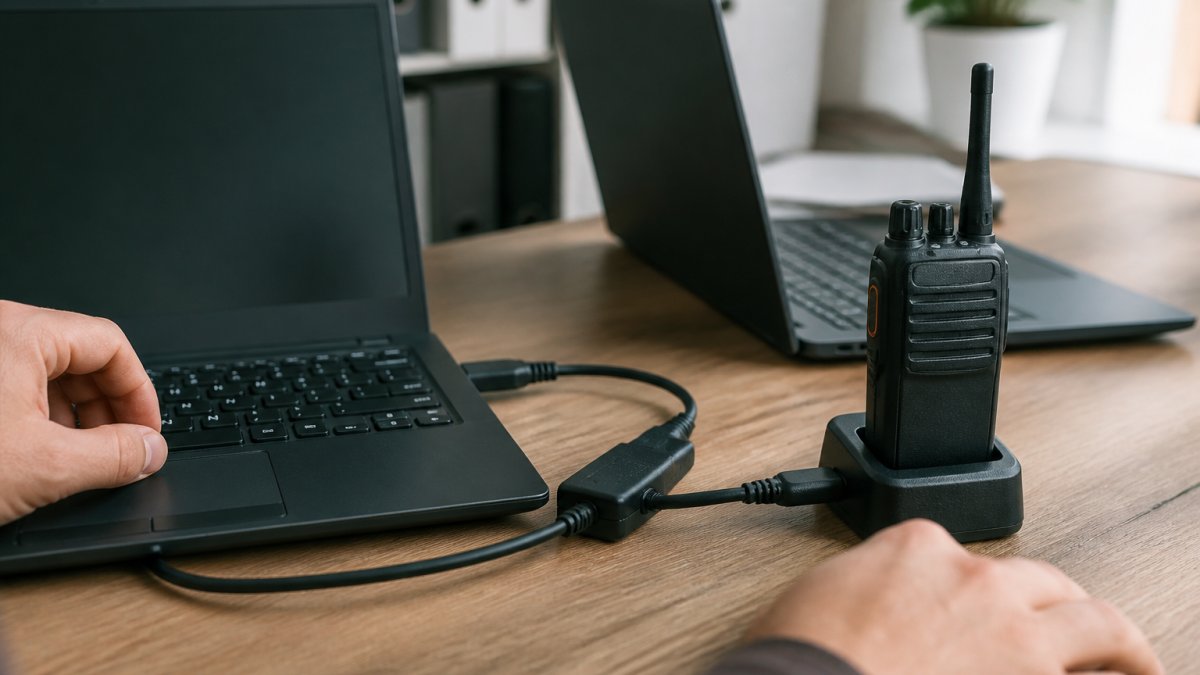
Moving radio settings to a new computer feels overwhelming after hours of programming frequencies and configuring settings, but learning how to move radio settings properly makes the process straightforward. The good news: with the right approach, you can move radio settings to new computer in minutes instead of hours.
According to research from a case study of rural radio in the 21st century, station management has shifted dramatically into the digital era. That means more radio operators than ever are upgrading hardware and needing to transfer their configurations. The challenge isn't technical complexity, it's knowing which files to back up and where to find them.
What You'll Need Before You Start
Before you start, gather: an external storage device, your radio software installation files, administrator access on both computers, your original radio cable, and 15-30 minutes of uninterrupted time. The backup takes 5 minutes; most time goes to fresh installation on the new machine.
RT Systems, Inc. specializes in radio programming software that makes migrations straightforward, with reliable programming cables and user-friendly software designed for complex radio settings transfers.
Step 1: Locate Your Configuration Files and User Folders
Finding your radio software's configuration files is critical. You must understand where your software stores settings, in the Windows Registry, local application data folders, or both, as this determines your migration strategy.
Registry-Based Settings vs. File-Based Settings
Many radio programming applications store settings in two places: the Windows Registry (which requires export/import procedures, with common paths like HKEY_CURRENT_USER\Software\[SoftwareName]) and file-based settings in user folders (which can be copied directly but are incomplete without Registry entries). Check your software's documentation to determine which it uses, as file-based backup alone won't restore complete configuration if Registry settings are involved.
Locating File-Based Configuration Files
Most radio software stores configuration data in one of these locations:
- Windows user folder:
C:\Users\[YourUsername]\AppData\Roaming\[SoftwareName](most common for modern applications) - Program Files directory:
C:\Program Files\[SoftwareName]orC:\Program Files (x86)\[SoftwareName](less common; usually read-only) - Documents folder:
C:\Users\[YourUsername]\Documents\[SoftwareName](common for user-created databases) - Local AppData:
C:\Users\[YourUsername]\AppData\Local\[SoftwareName](used by some applications for temporary or cached data)
To find your specific folder, open File Explorer and navigate to your radio software's installation directory. Look for folders named "Config," "Settings," "Database," "Profiles," or "Preferences."
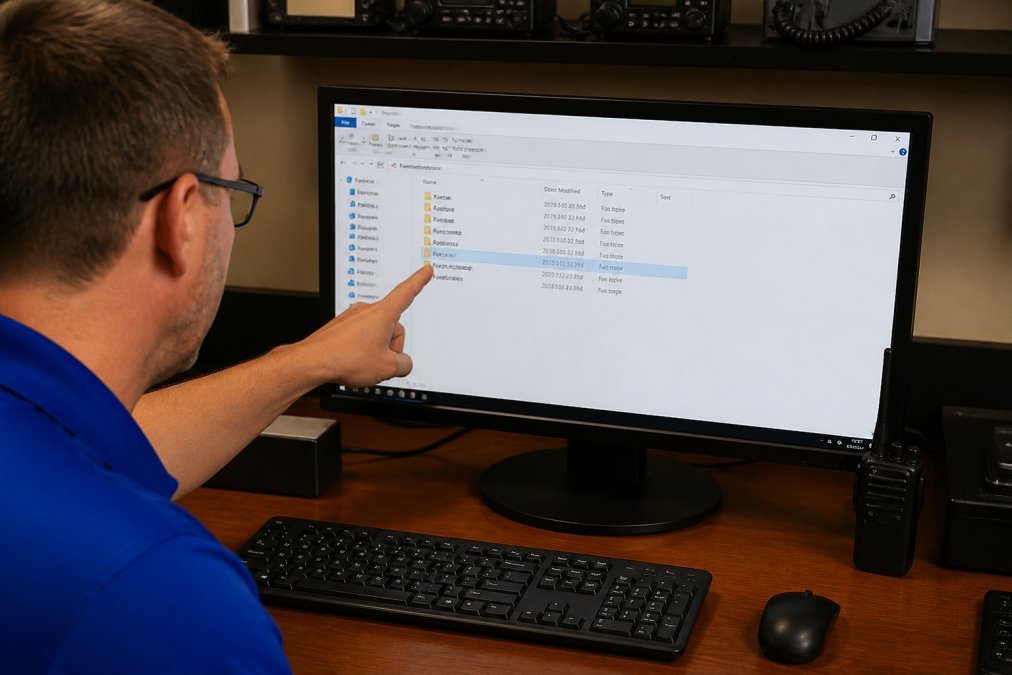
If you're unsure where your software stores data, check the software's help menu or settings panel. Most programs display the configuration file path under Preferences or Settings. Some applications include a "Show Config Location" or "Open Settings Folder" button that takes you directly to the right directory.
Exporting Registry Settings (If Applicable)
If your software uses Registry settings, export them before migration: Open Registry Editor (Windows Key + R, type regedit), navigate to the software's Registry key (e.g., HKEY_CURRENT_USER\Software\[SoftwareName]), right-click and select "Export," then save the .reg file to external storage. Do not manually edit Registry files, always export the entire folder, not individual keys.
Step 2: Back Up Your Radio Settings and Database
Creating a backup is non-negotiable. This single step prevents data loss and makes the migration process reversible.
Here's how to back up your radio settings:
- Close your radio software completely, ensure no background processes are running
- Navigate to your configuration folder using the paths from Step 1
- Right-click the folder and select "Copy"
- Open your external storage device (USB drive or cloud folder)
- Right-click and select "Paste" to create a backup copy
- Verify the copy completed by checking file sizes match
The backup typically takes 2-5 minutes depending on your data volume. Most radio databases range from 10MB to 500MB.
According to HamRadioDeluxe Support Solutions, users migrating software to new hardware should perform a database backup on the old machine before any transfer. This is the industry-standard approach for reliable migration.
For users with 200+ frequencies across multiple radios, create separate backups for each radio's database. This prevents accidentally mixing channel data if you need to restore individual radios later.
Step 3: Importing CSV Files to Radio Software on Your New Computer
CSV file import is the most reliable method for moving radio settings to new computer. Install your radio software on the new computer, launch it, create a new blank database, locate the Import function (usually File > Import), select your CSV backup file, review the preview, click Import, and save your new database. The process typically completes in under 2 minutes. RT Systems, Inc. simplifies this workflow with software designed for radio enthusiasts who value precision and ease of use.
Step 4: Transfer Settings via External Storage or Cloud Sync
Two primary methods exist: external storage (USB drive or external hard drive, 5-10 minutes, offline, best for databases larger than 1 GB) and cloud sync (OneDrive, Google Drive, Dropbox, iCloud, 10-30 minutes, provides redundancy and multi-device access). External storage is fastest for large databases. Cloud sync works better for upgrading multiple computers or accessing backups from different locations, but ensure your cloud provider doesn't modify file formats during sync, as some services compress or convert files and corrupt radio database formats.
Cross-OS Migration: Windows to Mac or Linux
Hybrid Approach: External Storage + Cloud Backup
For maximum reliability, use both methods:
- Create the primary backup on external storage (USB drive or external hard drive)
- Upload a secondary copy to cloud storage as redundancy
- Verify both backups contain identical files and file sizes match
- Use external storage for the actual migration (faster and more reliable)
- Keep the cloud backup as a long-term recovery option
File Integrity During Transfer
When using cloud sync, verify file integrity after download:
- Check file sizes, Compare the file size of your backup folder before upload and after download. They should match exactly.
- Verify file counts, Count the number of files in your backup before and after transfer. Missing files indicate incomplete sync.
- Test a small import first, Import 5-10 channels from the transferred backup before committing to the full import.
Troubleshooting Radio Software Migration Issues
Even with careful planning, migration issues occasionally occur. Here's how to solve the most common problems.
Problem: Software won't recognize the imported database
Problem: Channels import but audio won't transmit
Problem: Some channels import but others disappear
Problem: Import process hangs or crashes
Verifying Your Settings After Migration
After migration completes, verification ensures nothing was lost or corrupted.
Follow this verification checklist:
- Count your channels, verify the total matches your original database
- Test random channels, select 5-10 channels and confirm frequencies match your notes
- Check frequency ranges, ensure no channels appear outside your radio's operating range
- Verify channel names, spot-check that custom names transferred correctly
- Test audio input/output, connect your radio and confirm transmit and receive work
- Save your new database, create a backup of the migrated database on your new computer
Frequently Asked Questions
How do I export my radio settings from RT Systems software?
Open RT Systems software and navigate to the File menu, then select Export. Choose CSV format to save your frequency data, memories, and channel configurations to an external file. This exported file can be imported into the same software on your new computer. Store the CSV file on external storage or cloud backup for safekeeping during your migration.
What files do I need to back up before switching to a new PC?
Back up three critical elements: your radio software application data folder (typically in Program Files or AppData), your exported CSV or database files containing frequencies and memories, and any configuration files specific to your radio model. External hard drives or cloud storage services work well for this backup.
Can I move my radio programming files to a different computer?
Yes, but direct file copying often fails because software requires fresh installation to register properly with the operating system. Instead, export your settings to CSV format or use your software's native backup function, install the software fresh on the new computer, then import your saved files. This ensures all registry entries and dependencies configure correctly on the new hardware.
What should I do if my radio software doesn't recognize the new computer?
First, verify your audio device and USB cable connections, then rescan for hardware in your software settings. Check that device drivers are installed and up-to-date. If problems persist, uninstall and reinstall the software completely, then import your backup files. Ensure file paths match your new system's directory structure, and confirm user account permissions allow the software to access your radio hardware.